

SPECIFICATION
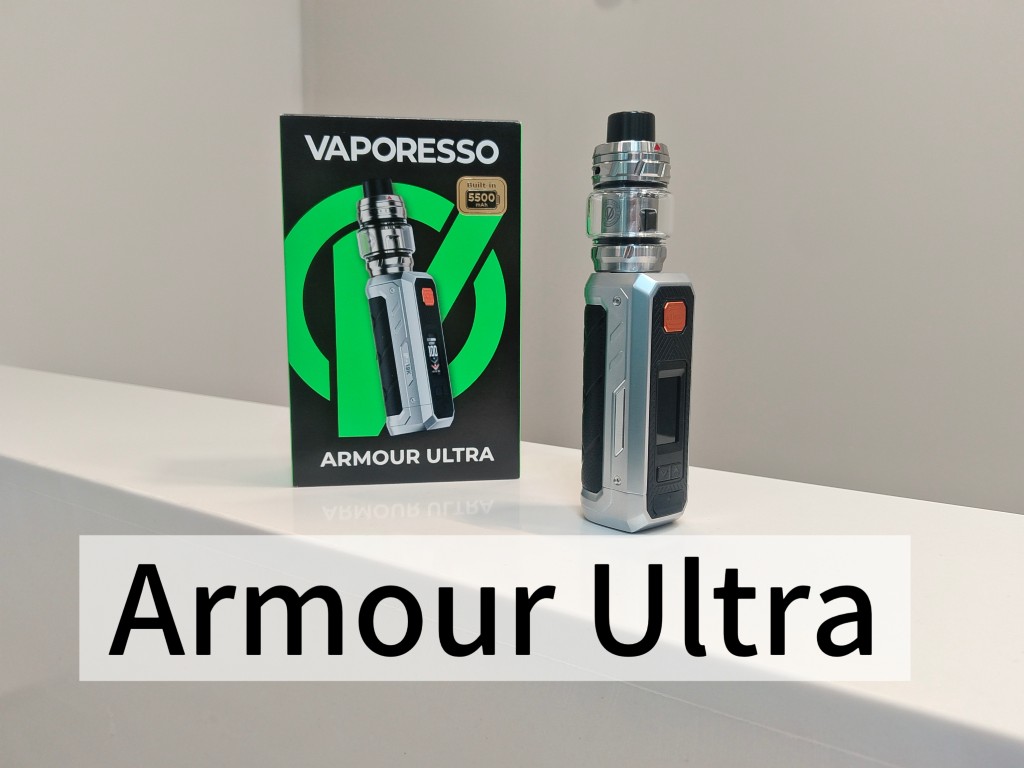
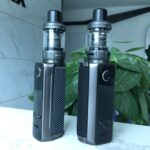
ARMOUR ULTRA:
Dimension: 144.5 x 37.6 x 31mm
TANK Capacity: 6ml/2ml
Coil Resistance:
GTi 0.2Ω Dual Mesh Coil
GTi 0.4Ω Dual Mesh Coil
Battery Capacity: 5500mAh
Output Power: 5-100W
Charging Current: DC 9V/2A or 5V/3A, Type-C
Diaply: 0.96″ TFT Screen
EXPLOADED VIEW

USE INSTRUCTIONS
- Install the Tank
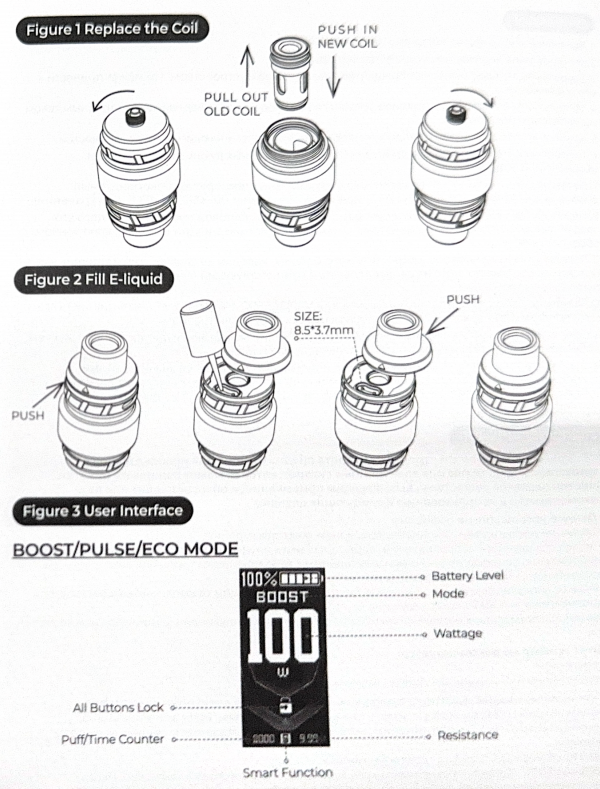
Install the tank to the battery by scrweing the base of tank. Make sure thay are firmly connected. - Replace the Coil
-Unscrew the base from the tank;
-Pull out the used coil from the tank;
-Install a new coll to the tank;
-Reattach the thread base into place.
*Refer to the figure 1. - Fill E-liquid
-Push the refilling top cap.
-Fill e-liquid through the hole, then look the top cap in place firmly after filling is finished.
-Please wait 5 minutes for the e-liquid to soak into the coil completely.
*Refer to the figure 2. - Adjust the Airflow
To adjust the airflow volume, please rotate the air-inlet ring on the top of the tank. - Power On/off the Device
Power on/off: press the power button 5 times in 2s. - Power Adjustment
ARMOUR ULTRA is using the powerful Gti coil platform, and the suggested power need to be noticed before start vaping.
- Start Vaping
Press the power button to enjoy extraordinary vaping experience.” - Charge the Battery
Open silicone plug on the TYPE-C USB port place, then charge the USB cable into the port, after connecting the TYPE-C cable to the battery, the remaining charging time will be showed on the screen. Please use the Included USB cable or a compliant performance and device safety. Do not use damaged, worn-out, or uncertified low-quality cables or charger to avoid potential hazards or device damage. Ensure proper ventilation during charging and avoid high temperatures, moisture, or flammable environments. - Lock or unlock the device
Slide the lock button or press the power button 4 times to lock or unlock all buttons of the MOD. - Choose a Mode
Press the power button 3 times continuously to enter the menu setting.
A. MODE SELECTION
*BOOST: Boost Mod (High Output, Default)
Boost Mod enhancesperformance by adjusting voltage output to optimize flavor and vapor production. It delivers a more Intense experience by increasing power output, ensuring rich flavor and massive cloud production for a satisfying vape.
*PULSE: Pulse Mod (Medium Output)
Pulse Mode maintains a balanced vaping experience by regulating the power cureve to sustain a consistent temperature. This mode provides smooth, steady flavor form start to finish, ideal for a more controlled and even vapor output.
*ECO: ECO MODE (Normal Output)
ECO MODE is a normal mode of constant output wattage; you can according to the coil resistanceto adjust the best wattage for your needs. The vaping times will last longer than the BOOST and PULSE mode.
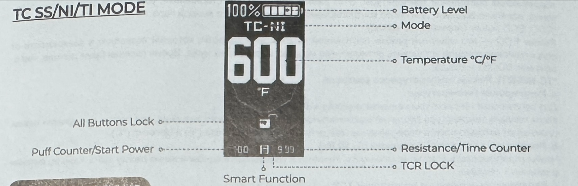
*TC-NI/SS/TI: Temperature Control Mode
a. Adjusting Temperature:
Press the “UP” or “DOWN” button to adjust the temperature.
When the current temperature reaches the maximum or minmum value, pressing the button again will automatically switch between Fahrenheit(℉) and Celsius(℃).
b. Adjusting Start Power (5W-80W)
Press and hold the “UP” button + Powder button simultaneously for 1 second to adjust the start power.
c. Enabling/Disabling TCR Lock:
Press and hold the “DOWN” button + Powder button simultaneously for 1 second to toggle Temperature Contral Resistance (TCR) Lock on or off.
B. Setting: SYSTEM SET
a. SMART: When enabled with a tank installed, the system will automatically recommend the optimal power setting. While in BOOST, PULSE or ECO mode, press and hold the “DOWN” button + Power button simultaneously to toggle the SMART function on or off.
Note: The SMART function is only compatlble with GTi Coil platforms.
b. WATT LOCK: After enabled this function. the “UP” and “DOWN” buttons will be locked, and the POWER button still works.
c. THEMES: Themes Selection, choose your preferred display theme to xusyomize your device’s interface.
d. PUFFS: the 5 day’s puff counter can be checked in this interface, also the puff can be cleared after confirm the reset option.
e. BRIGHT: The brightness of display from 10-100 can be adjusted in this interface.
f. TCR LOCK: This function applied only in TC-SS/NI/TI mode, after enabled this function, the temperature control resistance can be locked of steady output.
g. DEFAULT: Restore to the factory settings.

PROTECTIONS
- Low Resistance/Short-circuit: The screen displays “SHORT ATOMIZER” and the device will stop working.
- High Temperature: The screen displays “OVER HEAT” and the device will stop working.
- No Load/High Resistance: The screen displays “CHECK ATOMIZER” and the device will stop working.
- Low Voltage/Over Discharging: The screen displays “BATTERY LOW” and the device will stop working.
- Over Charging: The screen stays on the charging interface, and the device will stop charging.
- Overtimes(10s): The screen displays “OVER TIME” and the device will stop working.
- The advertised water, dust, and shock resistance applies exclusively to the MOD component, and does not extend to the TANK assembly.
GTX ONE is a user-friendly MTL kit equipping GTX coils that give fresh flavor-boosting and rich...
Figures
Target 100 Kit
Target 200 Kit
USER INSTRUCTIONS
1. Install the TankInstall...
Lately, EVDILO Kit has appeared in front of us! It comes from the well-know Uwell brand. Compared...

Introduction
Equipped with two pod options (powered by the advanced Dual Core Dual Meshed and...