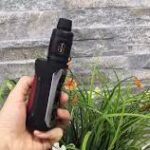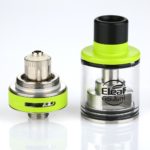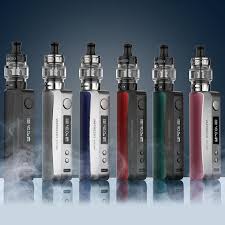
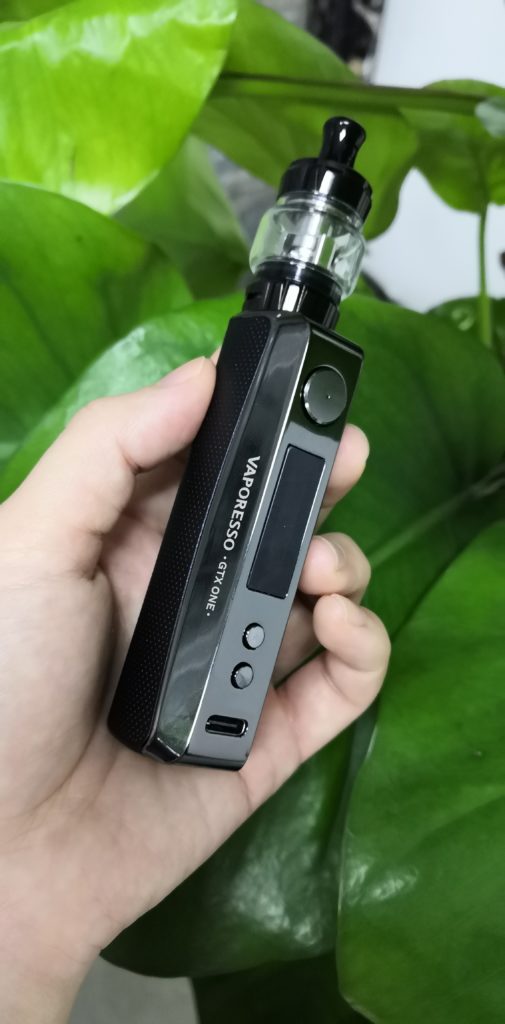
GTX ONE is a user-friendly MTL kit equipping GTX coils that give fresh flavor-boosting and rich cloud delivery. It is a VW mod kit that comes with both aesthetics and ergonomics. With compact size and durable material, it provides a cozy hand feel.
There are usage tips down below. They can help you a lot if you are a starter.
Install the Tank
Install the tank to the battery by screwing the 510 thread. Make sure they are firmly connected.
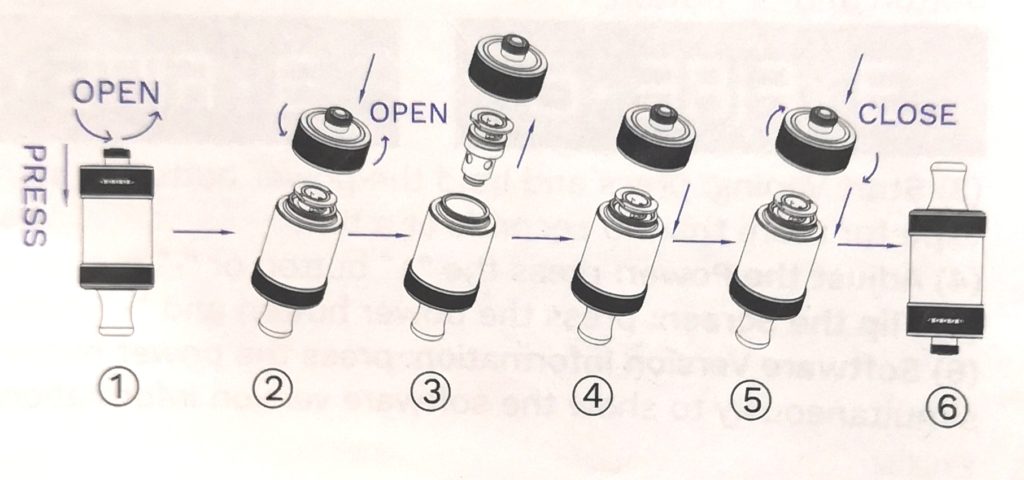
Replace the Coil
(1) Regular Version
- Unscrew the thread base from the tank;
- Pull out the used coil in the tank;- Install a new coil to the tank;
- Reattach the thread base into place.
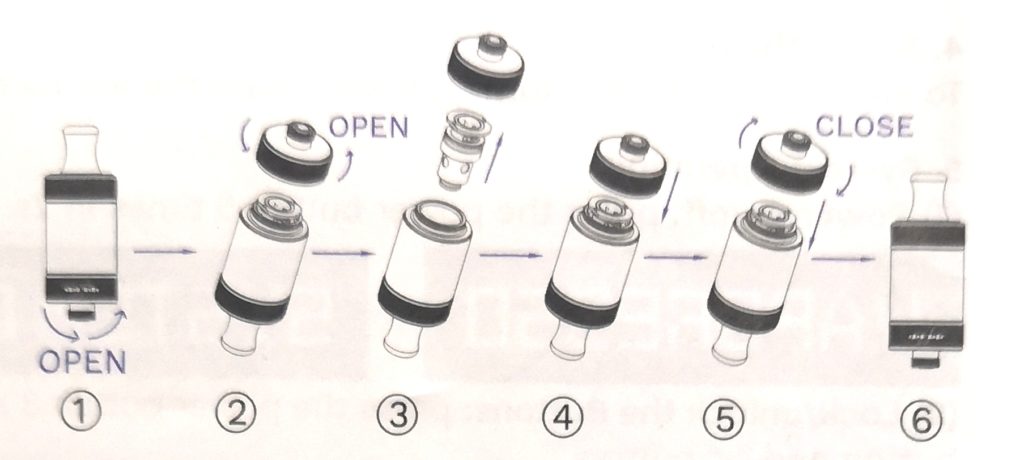
(2) Child-proof Version
- Press down the air-inlet ring and unscrew the thread base from the tank;
- Pull out the used coil in the tank;- Install a new coil to the tank;
- Reattach the thread base into place.
Fill the E-liquid
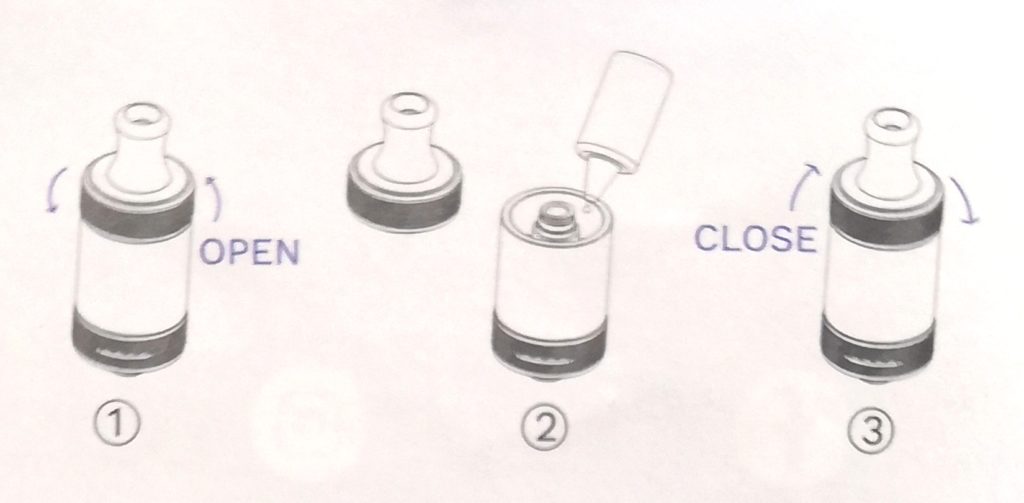
(1) Regular Version
- Unscrew the top cap from the tank; Fill the e-liquid along the glass tube;- Reattach the top cap back into place;- Please wait 5 minutes for the e-liquid to soak into the coíl completely.
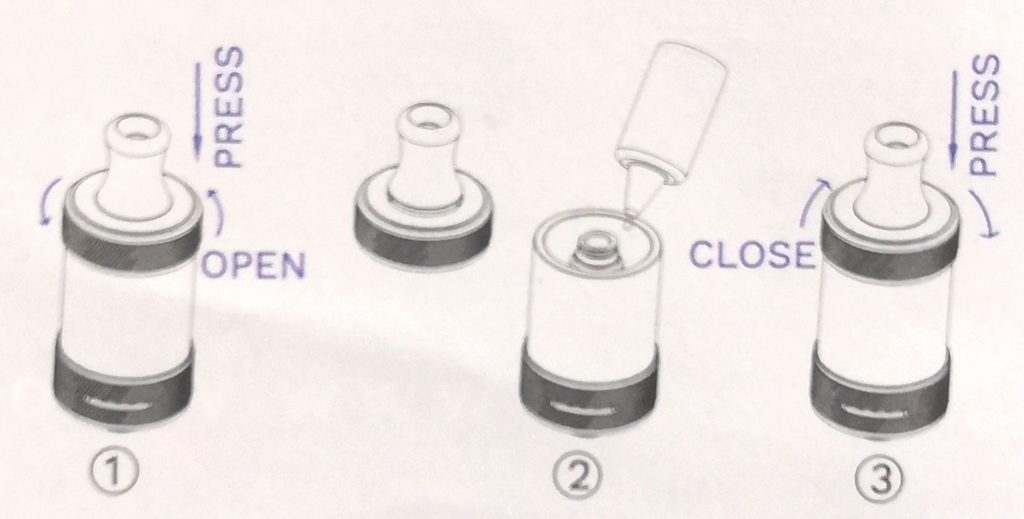
(2) Child-proof Version
- Press down and unscrew the top cap from the tank;
- Fill the e-liquid along the glass tube;- Reattach the top cap back into place;- Please wait 5 minutes for the e-liquid to soak into the coil completely.
Adjust the Airflow
To adjust the airflow volume, please rotate the air-inlet ring on the bottom of the tank.
System Operating
(1) Power on/off: press the power button 5 times in 2s.


(2) Lock/unlock the Buttons: press the power button 3 times continuously to lock or unlock the-+*button and “-” button,


(3) Start Vaping press and hold the power button to start vaping For your safety, please donotvape for more than 10 seconds at a time.
(4) Adjust the Power: press the “+” button or «-” button to adjust the power,
(5) Flip the Screen: press the power button and “+” button simultaneously to flip the screen 180.(6) Software Version Information: press the power button, “+” button and “-” button simultaneously to show the software version information.
(7) System Setting: press the “+” button and “-” button simultaneously to enter the systemsetting interface, which includes VW, SMART VW, PUFF, FLIP SCREEN and DEFAULT.
PROTECTIONS
(1) Overtime Protection: the device will stop working if you vape for more than 10 seconds atatime, and “OVER TIME” will show on the screen,
(2) Low Resistance Protection: when an extremely low resistance is detected, the device willstop working and show “SHORT ATOMIZER” on the screen,
(3) High Resistance Protection; when a high resistance is detected, the device will stop workingand show “CHECK ATOMIZER” on the screen,
(4) No load Protection; when there is no tank detected, the device will stop working and “CHECK ATOMIZER” will show on the screen,
(5) Shortcircuit Protection: when a short circuit is detected, the device will stop firing and”SHORT ATOMIZER” will show on the screen,
(6) Low Voltage Protection; when the battery voltage is too low to start vaping, the device cannot be operated and “LOW BATTERY” will show on the screen,
(7) Over Discharge Protection; when the battery voltage is extremely low during vaping, the device will stop working and “LOW POWER” will show on the screen.
(8) Over Charge Protection: the device will stop charging when it is fully charged.
(9) USB Input Protection: when the USB detects an input voltage exceeding the rated voltage, the device will stop charging.
Related posts


