


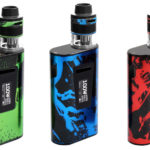
Speeder mod specifications
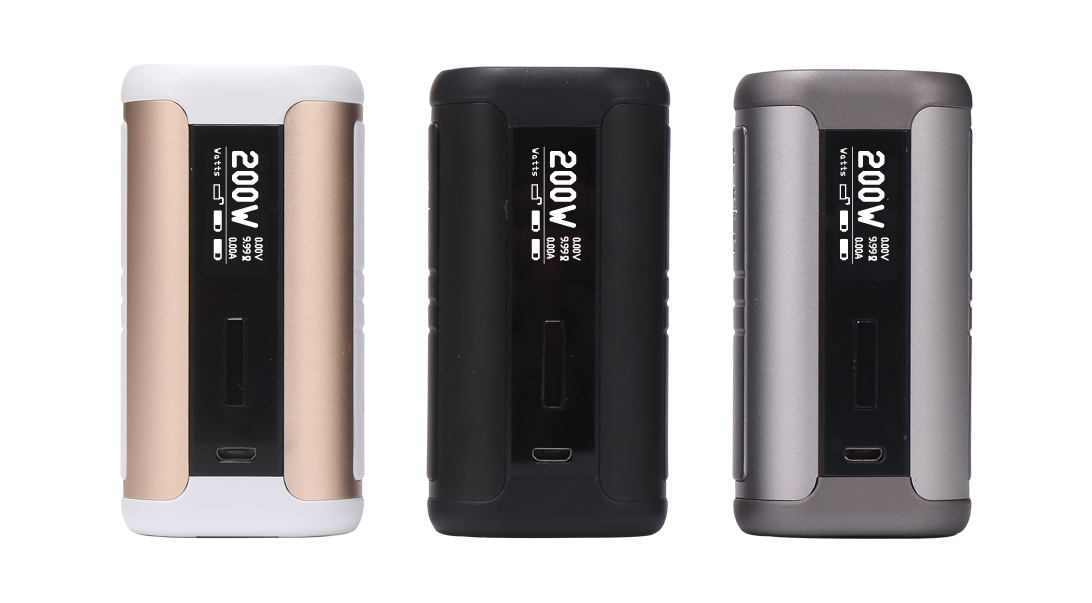
Wattage range: 1-200W
Output Voltage: 0.1-8.4V
Resistance Parameters: 0.1-3.5ohms
Continuous Fire Time can be adjusted from 5s to 15s Charging Port: Micro-USB charging port
Screen: 0.96 inch OLED screen
Firmware update via Micro-USB port
Dimensions: 88*46*31mm
Battery: Dual 18650 high rate discharge batteries
Temperature Control
Temperature Range (F): 200-600 ℉
Temperature Range (C): 100-315 ℃
Protection Features
• Automatic Cut Off
• Short Circuit Protection
• Overheat Protection
• Over charge Protection
• Over Discharge Protection
• Battery Reverse Protectio
Instructions
1. The mod will automatically turn on after installing battery, the screen will then display user’s previous settings, after 15 seconds of being idle the screen will turn off.
2. Press the fire button 5 times within 2 seconds to either lock or unlock the device. While the mod is locked, press the fire button for 3 seconds to turn the system off. To turn the mod back on press the fire button 5 times rapidly.
3. Pressing fire button and down button simultaneously to either lock or unlock keys, which is indicated by a lock symbol on the screen. While the keys are in locked mode, wattage or temperature settings can not be adjusted but fire button still functions.
4. Pressing fire button and up button simultaneously for 0.5 second will allow you to select between Wattage, Voltage, Bypass, CPS(C1/C2/C3), TC(Ni/Ti/SS316L) and TCR(M1/ M2/M3). Pressing up or down button to select modes, fire button to confirm.
5. TCR settings: While the mod is in TCR(M1/M2/M3) mode, pressing up and down buttons simultaneously to enter or exit PWR and TCR settings. Pressing fire button to select between PWR and TCR, up and down button to change numbers, PWR numbers can be adjusted from 1W to 200W, while TCR range is from 0.10 to 9.99. (Note: TCR numbers for TC(Ni/Ti/SS316L) can not be adjusted.)
6. When the mod is in CPS (Customizable Power Settings), pressing up and down buttons simultaneously will allow you to fine-tune your heat ramp-up (power curve). Pressing up or down button to change wattage, fire button to select time from 1 to 10 seconds, pressing up and down buttons simultaneously again will exit your Customizable Power Settings.
7. While the mod is in TC mode attaching a new atomizer the mod will read “New Atomizer? ” followed by “YES+/NO-“ Select “YES+” and the mod will read the original coil resistance. Select “NO-“ and the mod will keep its previous coil resistance settings. (Note: To ensure accuracy, when first installing a new atomizer make sure the screen is lit and the coil attached is at room temperature before attaching it to the mod.)
8. When the mod is on, pressing the fire button 3 times quickly to put the mod into or out of stealth mode, while in stealth mode the mod can still fire but the wattage or temperature settings cannot be adjusted.
9. To change temperature to Fahrenheit(F) or to Celsius(C), press the “+”or “-” button all the way to pass the temperature range, the temperature will switch over to either Celsius or Fahrenheit automatically.
10. The Screen will auto rotate for ease of use.
Charging
Charging the Speeder via Micro-USB charging port, the maximum current can reach up to 2A.
Connect your Speeder mod to the charger and the screen will display a flashing battery icon as well as battery voltage level, charge current and charge time. When the battery charge reaches 4.2V or is fully charged, the mod will stop charging and the screen will remain off
• The batteries can not be replaced while charging. Please unplug the USB cable before changing your batteries.
• When the battery charge drops below 1.5V or battery incorrectly installed the mod will stop charging.
When the mod detects the USB charge voltage less than 4.3V, it will stop charging and the screen will display “CHECK CHARGER”.
• To accomplish 2A charge current, the adaptor output should be 5V/2A.
Firmware update
• Download the driver software and firmware file from Aspire website: http://www.aspirecig.com/upgrade/
• Connect the Speeder to your PC. The driver will detect your mod automatically.
• Click “OpenFile” to choose the correct firmware file.
• Click “Update” to upgrade your mod.
• If it failed during the update process please repeat step 3 to step4
Related posts
Is it safe to use my apple iphone x 5v power adapter, with the usb cable that was inside the Aspire kit?
Regards
Allan
“To accomplish 2A charge current, the adaptor output should be 5V/2A”. Yes, you can use your phone’s power adapter to charge your Speeder.
Thank you soo much for the reply!
I have another question i bought another tank cause the other one kept leaking, so I bought the smok tank and it is leaking again im nit sure why this is happening, juice is at the halfway mark.
Regards
Allan
Sorry to hear that. Maybe you can check out this article.http://www.vaperclub.net/smok-tfv8-tfv12-atomizer-tank-leaking-smok-instruction/