


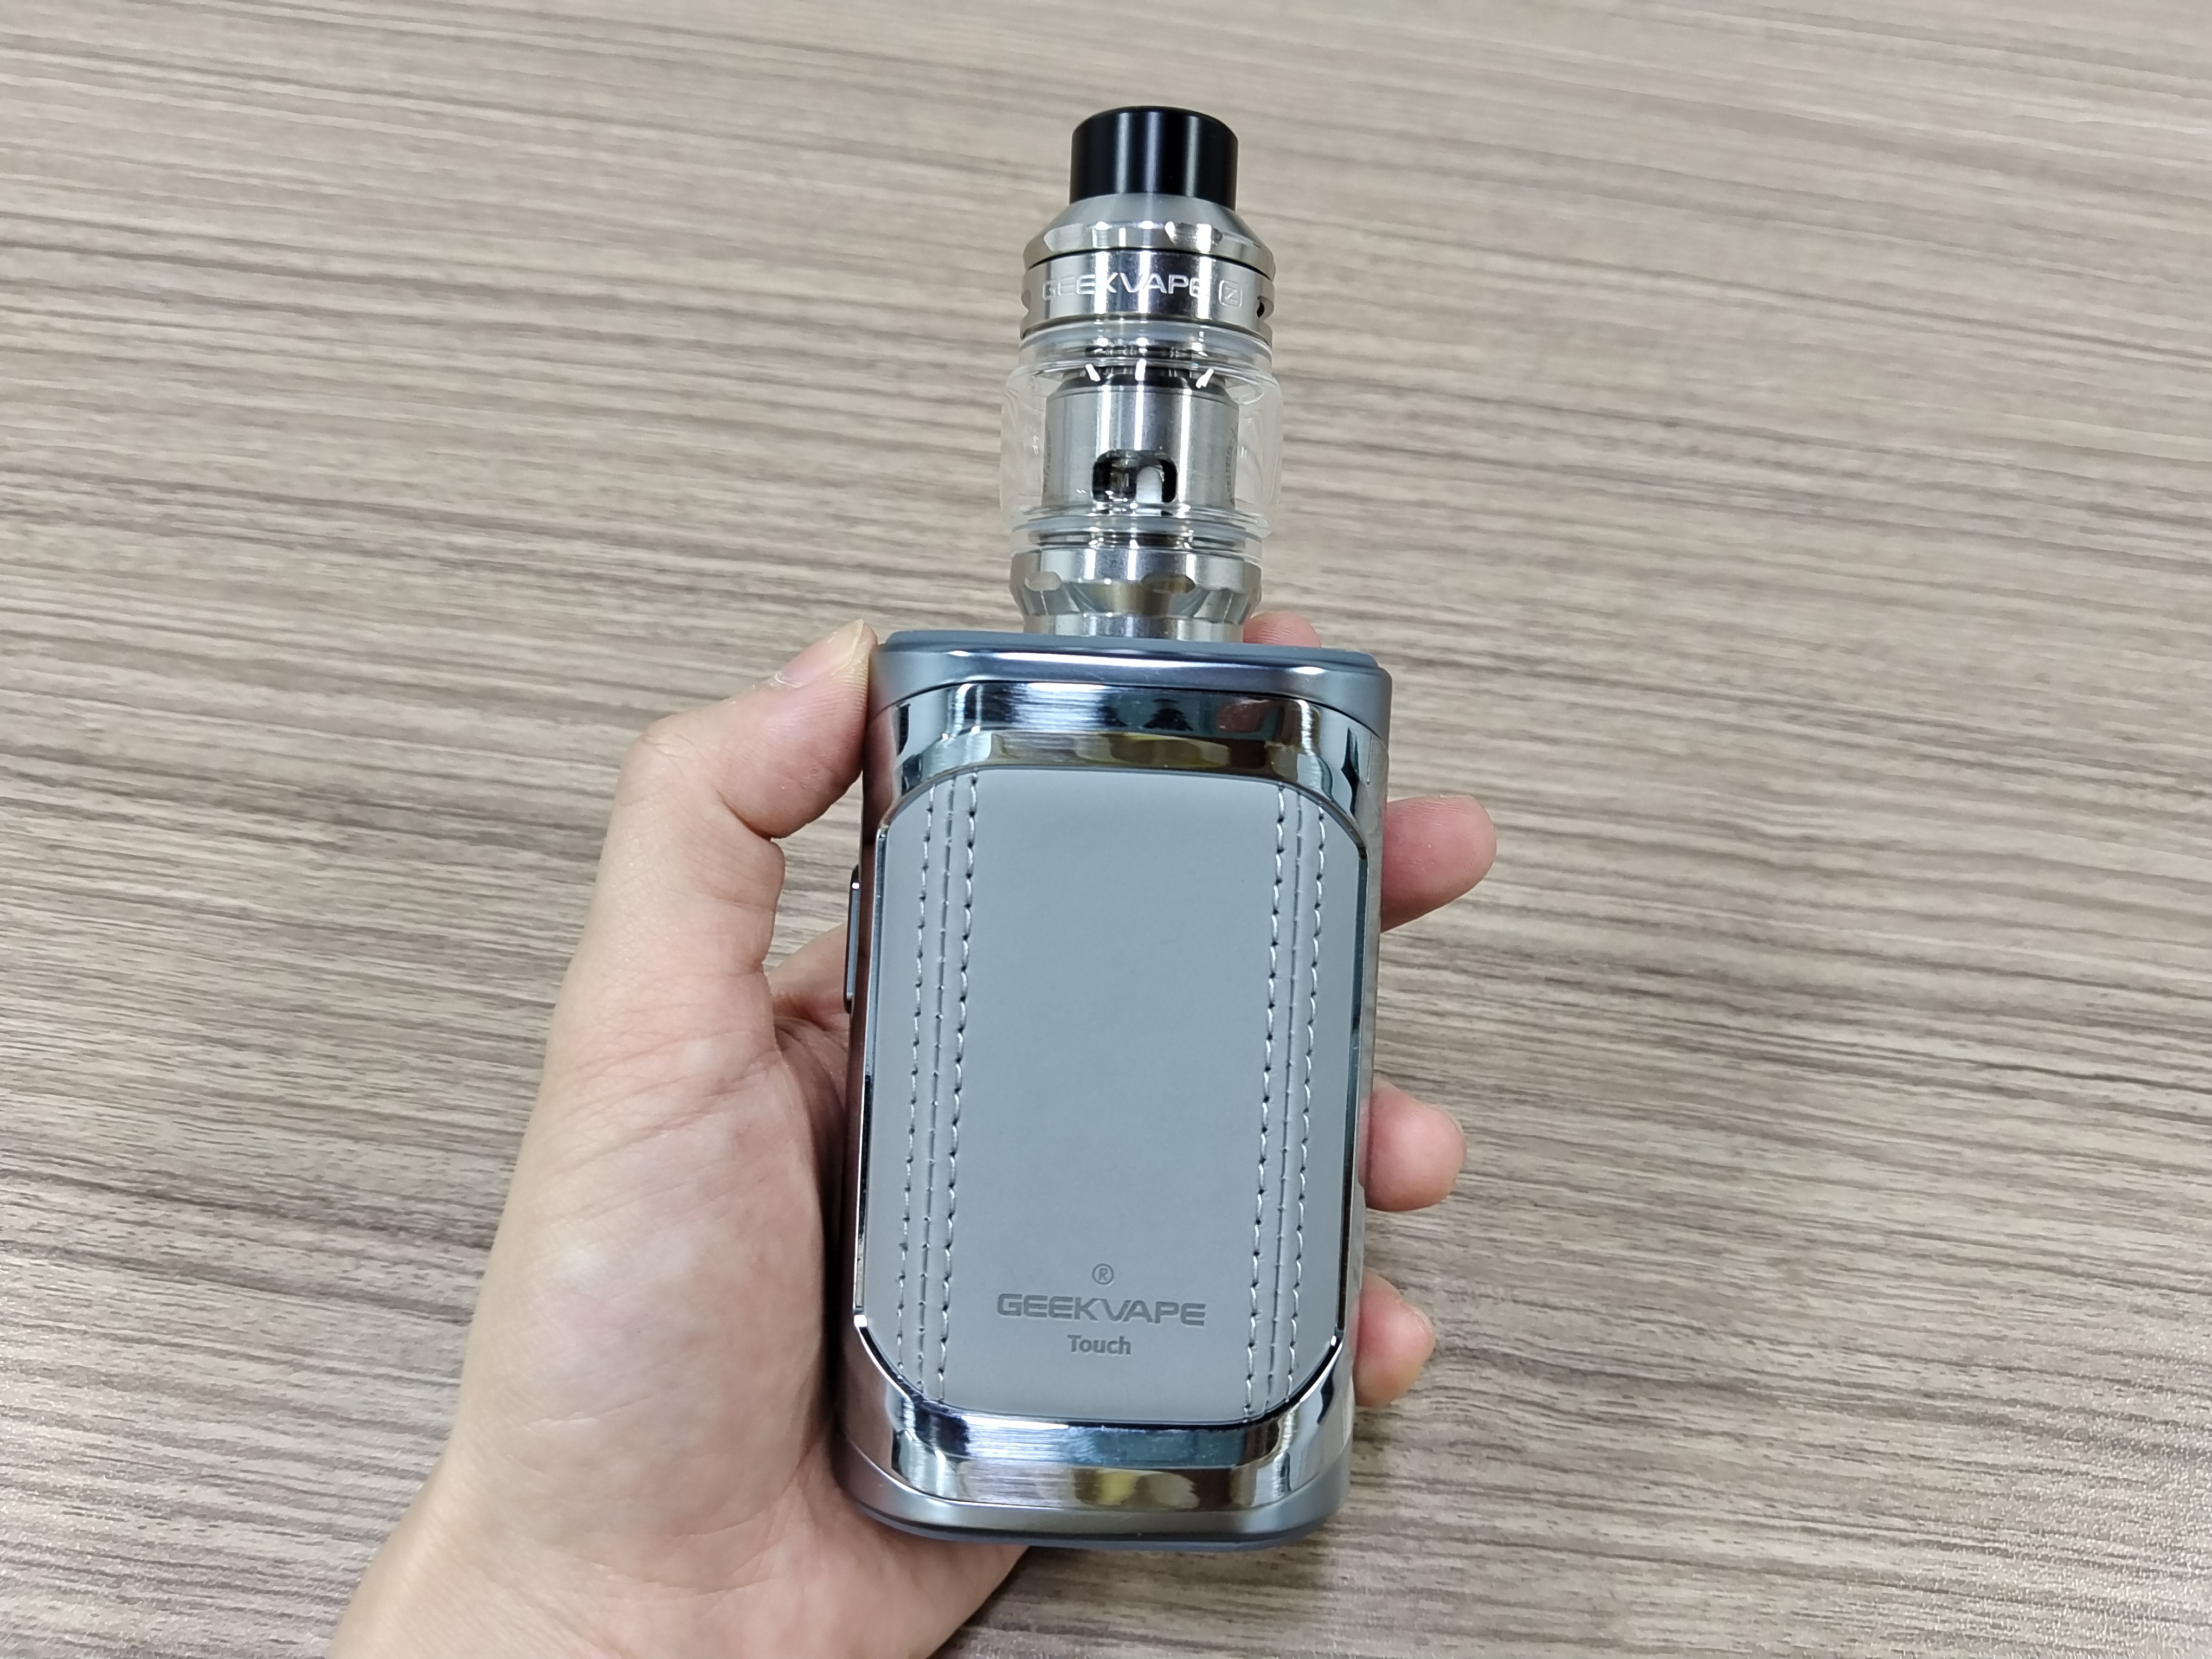
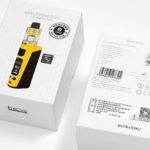
Lately, EVDILO Kit has appeared in front of us! It comes from the well-know Uwell brand. Compared with previous products, what’s new about this device?
Uwell EVDILO Details
Mod Size: 47.432.583.7mm
Power Range: 5W-200W
Standby Current: <100μA
Voltage Range: 0.7V-8.0V
Mod Material: Zinc Alloy, PC & Stainless Steel
Resistance Range: 0.1-3ohm (VW), 0.1-1ohm (TC)
Temperature Range: 200-600℉/100-315℃
Tank Size: 29 x 60.6mm
E-juice Capacity: 6ml
Thread: 510 thread
Tank Material: Stainless Steel & Pyrex Glass
Coil Type: FeCrAI Quadruple Coil 0.15ohm; FeCrAI UN2 Single Meshed Coil 0.32ohm; FeCrAI UN2-2 Dual Meshed Coil 0.14ohm; FeCrAI UN2-3 Triple Meshed Coil 0.16ohm
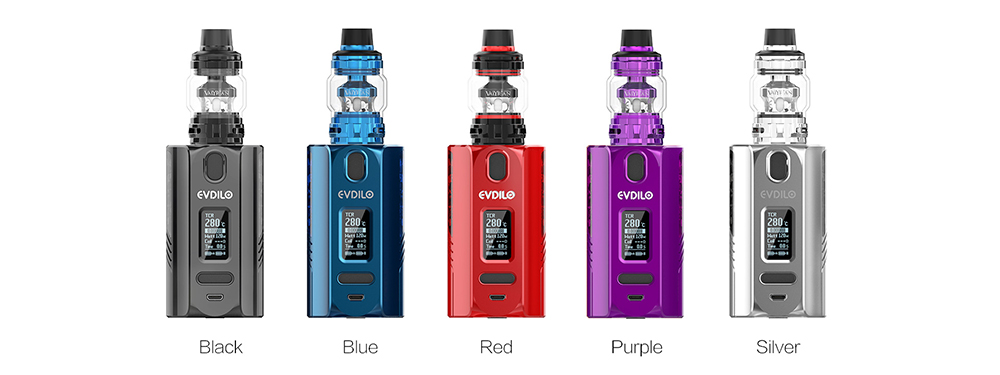
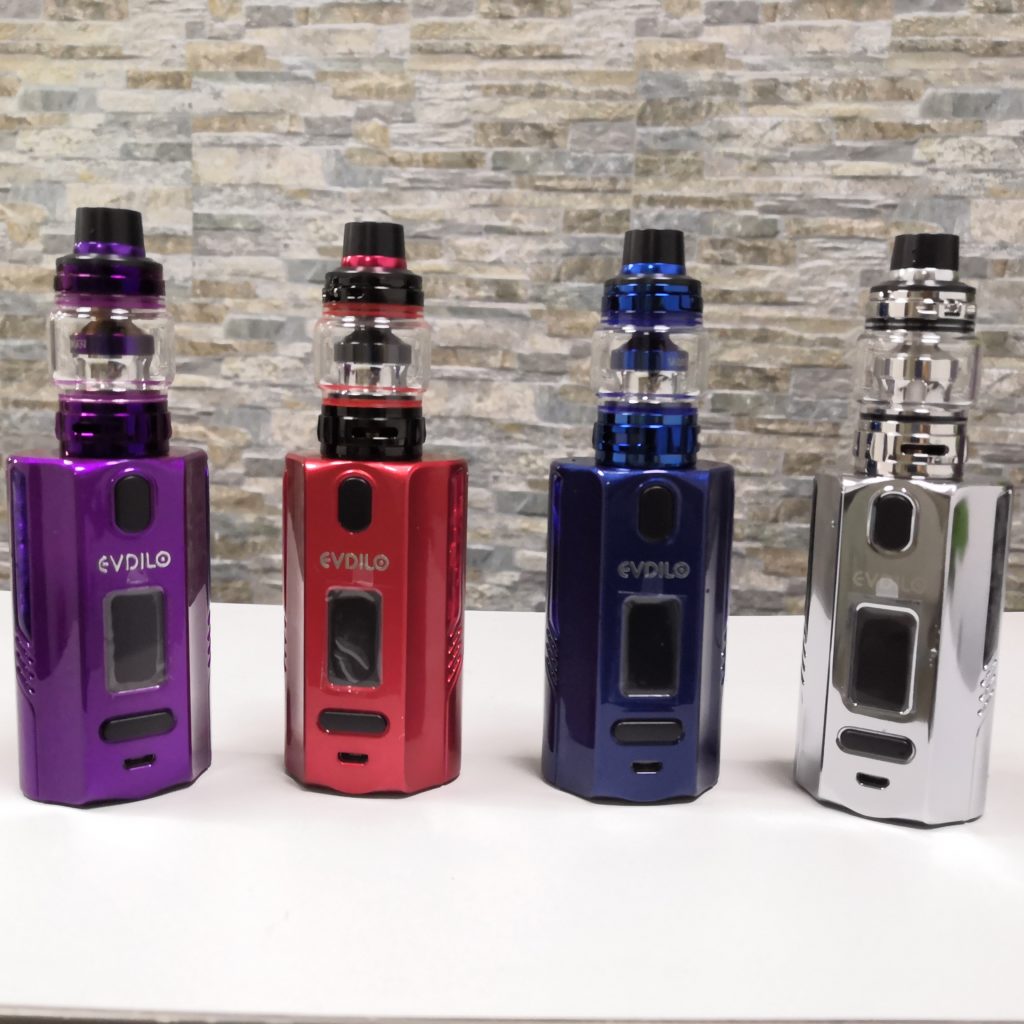
Color: Black, Blue, Red, Purple, Silver
Is somebody confused about how to use the EVDILO correctly? Don’t worry, I am here to tell you the details.
Instruction for VALYRIANIl Tank
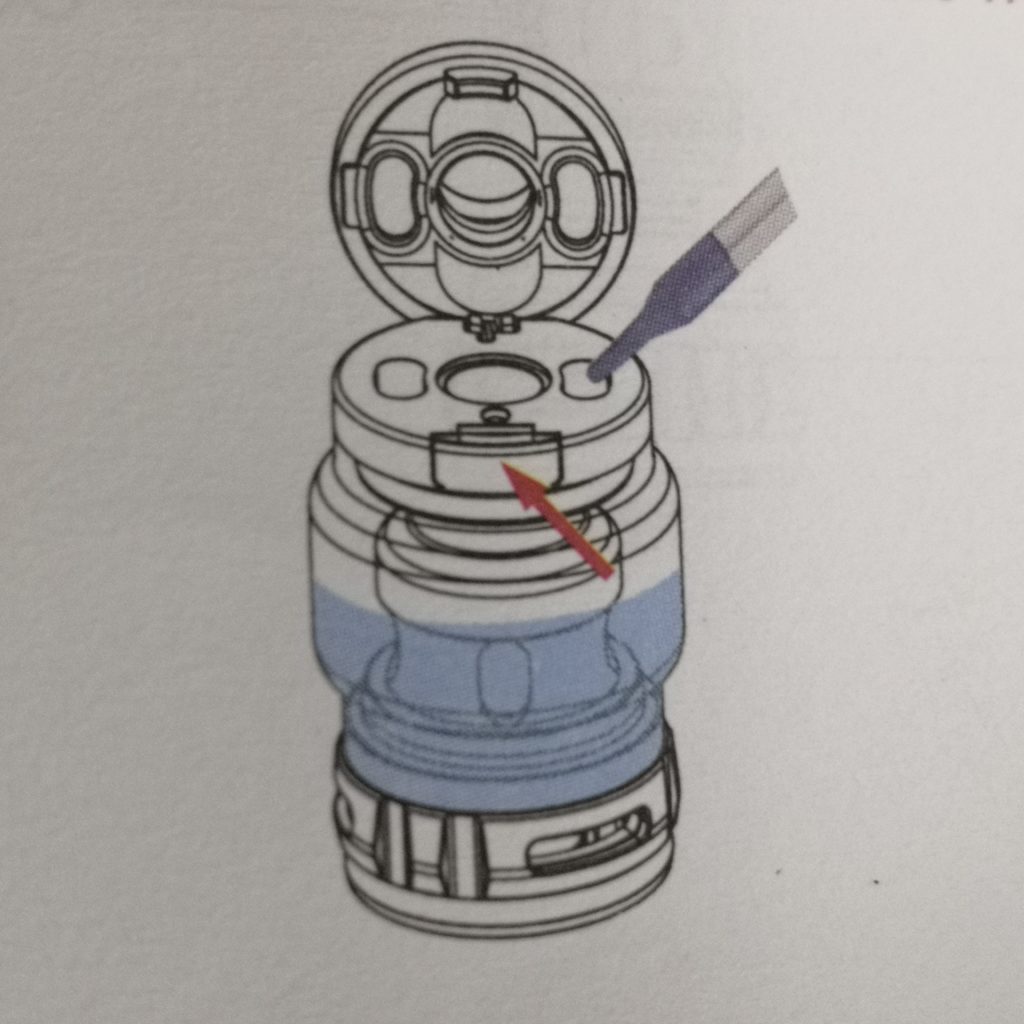
1. How to Top Fill
1): Turn the airflow ring to the closed position.
2): Press the flip cap button to open the top cap
3): Add juice
4): Close the top cap after filling your tank, and then let it sit for 10 minutes.
Caution:
a: Don’t put juice in the center hole.
b: Do not leave the top cap off for a long time to avoid leaking.
c: Close top cap back and make sure it is completely locked after refilling to prevent leaking.
d: When filling only use a bottle that has a nozzle that can fit inside the opening of the tank which is 3.8 millimeters wide.
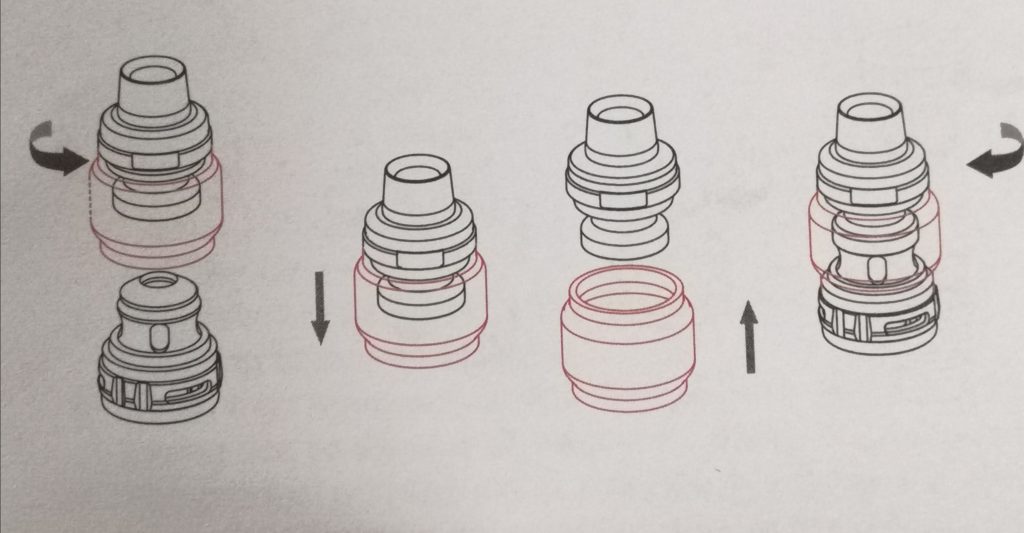
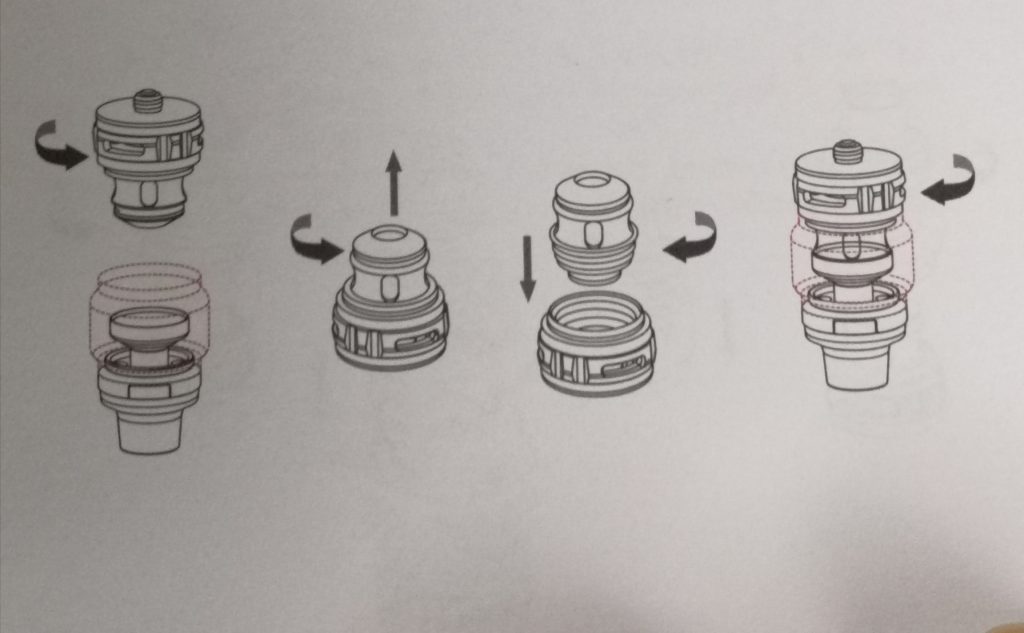
2. Glass Changing &Tank Cleaning
1): Hold the base to unscrew the top cap in a counterclockwise motion.
2): Reinstall the glass after cleaning or changing
3): Reinstall the top cap in a clockwise motion.
Caution: Make sure that the O-rings are properly installed to Caution: Make sure that the O-rings are properly installed to avoid leakage.)
3. How to Change the Coil
1) Twist of the base in a counterclockwise motion
2): Remove the coll from the base in a counterclockwise motion.
3) Make sure the O-rings are intact when installing a new coll head, and then install the new coll in the base
4):Twist the base back on in a clockwise motion
Please read below information before use:
- Please choose certified high-quality 18650/20700/21700 batteries with the minimum output current of 30A.
2. Please make sure the tank is filled with enough e-liquid before vaping; after adding e-liquid, please let the tank sit for 10 minutes.
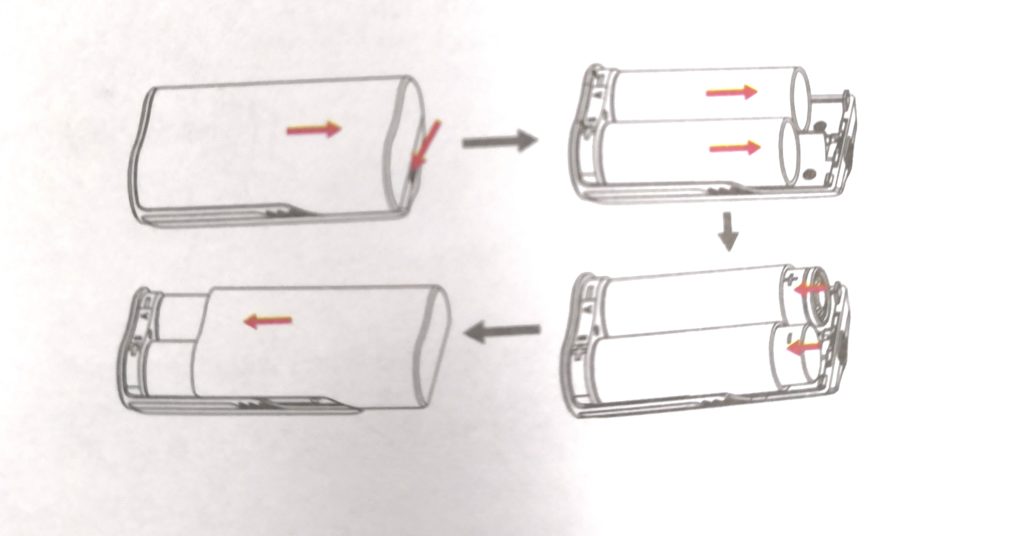
Assembly And Disassembly of Battery
- Pull the battery cover button downward to remove the battery cover.
- Remove 2 battery sleeves for18650 batteries
- Put 18650 batteries in the battery sleeves according to the”+/”marks, and then put the batteries into battery chamber (no need of battery sleeves if 20700/21700 batteries are used, please just put batteries into the chamber).
- Reinstall the battery cover, the battery cover is installed properly once you hear the click sound.
(Attention: Do not reverse batteries, the batteries shall be purchased separately)
Mod Instructions
1. Power on/off
Click the fire button 5 times within 2 seconds to click the fire button 5 times within 2 seconds to turn on/off the mod.

2. Vaping
While the device is on, hold the fire button to While the device is on, hold the fire button to vape; it will automatically stop firing when the button is held for longer than 10s.

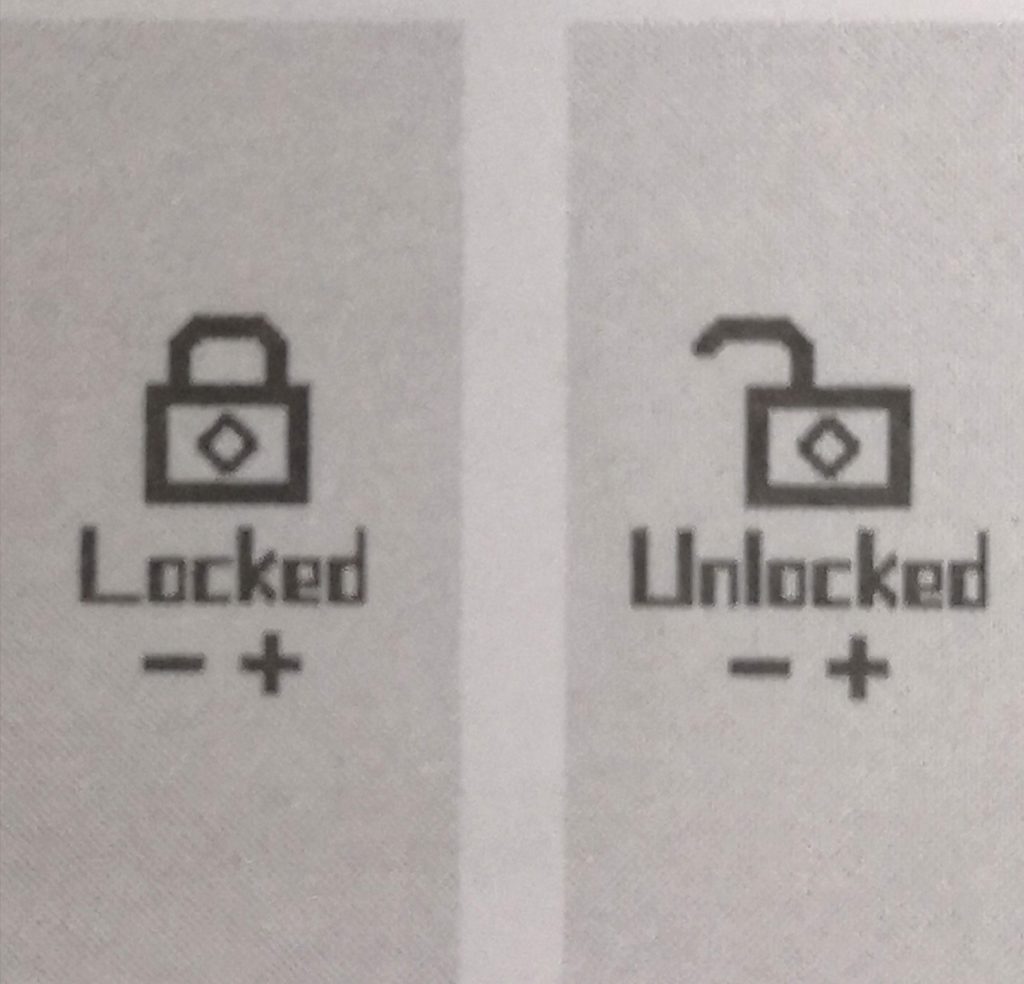
3. How to lock your device
1). When the device is on, hold the fire button and “-” button for 1 second to lock/unlock the device.

2). When the device is on, hold the fire button and “+” button for 1 second to lock/unlock the “+/-” buttons.
4. Select the mode
When the device is on, press the fire button 3 times to enter the mode options,the mode will blink. Then press “+” button or “-“button to select work mode from “Power” and“TCR”. press the fire button to confirm.
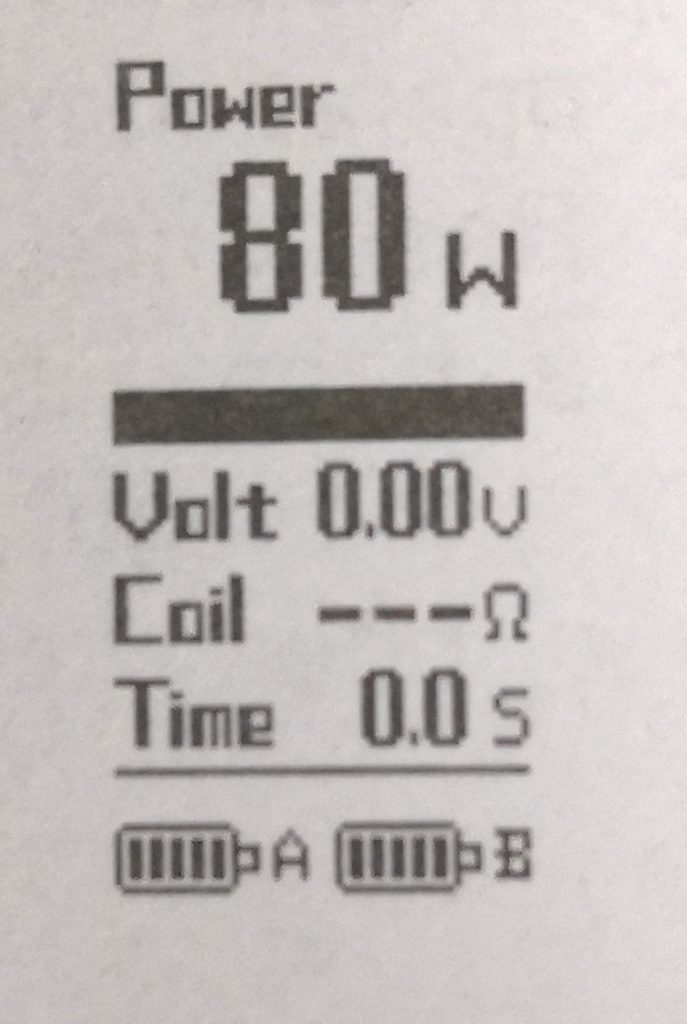
5. Power mode
After pressing the fire button to enter the power mode, press the”+/” to adjust the wattage or hold the button to scroll through them faster. Attention.: The output voltage will decrease gradually during vaping. When the output wattage can not reach the set wattage, the device will lower the wattage automatically, and then the screen will display the output automatically, and then the screen will display the output voltage after automatically adjusting the wattage.
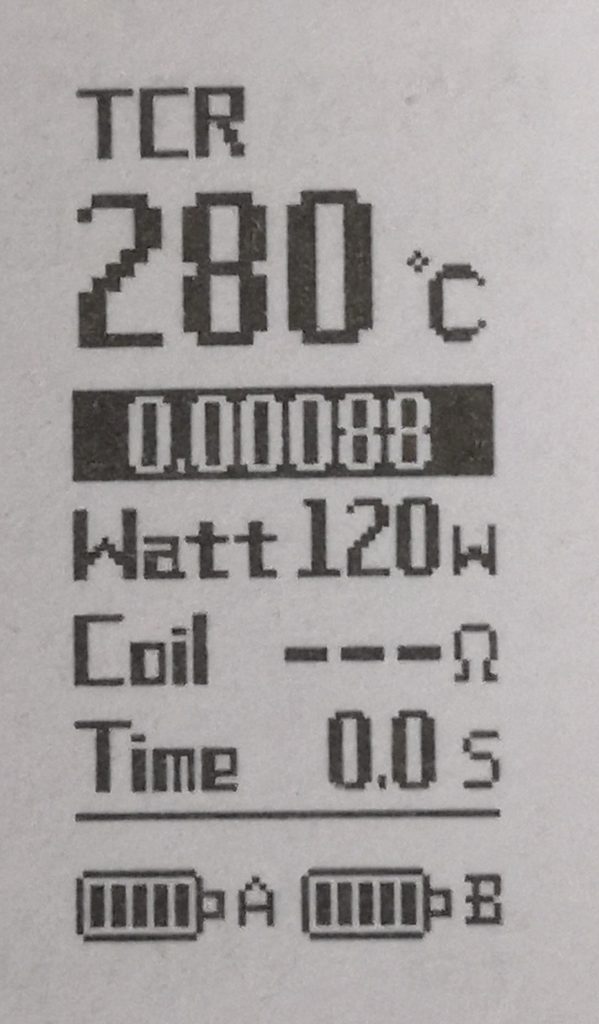
6.TCR
TCR mode only fits with DIY coils.
a.After pressing the fire button to enter the TCR mode,the TCR flashes; TCR range:0.00010~0.01000. Recommended TCR of common heating wire material: SS316:0.00088+0.00020;Ni 200:0.00690+0.00020.
b. After pressing the fire button to confirm the TCR, the wattage will fash. The power adjustment range is from 10to120W, press the “+/-” to adjust the wattage, press the fire button to confirm.
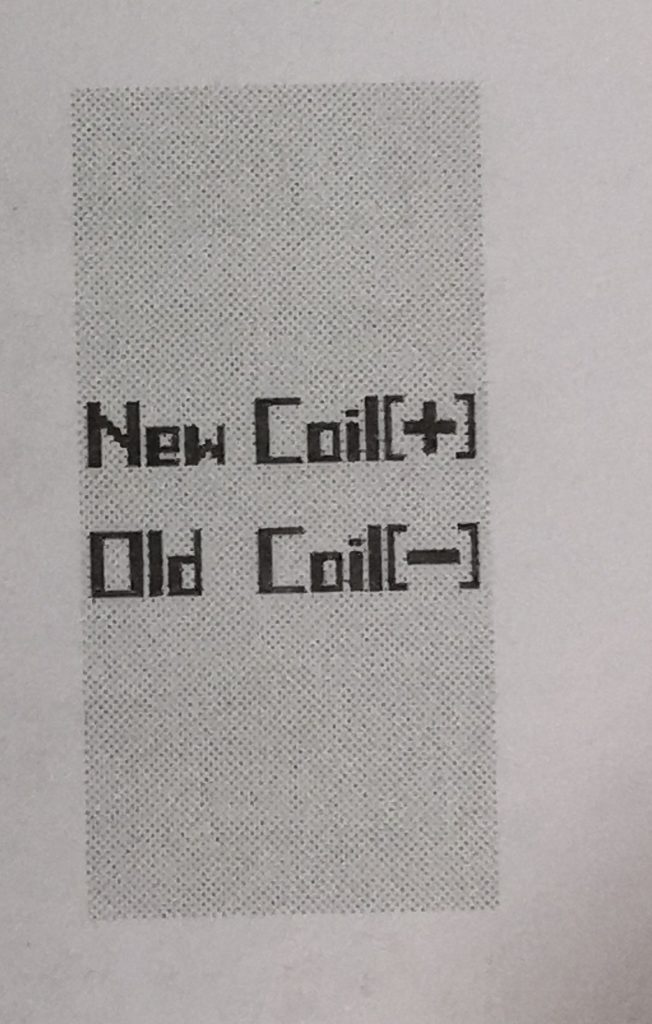
7. Set the reference resistance under temperature control mode
In the temperature control mode, when the atomizer with the temperature control material is installed, it will correct the reference resistance. Resistance detection is required after switching to the TC mode. It should be used at room temperature or vaping experience under TC mode would not be as expected. After switching atomizer, press the fire button and the screen will ask if it’s new coil. If it is, please press the”+” button; if not, please press the”-” button.
8. Resistance detection
Resistance detection shall be done automatically. The operation mode would be saved as the previous setting. Resistance range is 0.1-30(w) and 0.,1-10(TC)

a.If there is no atomizer or the resistance of the coil is too high. press the fire button the screen will indicate open circuit.
b. If the resistance of the coil is too low, press the fire button the screen will indicate short circuit.
9. Low power alert
When the voltage is too low, press the fire button the screen will indicate low battery.

10. Temperature protection
The output will be cut off if the PCBA temperature increase to80’Cduring vaping, the screen will display “Too Hot! Please Wait; 10S later the temperature will stop and you are free to vape again.

11. Reverse battery protection
The device is equipped with reversed battery protection.lf the batteries are reversed, the device can not turn on.
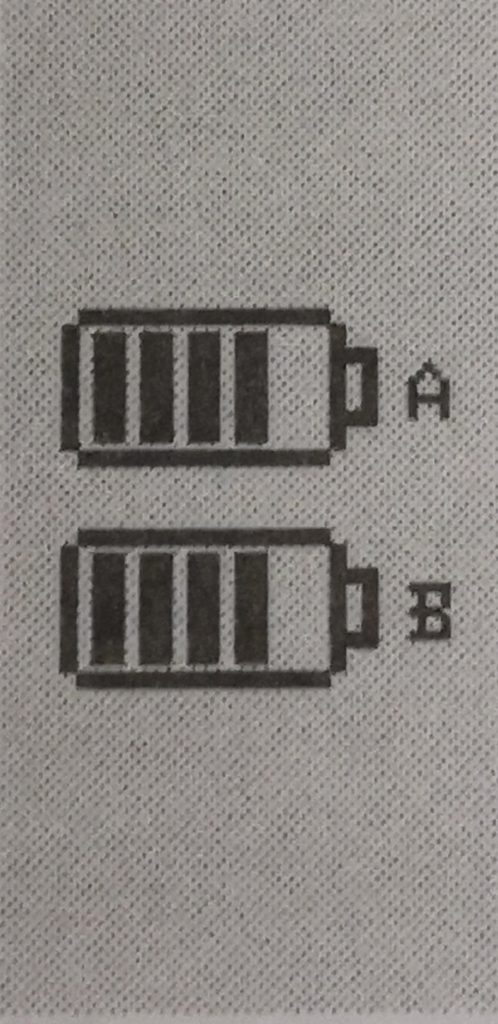
12. Charging
Charge battery with Micro USB of 5V/2A, the screen will indicate charging; when the battery is fully charged, the indicate screen will display full bars.
13. Factory reset
Hold the fire button, “+” and ” button for 2 seconds the screen will display “Factory Reset”, release the buttons the screen will exit to the power mode.

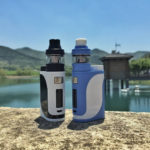
Conclusion
If you’re a lover of Uwell, you can try this kit, maybe it’s a surprise vaping experience!
Related posts
Sorry, my friend, I don’t understand what you mean.
But what can I do for you?
Thank you for your advice, my friend. We have cooperated with a reputable online store, and it is Sourcemore.com
What kind of links?
Thank you!
Thank you. We are very happy to help you.