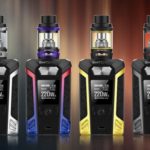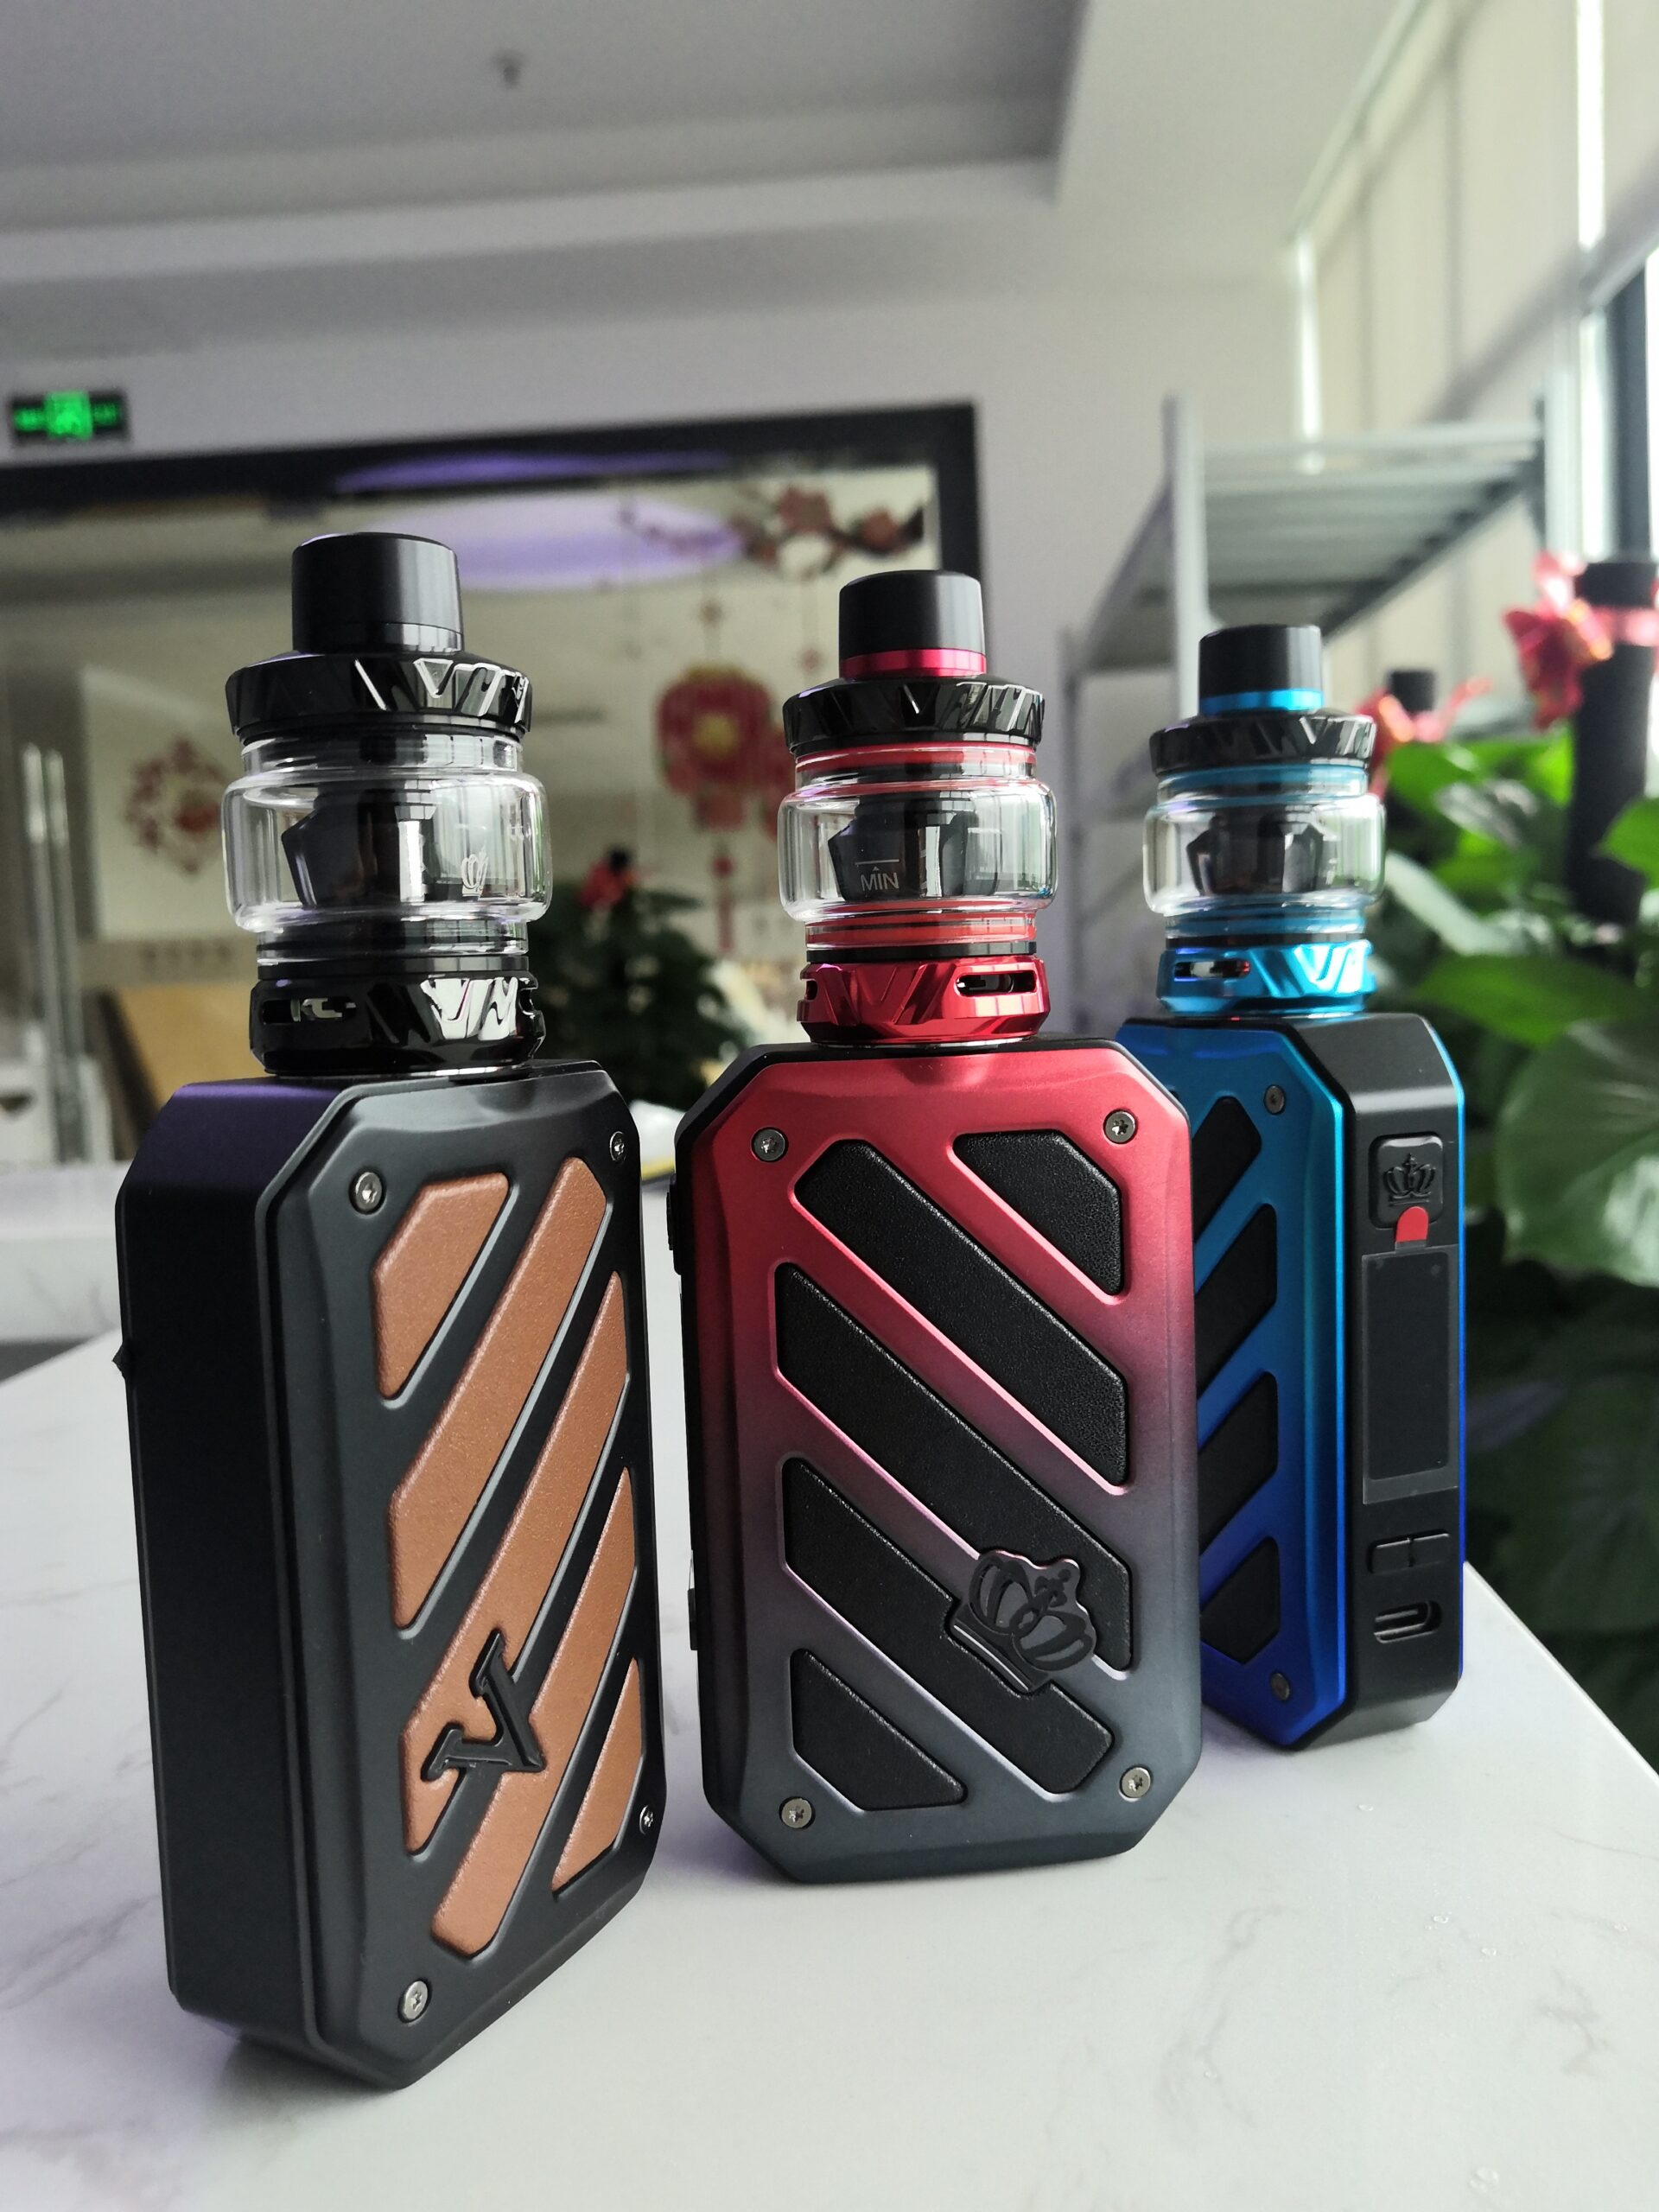
The complete kit of the Whirl II Tank device released by Uwell now! The Whirl II kit consists of CONICK Mod and Whirl II Tank.
CONICK Mod Features
1. Compatible with 18650/20700/21700 batteries, maximum power of 100W.
2. 0.008s response time, grea acceleration.
3. LED with mul-color indicates working status, more inuitive.
4. 2A fast charging, effectively save charging time.
5. The PCBA is dust-proof, e-liquid-proof moisture proof, ffectively protect the core unit of the deviceand prolong the lifespan of the mod.
6. 6 safety protections: over temperature, short circuit, over discharge, over charge, batery reversed,timeout, more reliable to use.
7. The device is small, light, and pocketable, for you to carry it around.
8. Equipped with high-quality metallic materials, simple style, ergonomic design, comfortable to grip.
Whirl II Tank Features
1.UWELL presents the elf-leaning which prevents e-liquid leaking.
2.Top cap uses a quarter tum feature to make adding juice even easier,
3.The fller holes have a silione check valve to aid in llil
4,The pro-FOCS flavor testing technology from UWELL gives you an excellent vape experience.5. Plug-pull coll, easy to replace.
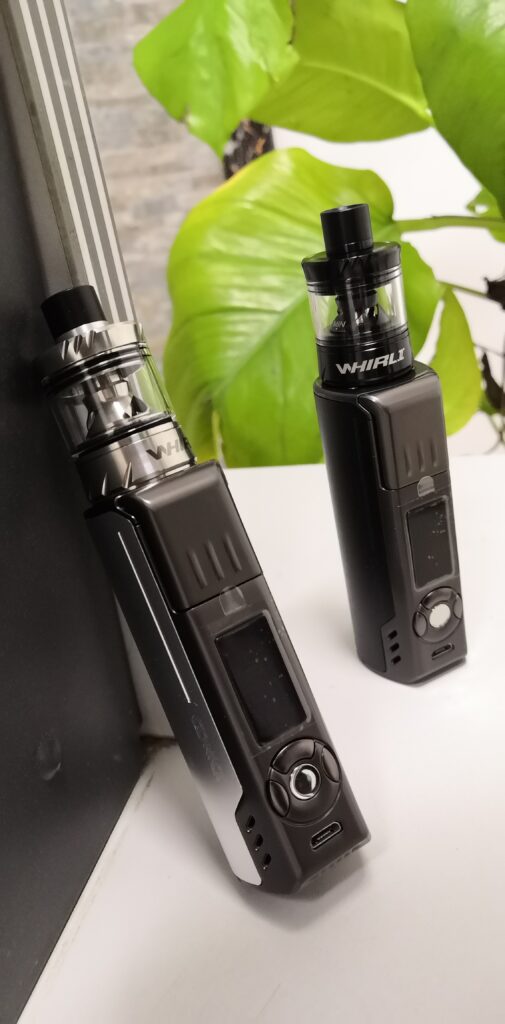
ILLSTRATION
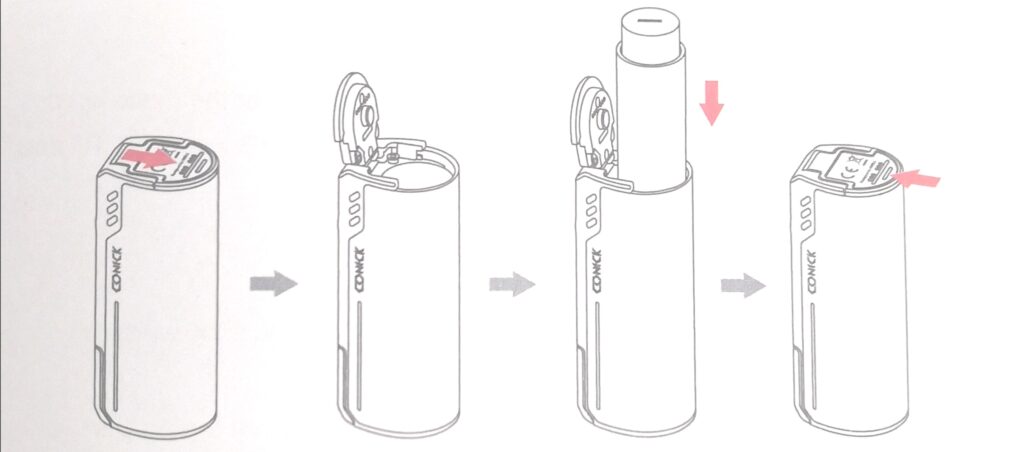
Battery installation
- Turn the mod upside down. Hold the body and push the battery cover outwards.
- Remove the 18650 battery sleeve.
- Put an 18650 battery in the battery sleeve, and insert the battery according to the positive andnegative signs.
- Push the battery cover to the buckle and ensure it is securely intalld.
Atomizer installation
- After flli the tank, please screw the alomizer on the mod dlkokse. When using an new col1.
- Afer the mod is on, press the fre bulton to vape.
Instructions for CONICK Mod
1. Power on/off: Click the fire button 5 times within2 seconds to turn on/off the mod.
2. Vaping: While the device is on, hold the fre button to vape; i will atomalially stop fring whenthe button is held for longer than 10s.
3. How to lock your device:
a.When the device is on, hold the fire button and * button for 1 second to lockunlockthe device.
b.When the device is on, hold the fire button and + button for 1 second to lock/unlockthe *+f-” buttons.
4. Select the mode: When the device is on, press the fre buton 3 limes within 2 seconds to enter the mode opions, the modewill blink. Then press “+” butto or · button to select work mode from “Power, “TCR” and Bpass,press the fire button to confirm.
5. Power mode
After pressing the fire button to enter the power mode, press the “+/-” to adjust the wattageor hold the button to scroll through them faster.
Attention: The output voltage will decrease gradually during vaping. When the outputwattage can not reach the set wattage, the device will lower the wattage autmaicalll,and then the screen will display the output volage after automaticalyl adjusting thewattage.
6. TCR
TCR mode only fits with DIY coils.
a. After pressing the fire button to enter the TCR mode, the TCR character flashes, pressthe “+” and “-” keys to adjust. TCR range: 0.00010 ~ 0.01000. Recommended TCR ofcommon heating wire material: SS316: 0.00088 t 0.00020; Ni 200: 0.00690 t 0.00020.
b. After adjusting the TCR, press the fire button to confirm, the power character flashes. The power adjustment range is from 10 to 100W, press the “+/-” to adjust the wattage, press the fire button to confirm.
7. Bypass mode
In the bypass mode, the atomizer will use the battery’s voltage directly. Recommended resistance range: 0.1Q-0.5 Q.
8. LED setting
Press the “+” and -” buttons simultaneously for 1 second to enter the LED entering interface. Press the “+” or”-” button to select the LED color or turn off the LED light. You can choose blue Green- White Purple Rainbow -OFF.
9. Set the reference resistance under temperature control mode
In the TCR mode, when the atomizer with the temperature control material is installed, it will correct the reference resistance. Resistance detection is required after switching to the TCR mode. It should be used at room temperature or vaping experience under TC mode would not be as expected Afer switching atomizer, press the fire button and the screen will ask fit’s new coil. It is, please press the +* button, if not, please press “-” button.
10. Resistance detection
TCR mode only fits with DIY cols.
Resistance deteclion shall be done automatial The operation mode would be savedas previous stting Resistance range is 01-30 (VW/Bypass) and 0.1-10 (TCR).
a. If there is no atomizer or the resistance of the coil is too high, press the fire butlon thescreen will indicate an open circuit.
b. If the resistance of the coil is too low, press the fire button the screen will indicate ashort circuit.
11. Low power indication
When the voltage is too low, press the fire button the screen will indicate a low battery.
12. Temperature protection
The output will be cut off if the PCBA temperature increases to 80″C during vaping, the screenwill display Too Hotl Please Wait”; 10 seconds later you are free to vape again.
13. Reverse battery protection
The device is equipped with reversed battey potection. the batries are reversed,the device will not turn on.
14. Charging
Charge batery with Micro USB of 5VI2A, the screen wil indicate charging; when thebattery is fully charged, the screen will diplay full bars.
15. Factory reset
Hold the menu button,·+” and · button for 1 second, release the buttons the screen will exit to the power mode.
Instruction for WHIRL II tank
1. How to Top Fill
a. Tum the airflow ring to the closed position.
b. Press and Twist the top cap 90 anticlockwise to unscrew the top cap.
c. Add juice.
d. Twist the top cap back on with a clockwise tum.
Caution:
a. Don’t put juice in the center hole.
b. Do not leave the top cap off for a long time to avoid leaking.
c. Install top cap back and tighten it after rifling to prevent leaking.
d. When filing only use a bottle that has a nozzle that can fit inside the opening of the tank which is3.5 millimeters wide.
e. When using a new coil, please let it sit for 10 minutes after fili to avoid coll buming.

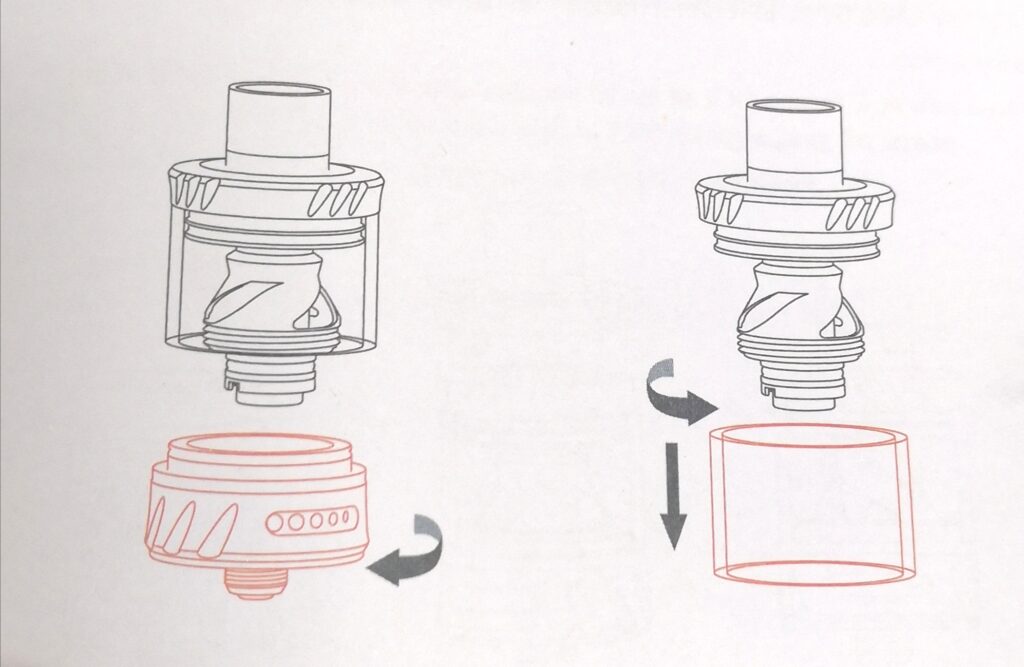
2. Glass Changing & Tank Cleaning
a. Twist off the base in a anticlockwise motion.
b. Hold the top cap with one hand, hold the glass with the other hand, pull and twist off the glass wihaclockwise turn.
c. After cleaning or changing the glass, re-install the glass and base back on.
(Caution: Make sure that the glass is flush with the mounting surface of the upper glass holder. The o-rings on the side is not protruding out of the metal groove to avoid leakage.)
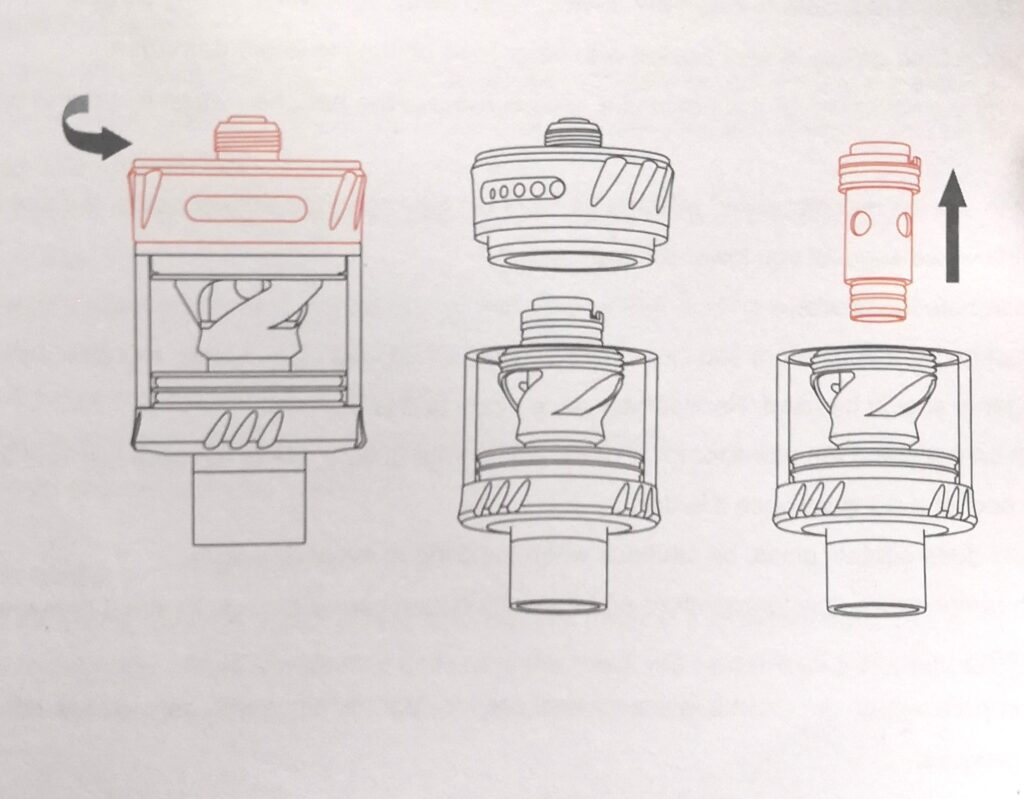
3. How to change the coil
a. Turn the tank upside -down. Hold the glass with one hand, hold the base with another hand, twist offthe base in a anticlockwise motion.
b. Pull out the coil.
c. Make sure the O-rings are intact when inalll a new coll head, and then plug in the new coll.
d. Twist the base back on in a clockwise motion, open the airflow.
These are content shared today! Hope this post can help you enjoy a happy vaping time!
Related posts