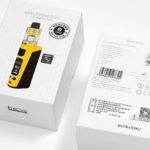
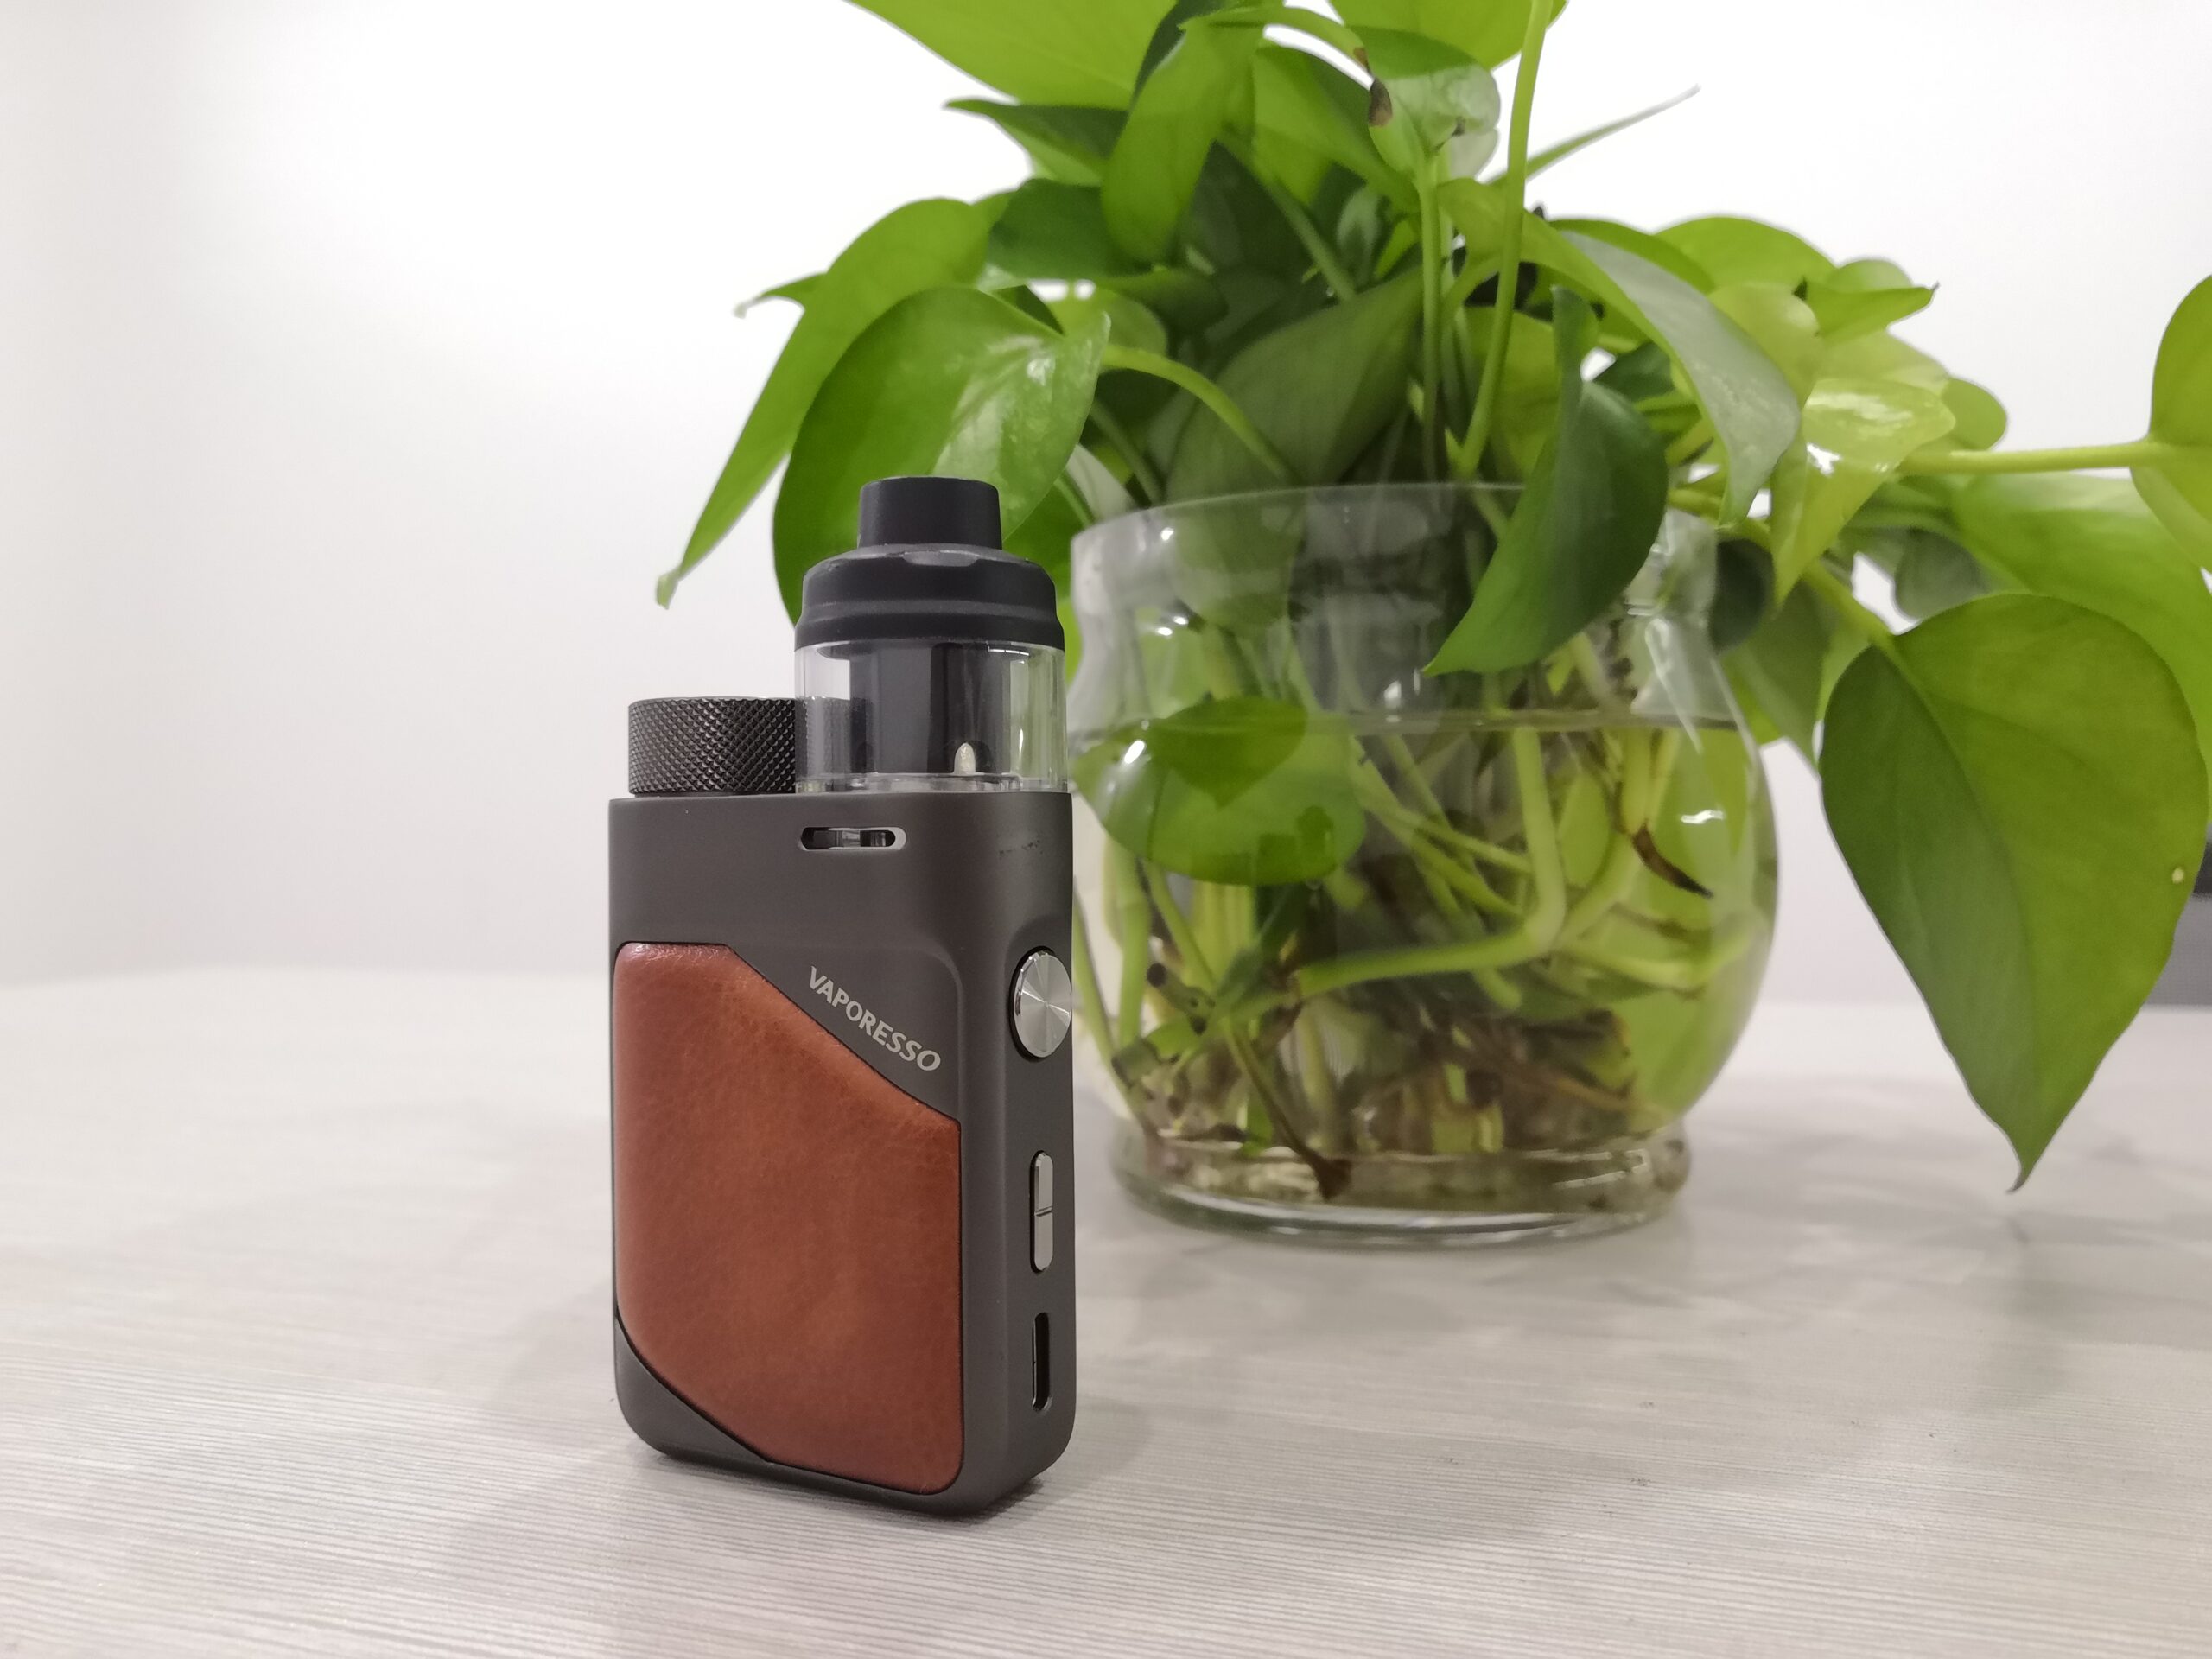
Thank you for choosing the Vaporesso Swag PX80 product, Please read this instruction carefully before use to ensure a perfect experience. If there is any additional requirement about this product, please consult the local agent or contact us through our website: www. sourcemore.com
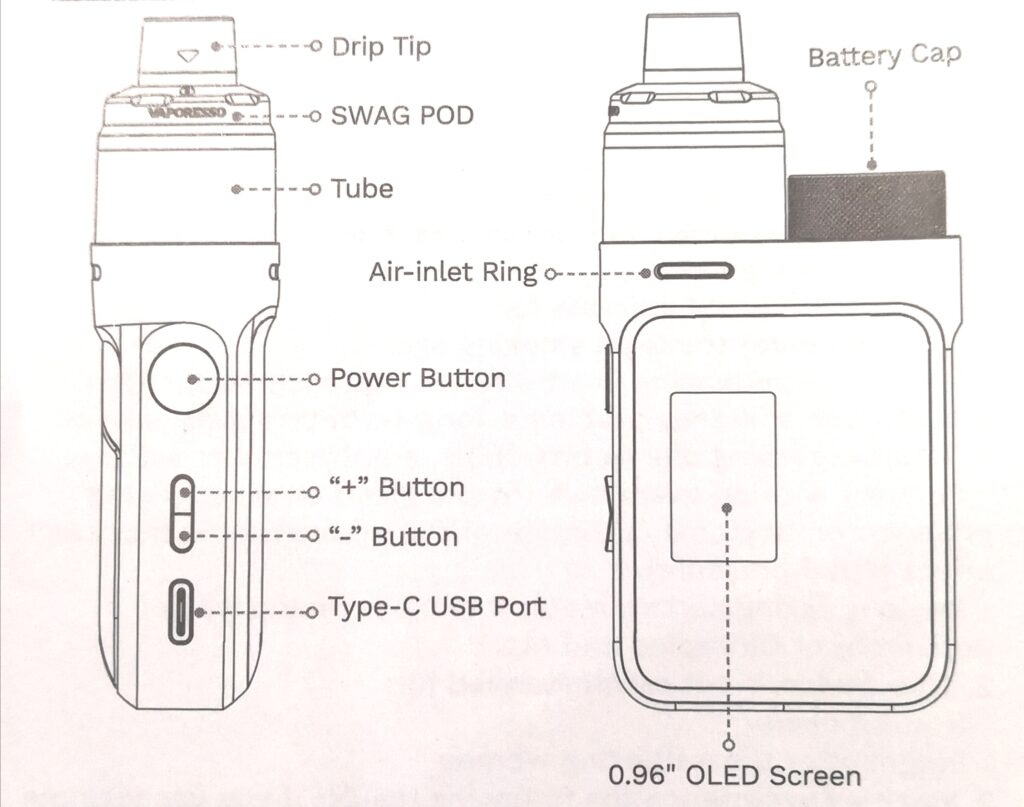
EXPLODED VIEW
SPECIFICATIONS
Dimensions: 99.7 x 24.1 x 47.7mm
POD Capacity: 4ml/2ml(TPD)
Coils & Suggested Wattage: GTX 0.20 MESH Coil (45-60W)
GTX 0.3Q MESH Coil (32-45W)
Battery Capacity: Single 18650 Battery
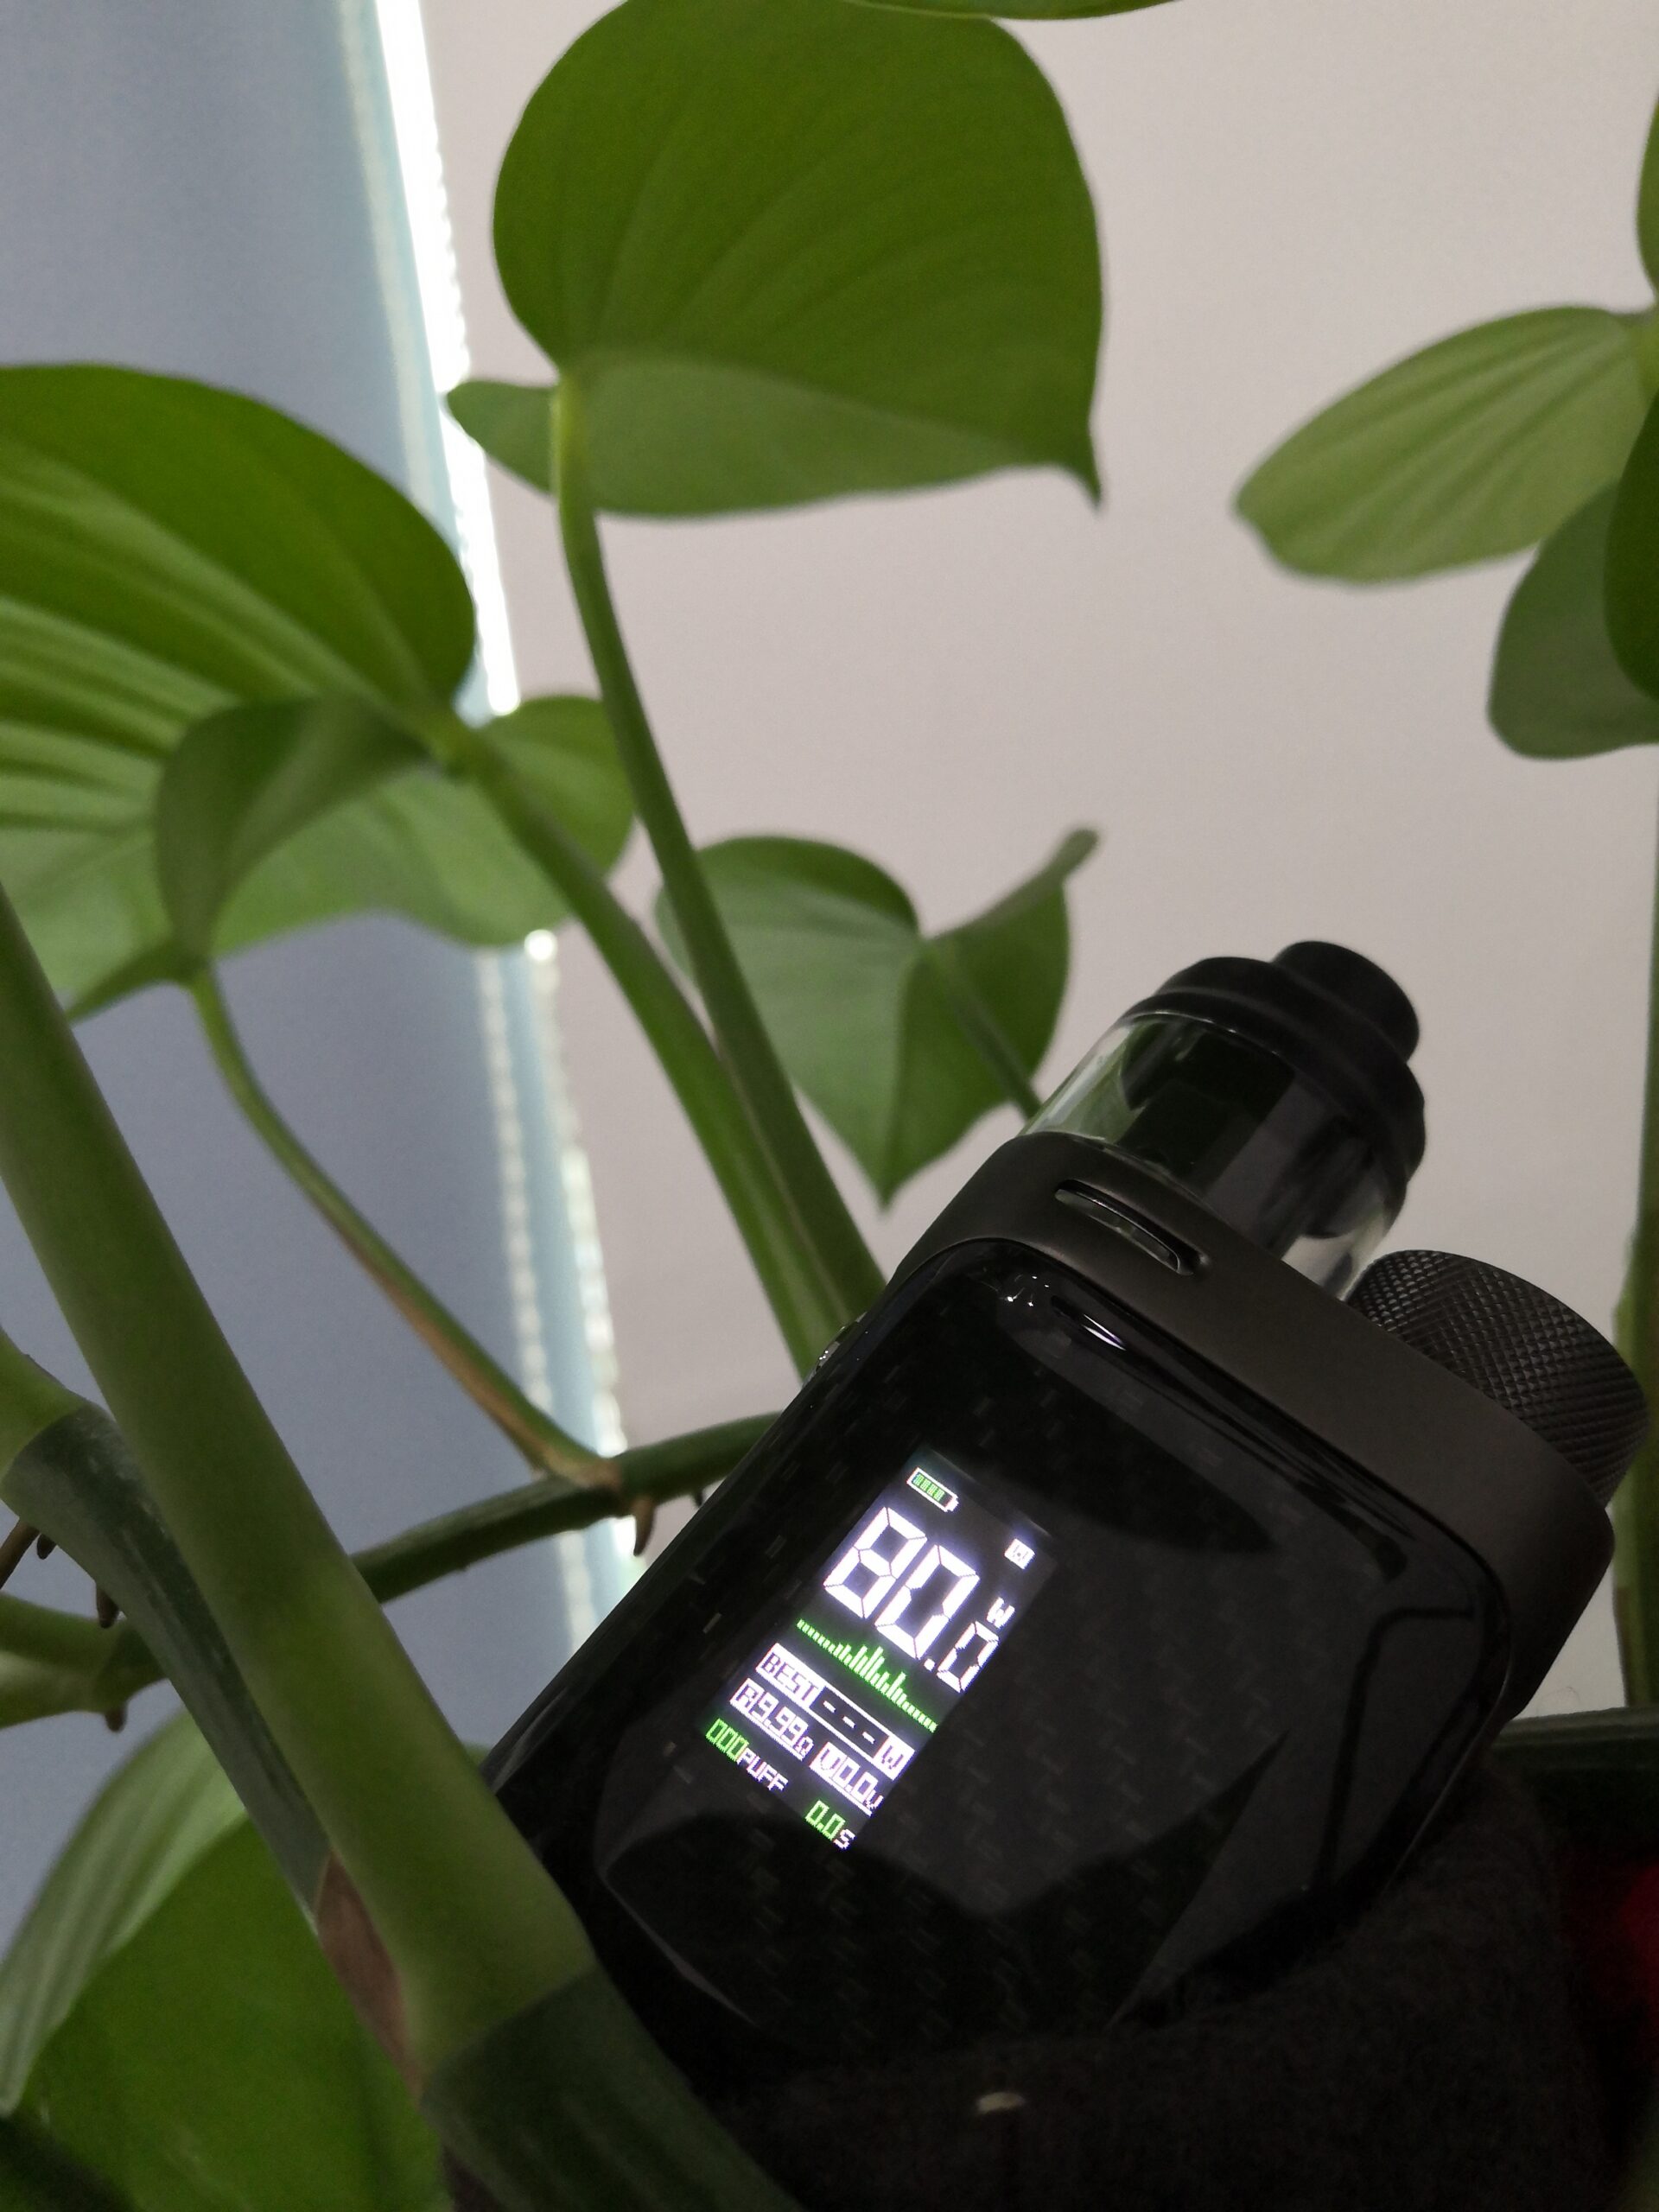
Output Power: 5-80W
Charging Current: DC 5V/2A,Type-C
Battery Display: 0.96″ TFT Scre
USER INSTRUCTION
1. Install the Coil
Take out the col from the packago of the SWAG PXBO, and insert the collfirmly into the POD.
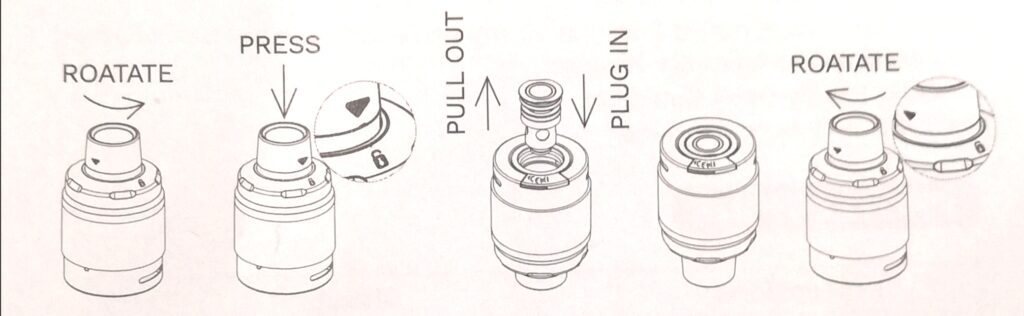
2. Replace the Coil
1) Please confirm the POD is empty before coil replacing.
2) Rotate the drip tip s0 that the triangle mark on it is aligned with the lock mark on the top cap;
3) Press down the drip tip to push out the used coil;
4) Pull out the used coil and install a new one, ensuring the bottom both of the coil and pod are aligned, The drip tip will be back in place when replacing finished.
3. Fill the E-liquid
- Uncover the silicone plug at the bottom of the POD;
- Gently insert the e-liquid filling bottle tip into the filling slot and press down to squeeze the e-liquid through the slot.
- Please wait for 5 minutes for the e-liquid to soak into the coiL.

4. Power on the Device
Click the power button 5 times in 2 seconds to power on or power offthe device.
5. Power Adjustment
SWAG PX80 is using the powerful GTX coil platform, and the suggestedpower need to be noticed before start vaping.
| GTX MESH Coils | GTX 0.2Q MESH | GTX 0.3Q MESH |
| Suggested Power | 45- 60W | 32-45W |
6. Start Vaping
Press the power button to enjoy extraordinary vaping experience.
7. Charge the Battery
After connecting the Type-C cable to the battery, the battery indicator and remaining charging time will be shown on the screen.
8. Settings
SYSTEM LOCK/UNLOCK: Press power button 3 times.
Press the “+” and “-” buttons together to enter the setting interface.
SMART VW: The power of the device will be adjusted automatically according to the coils;
VW: Wattage adjustment mode;
VV: Voltage adjustment mode;
PUFF: The 7 days vaping information will be recorded in the puff counter; DEFAULT: Restore factory settings;
THEME: Theme Color Selection
EXIT: Back to the main interface.
PROTECTIONS
| Protections | Situation |
| USB Input Protection | The USB input voltage is too high. |
| Low Battery Protection | The battery drops too low. |
| No Load Protection | The device detects no cartridge on the battery. |
| Short-circuit Protection | The device detects a short-circuit. |
| Overtime Protection | Constantly vape for more than 10seconds. |
| Overheat Protection | The device detects an overheated РСВА. |
Thank you for reading. If you have any questions, feel free to tell us in the comment section below!
Related posts