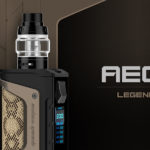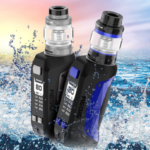
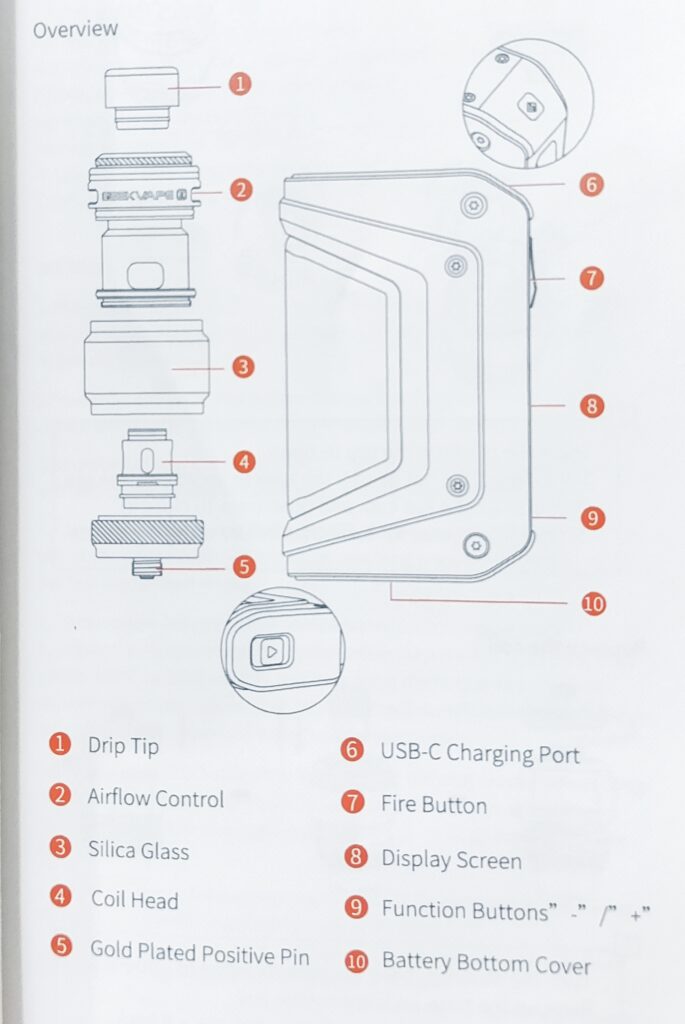
Product parameters
Output power: 5W~200W
Maximum output current: 45A
Maximum output voltage: 12V
Power display: Battery icon on the screen
Charging port: Type-C Port
Resistance of atomizer: 0.1 ohm .3 ohm
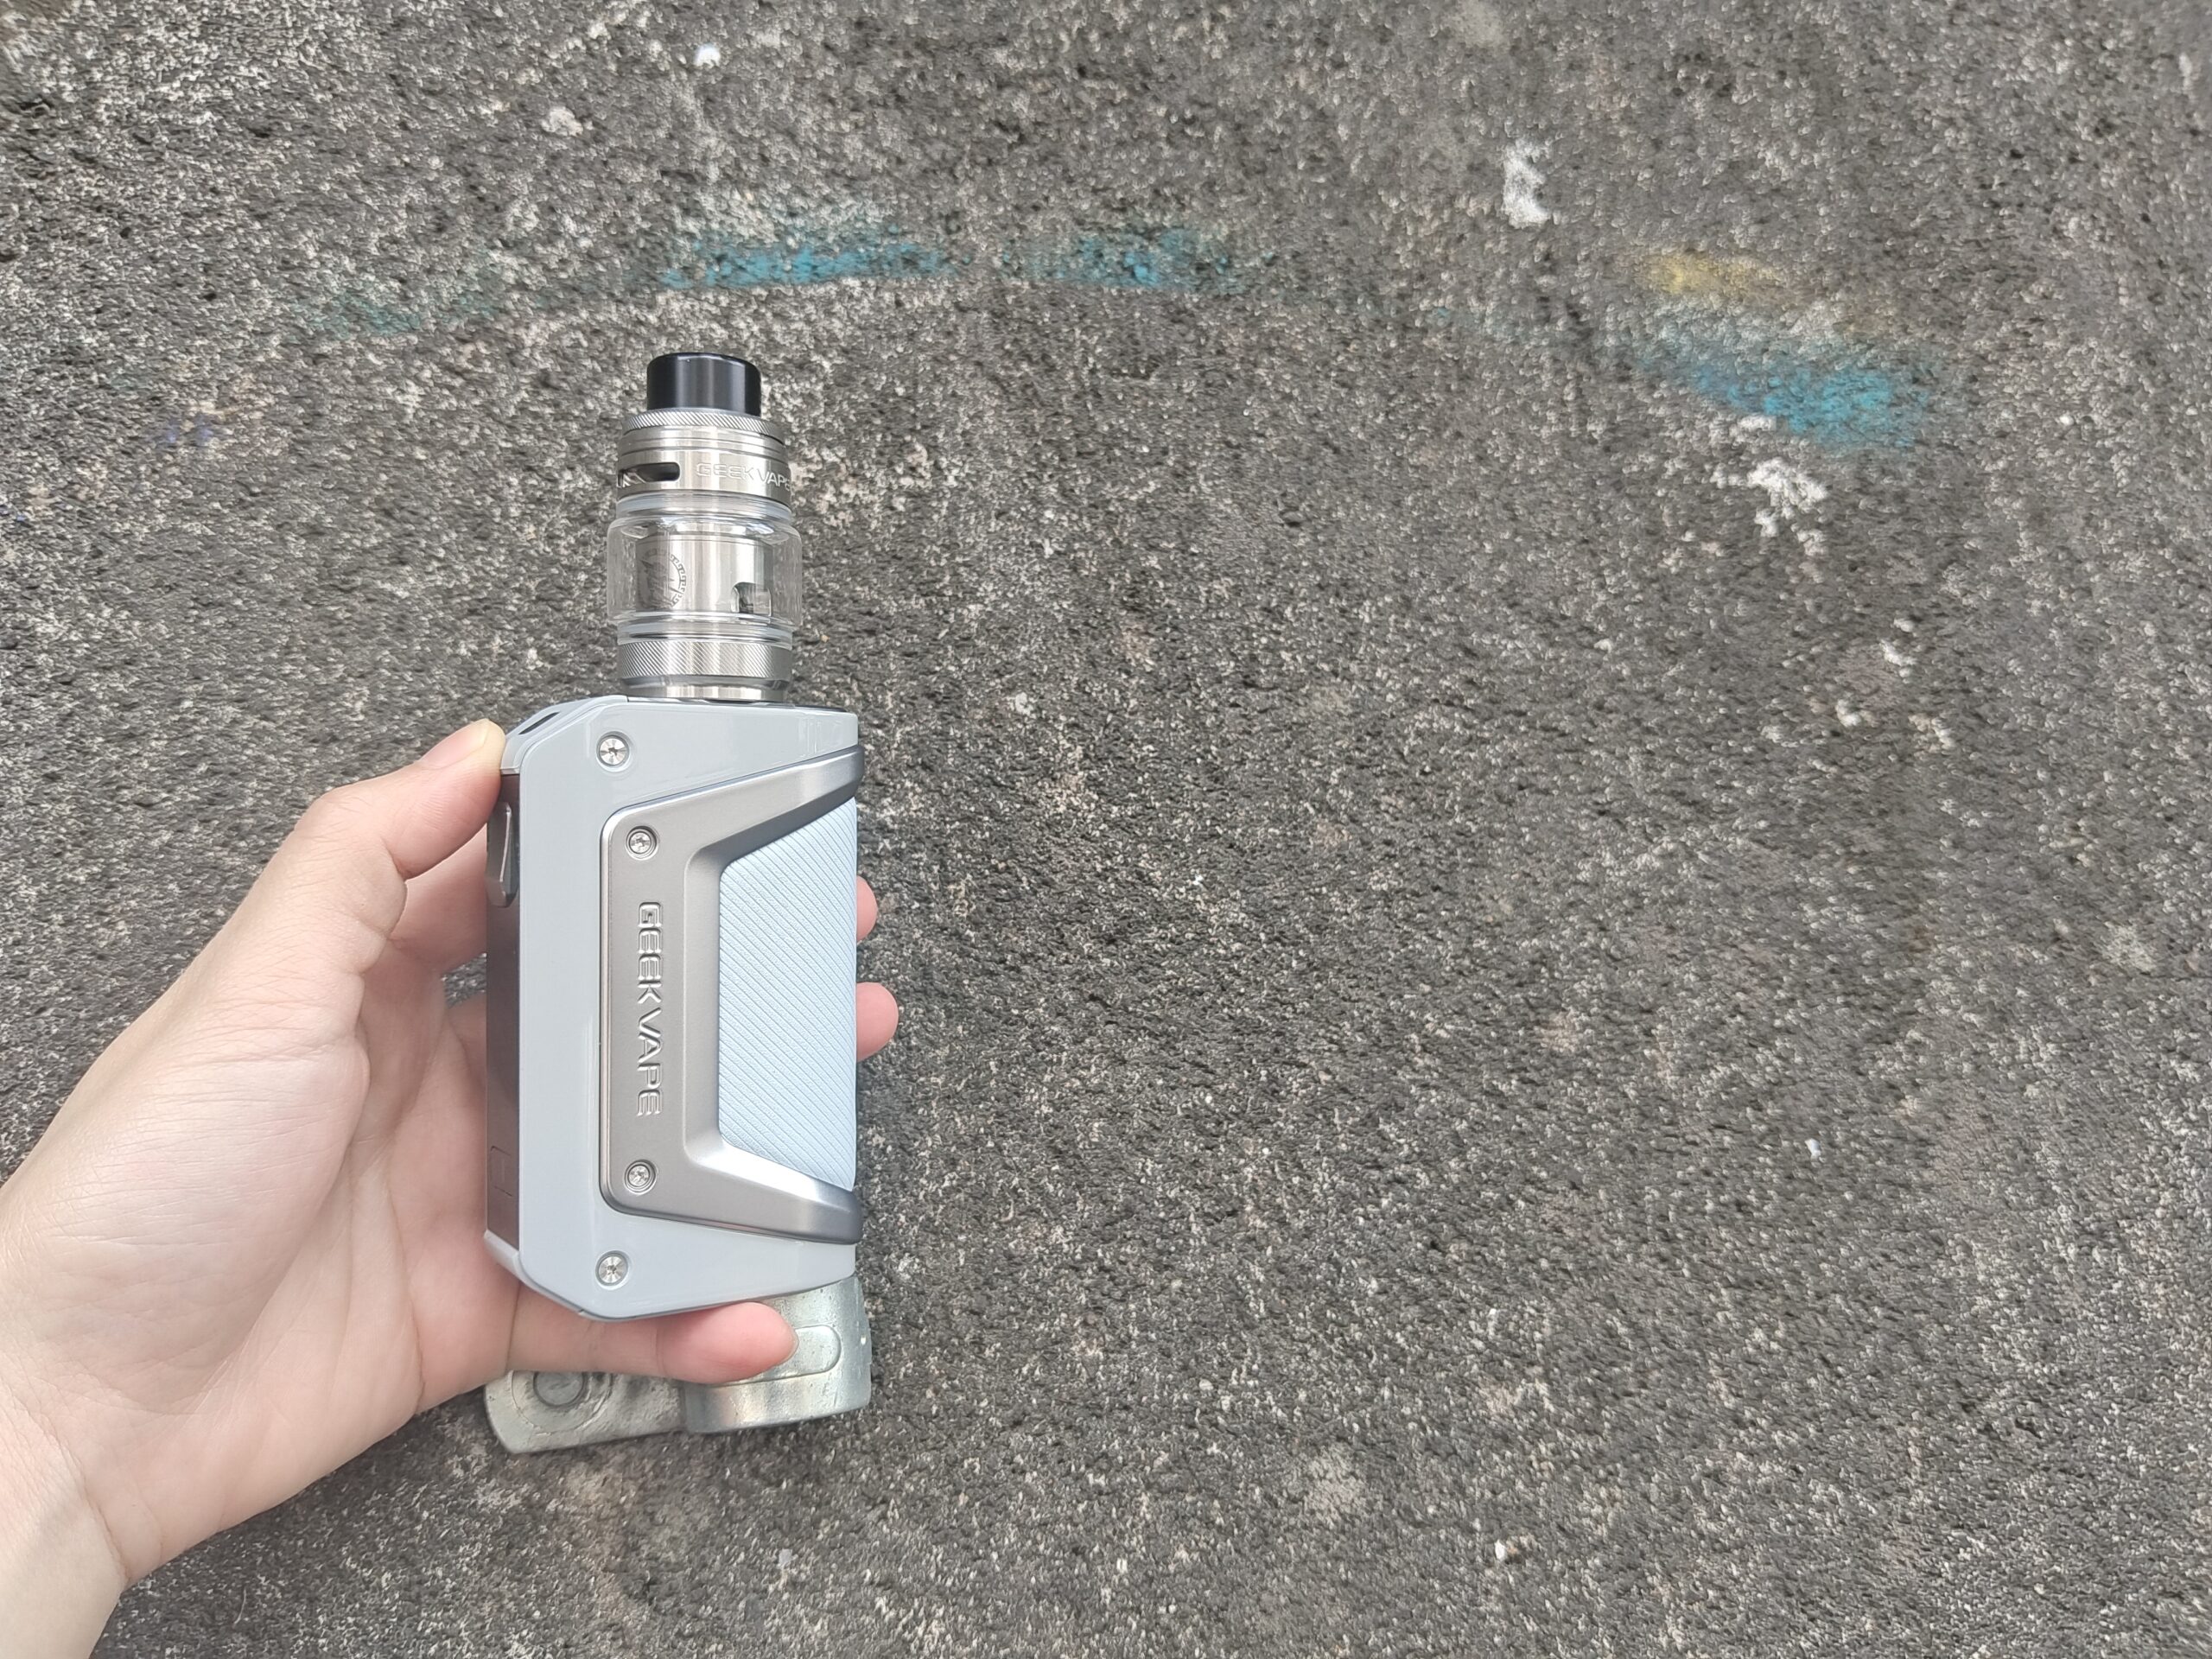
Battery specification; 7.4V, external double battery 18650Display screen: 0.96 inch, TFT color screen
Operating temperature: 0″C~45″ C
Storage temperature: -20″C~60″ C
Relative humidity; 45%RH~75%RH
Cooling mode: Natural cooling
INSTRUCTIONS
1. After powering on the device, the screen will light up and be operable after displaying the power on animation. The default mode is SMARTmode after power on,
2. Power on: Press the Fire button 5 times in a row within 2s, and the device will display the power on animation and enter the standby mode.
3. Shutdown: Press the Fire button 5 times within 2 seconds, the device will display the shutdown animation and then turn off the screen.,
4. Power Adjustment: In POWER, SMART working mode, click”t”or” to adjust the power, with 5200W cycle, and long press the button to enter the fast adjustment mode.
5. Temperature Adjustment: In temperature control mode, click”+” or “to adjust the temperature, the temperature step is 5″F/1” C, cycling from100C~315″C to 200″F~600″F, and long press the button to enter fast adjustment mode. Celsius and Fahrenheit will switch automatically when adjusting to the upper and lower temperature limits.
6. SMART mode: the battery box matches the optimal output power according to the atomizer resistance value, and you can adjust the output power within the optimal power range through the adjustment key;
(1) When the coil resistance value iso. 150, the recommended poweris85w, and the power adjustment range is 80-90w;
(2) When the coil resistance value is 0.20 the recommended power1575w, and the power adjustment range is 70 80w;
(3) When the coil reistance value is025Q, the recommended power1552w, and the power adjustment range is 45-57w;
(4) Whenthe coil restan value is04Q0, the recommended power1s55w,and the power adjustment range is 50-60w.
7. ECO Mode: The device enters the power saving mode when entering the ECO mode in the settings. In this mode, you can only fire and can adjust the power.
8. Boosting Mode: In Boosting mode, the device outputs the strongest power state corresponding to this coil.
9. Memory Mode: On this page, you can save or delete all the power theme and other information of the existing device, and record up to 5 kinds of status. When the next atomizer with the same resistance value is accessed, it is possible to choose the highlighting of the enable mode, not to choose the gray of the disable mode.
10. Entering the menu: Press the Fire button 3 times within 2s to enter the setting status.
11. Switch the working mode; Press the Fire button3 times in a row within 2s to enter the setting status; The cursor stays at the upper left working mode, press “+ or”_ to select mode; Selectable working modes include POWER, TCR, ECO, SMART, BoostingMemory, and so on.
12. Smoking puffs are cleared:
Press the Fire button 3 times within 2s to enter the setting status;
Press the Fire button to switch the cursor and stay at the Puff display;
Press “+” or”_” to clear the current value;
Press”+’ ‘or”-” again to restore the current value,
13. Change the TCR parameters:
After entering TCR mode through the menu bar, move the cursor through the”-” and”- keys to the position where the parameters need to be adjusted, press dhe fire button to enter the parameter adjustment mode, and you can adjust the parameter through the “+*- buttons; short pressing step adjustment, long-press fast adjustment, and short press the fire button to exit the parameter adjustment after the parameter is adjusted.
14. Smart lock/unlock by holding the whole device in your hand, and automatically lock when you release it
15. Butonlock After setting ButtonLodk in the settings, the device locks the”+” and- keys, and only the fire key can fire.
I6. UNLOCK After setting UNLOCK in the settings, the device does not have the key lock function.
17. Tipsand proteciont
When atomizer resistanceis< 0.08ohm, the screen displays a short-circuit prompt for seconds When battery voltage before ouputis<.2v or after duingoutput<2.8v, the t9ceice stops output ard the screen displays low voltage promptfor seconds. When the mainboard temperature before output is> 65 c or during output> 85 c, the screen displays an overheating prompt for 2 seconds.
When no atomizer is connected or the atomizer resistance is >= 22ohm, the screen displays a no atomizer prompt for 2 seconds.
When a single puff duration exceeds 10t1s, the device stops output, and the screen displays a timeout prompt for 2 seconds.
18. Color selection:
In the menu interface, select the COLOR entry port of the option to enter the COLOR operation interface.
This interface has 5 kinds of color selection and EXIT, through the “+”_”key for up and down color selection, and confirm with the fire button. After confirmation, enter the default interface of the color interface.
19. Brightness control:
In the menu screen, select the BRIGHTNESS entry port to enter the BRIGHTNESS display screen.
This interface adjusts the brightness by “+” and “-” keys, and is confirmed by fire key. After confirming, enter the default interface of selecting brightness.
20. Product version information:
(1) In the menu interface, select About to enter the About interface.
(2) After entering this interface, INFO will display product information.
20. Restore factory settings
(1) After selecting RESET, enter the restore factory settings.
(2) The sub-interface provides only the 2 options: CONFIRM and BACK.
(3) Select CONFIRM to indicate that the operation is confirmed and the device performs settings reset and reboots automatically
(4) After entering this interface, INFO will display product information.