INSTRUCTIONS
1. Power-on: Display power-on animation after installing battery, then the display goes off.
2. Turn on: Press the Fire button 5 times in quick succession within 2sto turn on the device. (Enter the standby screen after the boot animation.)
3. Turn off: Press the Fire button 5 times in quick succession within 25to turn off the device. (The screen turns off while the shutdown
animation is displayed.)
4. Power Adjustment: In the Power Adjustment mode, press the”+” or “-” button to adjust the power level, the increment is0.5W, toggle between 5 100W, and press and hold the button to enter the quick adjustment mode.
5. Temperature Control Mode:
1) In the SS and TCR modes, press the “+” or “-” button to adjust the temperature. The increment is 5″F/l’C, toggle between 100″C~315″C/200″F~600″F, and long press and hold the button to enter the quick adjustment mode.
2) When the temperature adjusts to the maximum/minimum, increasing/decreasing the temperature again will switch between Fahrenheit/Celsius and begin at the minimum/maximum temperature.
6. Entering Setting Mode: Press the Fire button 3 times in quick succession to enter the setting mode.
7. Exiting Setting Mode: Long press the Fire button for 0.8s to exit the setting mode (Device will automatically exit the setting made after5s of inactivity in the setting mode).
8. Switch Operation Mode:
1) Press the Fire button 3 times in quick access to enter the setting mode.
2) When the item is highlighted, press the “+” or “-” button to adjust the corresponding setting item.
3)Optional work modes include POWER, Ss, TCR, VPC, BYPASS,
9. Temperature Setting:
1) Press the Fire button to toggle the cursor and select the WAT.
2) Press the “+” or “-” button to adjust the WAT parameters, long-press the button to enter the quick adjustment mode.
10. Puff Reset and Recover:
1) Press the Fire button 3 times in quick uccession to enter the setting mode.
2) Press the Fire button to toggle the cursor and select the PUFF.
3) Press the”+” or -” button to clear the current value.
4) Press the “+” or “-” button again to recover the current value.
11. Change VPC Parameters:
1) Press the Fire button 3 times in quick succession to enter the setting mode.
2) Press the Fire button to toggle the cursor and select the TCR.
3) Press the “+” or “- button to adjust the TCR parameters, long press the button to enter the quick adjustment mode.
12. Change VPC Parameters:
1) Press the Fire button to toggle the cursor tool.
2) Press the “+” or “-” button to adjust the Pl power value, long press the button to enter the quick adjustment mode.
3) Continue to press the Fire button to toggle the cursor to the P2.
4) Press the “+” or ” button to adjust the P2 power value, long press the button to enter the quick adjustment mode.
5) Repeat the same operation to adjust the P3, P4, P5 power value.
13. Power Lock and Unlock:
1) Press the down button and the up button at the same time for 2s, the adjustment button will be locked and cannot adjust the parameters.
2) Press the down button and the up button simultaneously for 2s, then all buttons are unlocked.
14. A-Lock:
1) Push down/up the A-Lock just to lock or unlock the screen. When it locked, the screen returned to the main interface.
2) When it is locked all the button is invalid except turn on/off the vape.
3) In the locked state, the screen will show the lock interface for 2s after pressing any button.
15 Prompts:
1) Anti-reverse battery protection. (Reverse battery connection does not damage chip).
2) While the resistance of tank <=0.08ohm, the device prompts “ATOMIZER SHORT ” 3)While the resistance of the tank >=3.5ohm, the device prompts “NO ATOMIZER”
4)Battery voltage < 3.2v before use or < 2.8v during use, the device will stop output automatically and prompt “BATTERY LOW”. 5)When the temperature of circuit board >65’C before use or »8S’Cduring use, the device prompts “OVER-HEAT”
6)No atomizer: press the fire button, the device prompts “NO ATOMIZER”
Output is over 10s timeout; the device stops output and prompts” 10S CUT-OFF”
16. Resistance Lock: When the cursor is a toggle to the resistance value of coil, press the “.” button to lock the resistance value and press the “+” button to update the resistance value and unlock.
17. Atomizer Detection:
1) In the standby interface, it will detect the atomizer is replaced and update the latest atomizer resistance value.
2) When the new atomizer is inserted, the screen jumps to the interface for selecting the new and old atomizers, prompting the user to select the new and old atomizers.
3) Click the ‘+ key to select the new atomizer, and click the’-‘ key to select the old atomizer.
4) When the original atomizer is removed, the resistance value will be automatically cleared.
18. Bypass Mode: The output voltage is approximately equal to the battery voltage.
19. Version Information Display: Press the fire button 5 times in quick succession to turn off the device, press the” +” and “-” buttons simultaneously for 2 seconds, the screen displays the version information of the current system and latest time of upgrade.
20. Configuration Reset: When the version information is displayed, press the Fire button, “+” button and “-” button simultaneously to restore the system to the factory settings, the screen will show – CONFIG REST “
21. Stealth Mode: Press the Fire button, “+” button and -button simultaneously for 2s, entering Stealth mode. Repeat the same operation to exit the Stealth mode.
22. Switch Display Style: In the setting mode, press the ‘+’ and buttons simultaneously for 1s to switch to the next theme.
23. Screen Brightness Adjustment: In the standby interface, press and hold the fire key and the ‘+’ key for 1 second at the same time to display the brightness adjustment icon and turn the screen brightness step by step. Press and hold the fire key and·- key at the same time to dim the screen brightness.
24. Upgrade: Only the factory can upgrade.
Learn more:
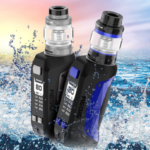
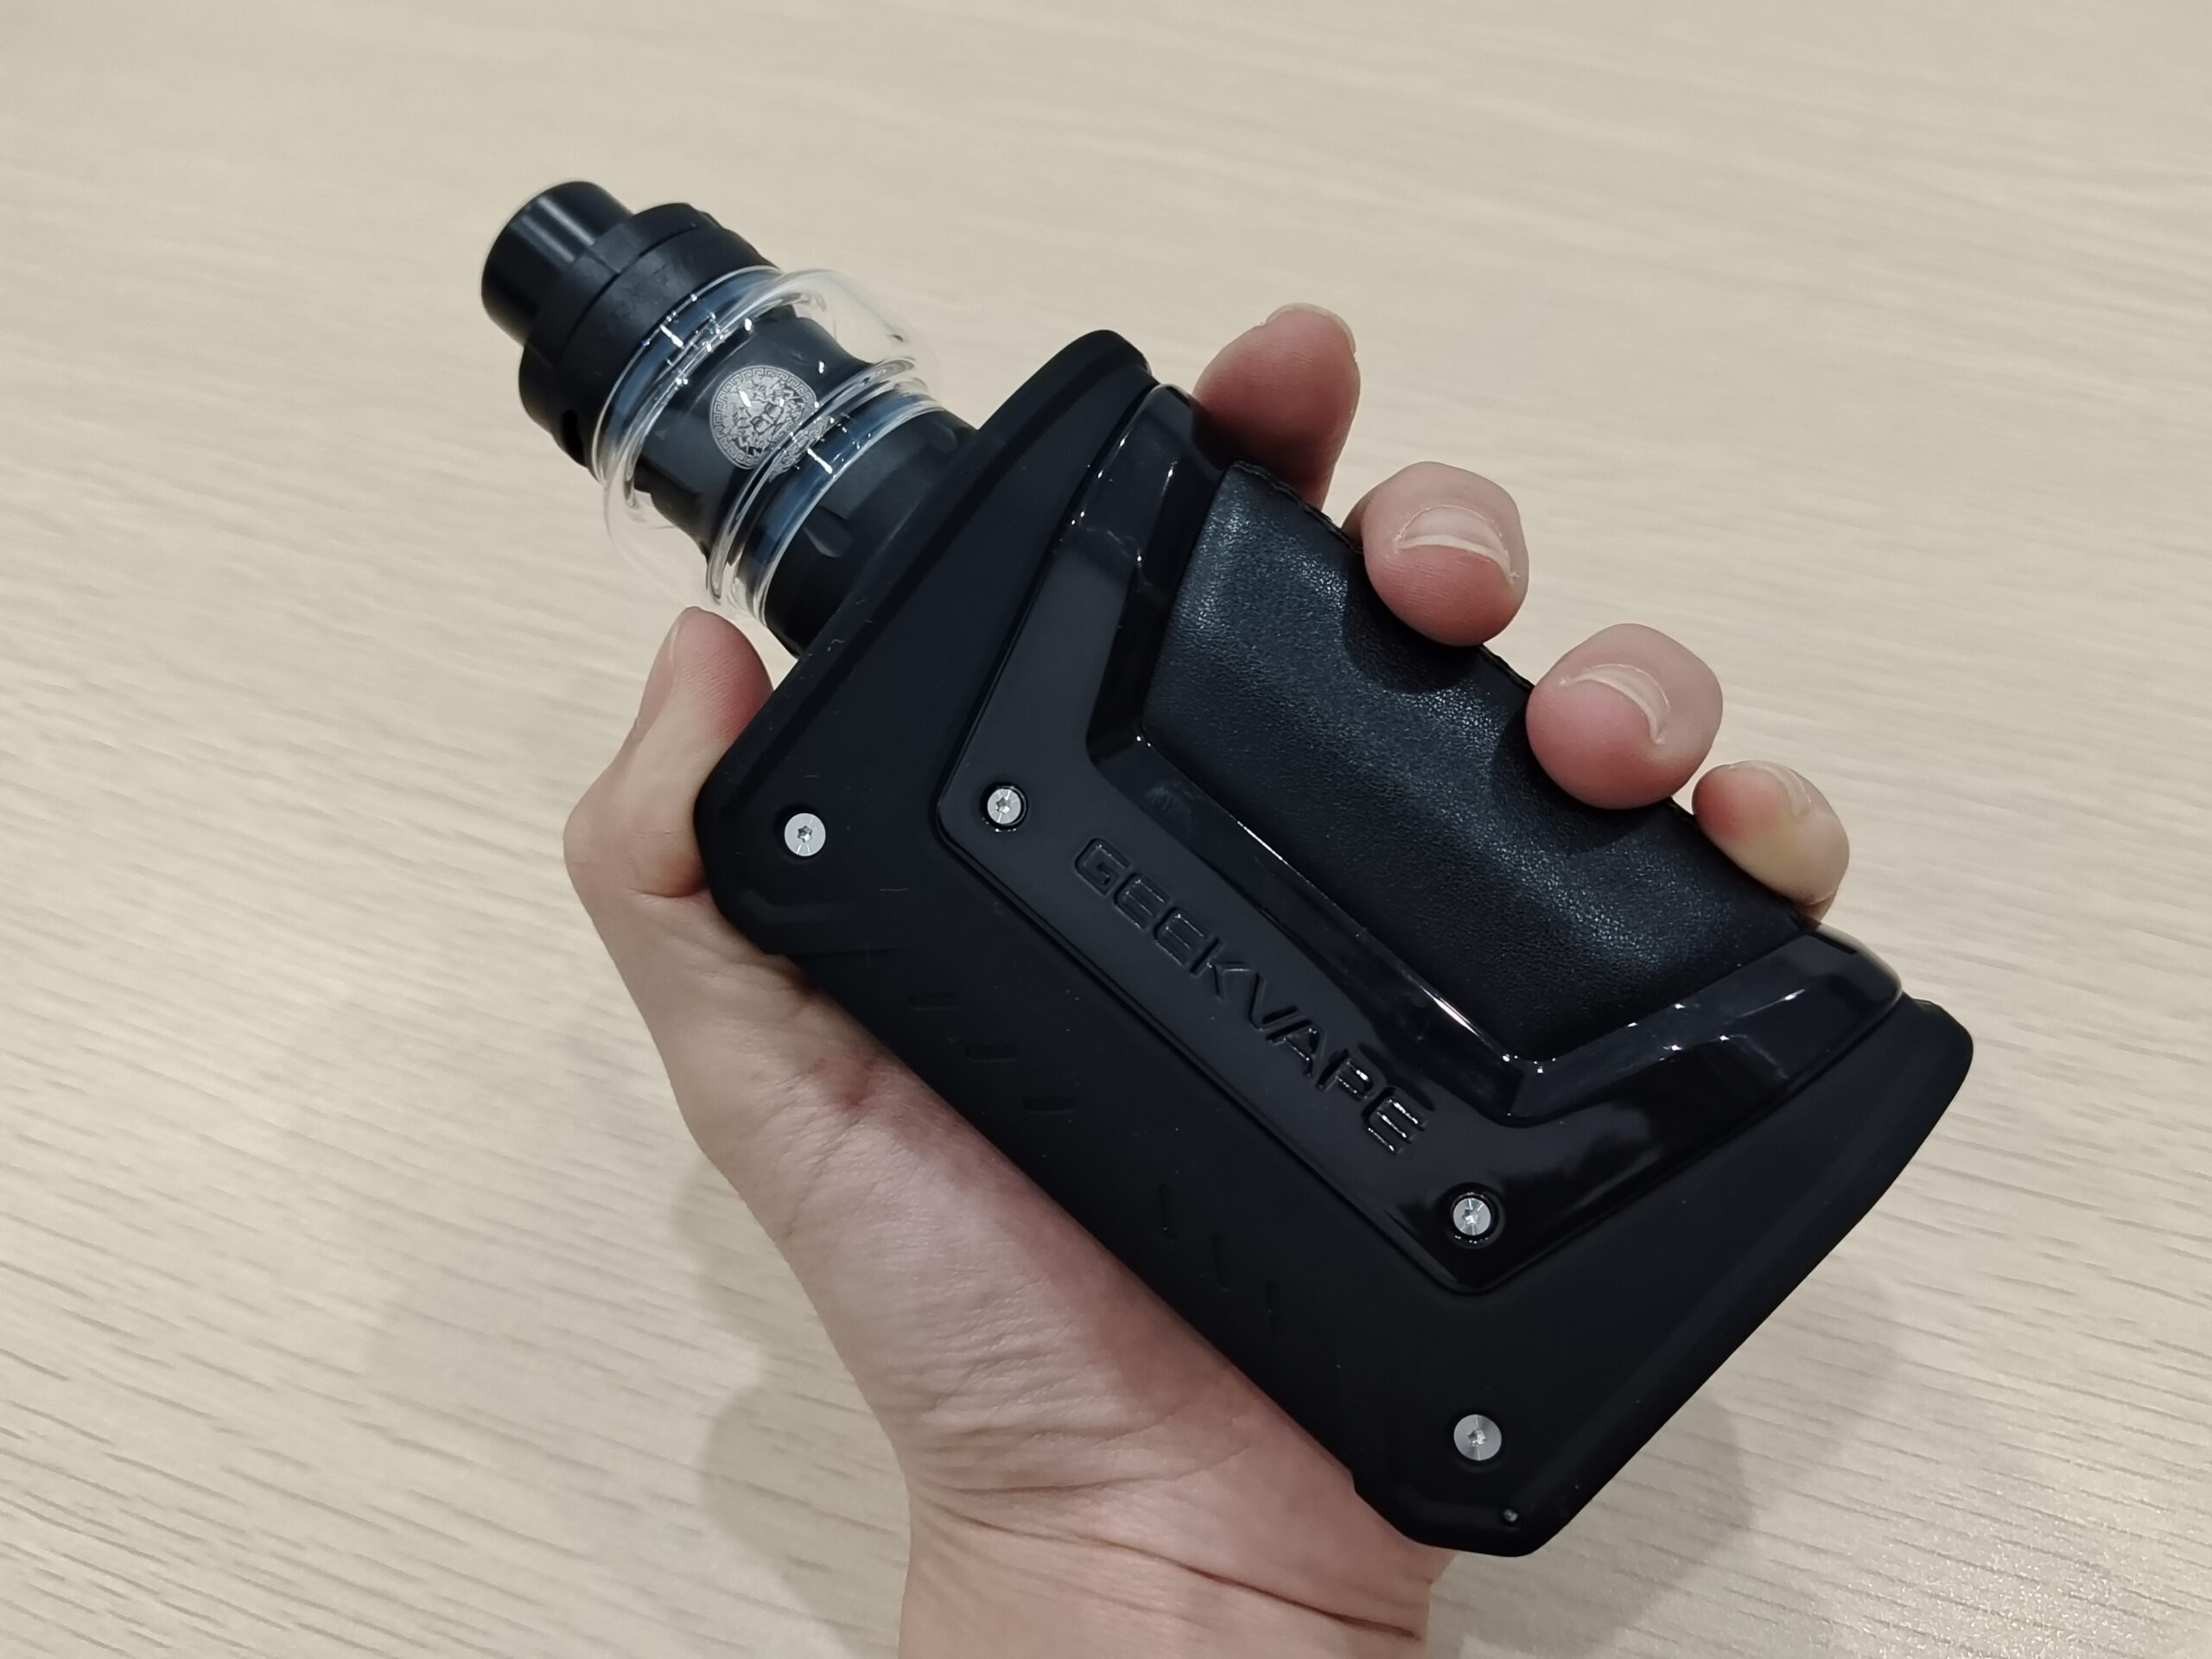
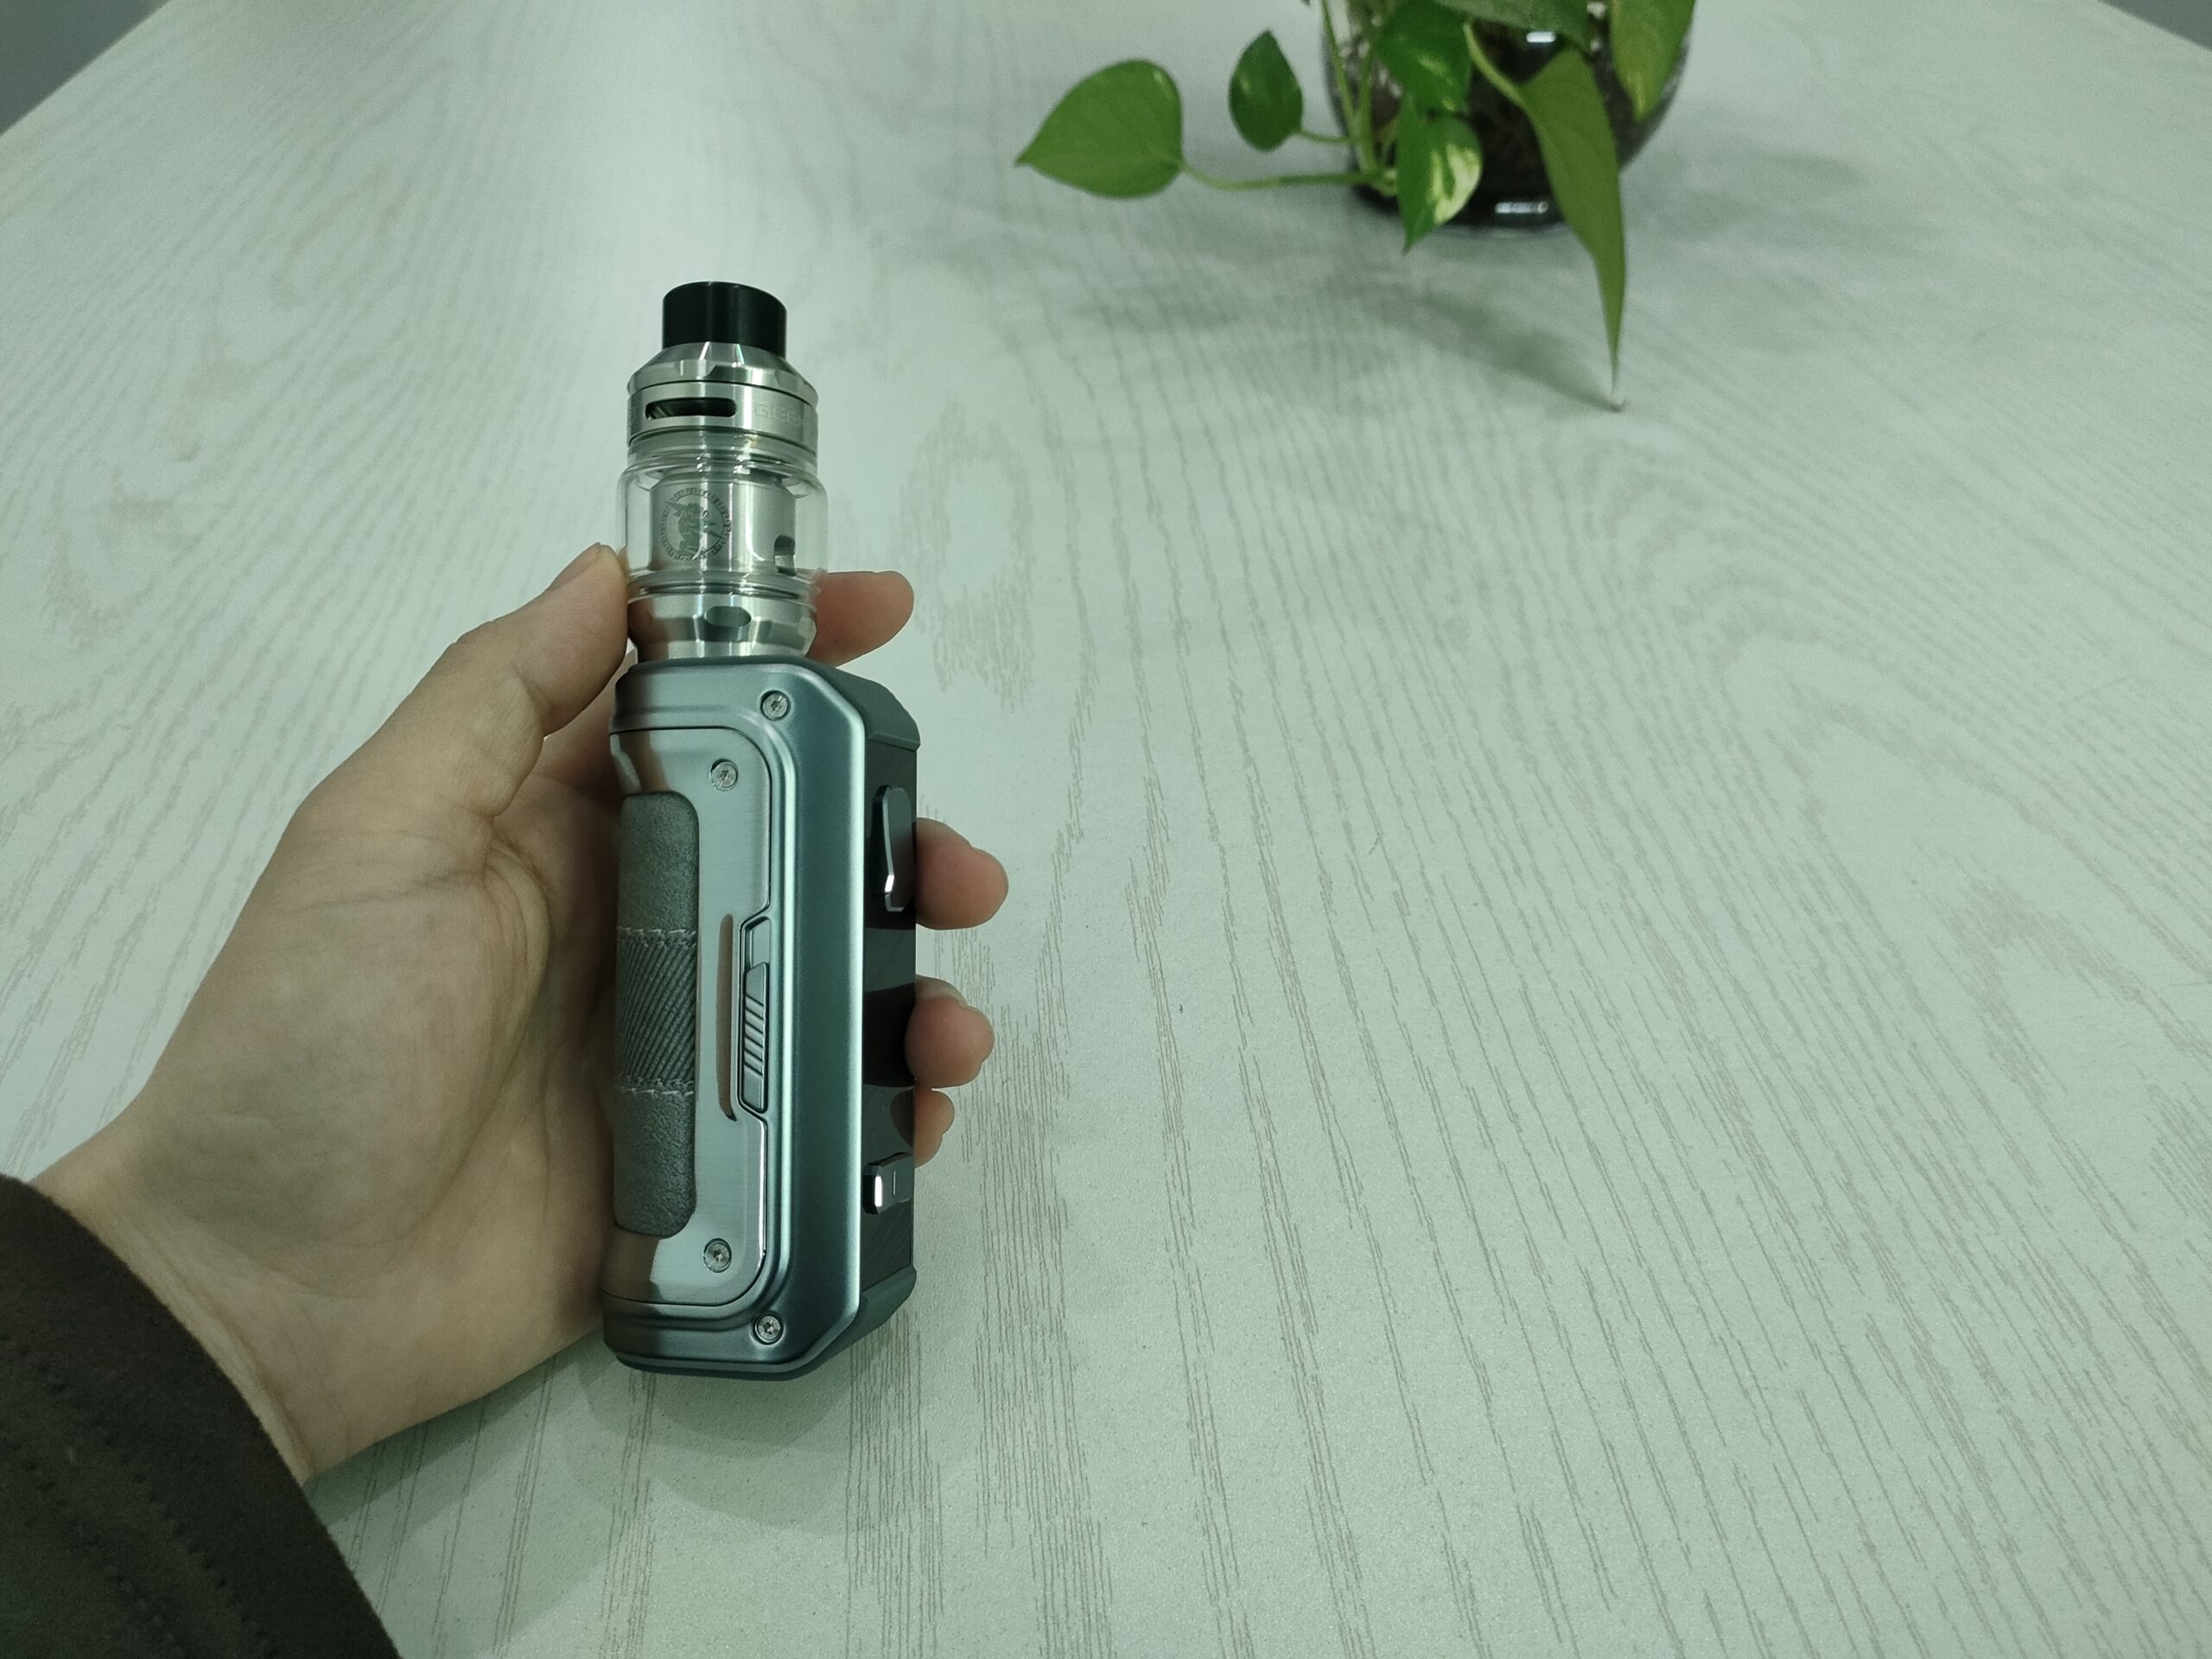
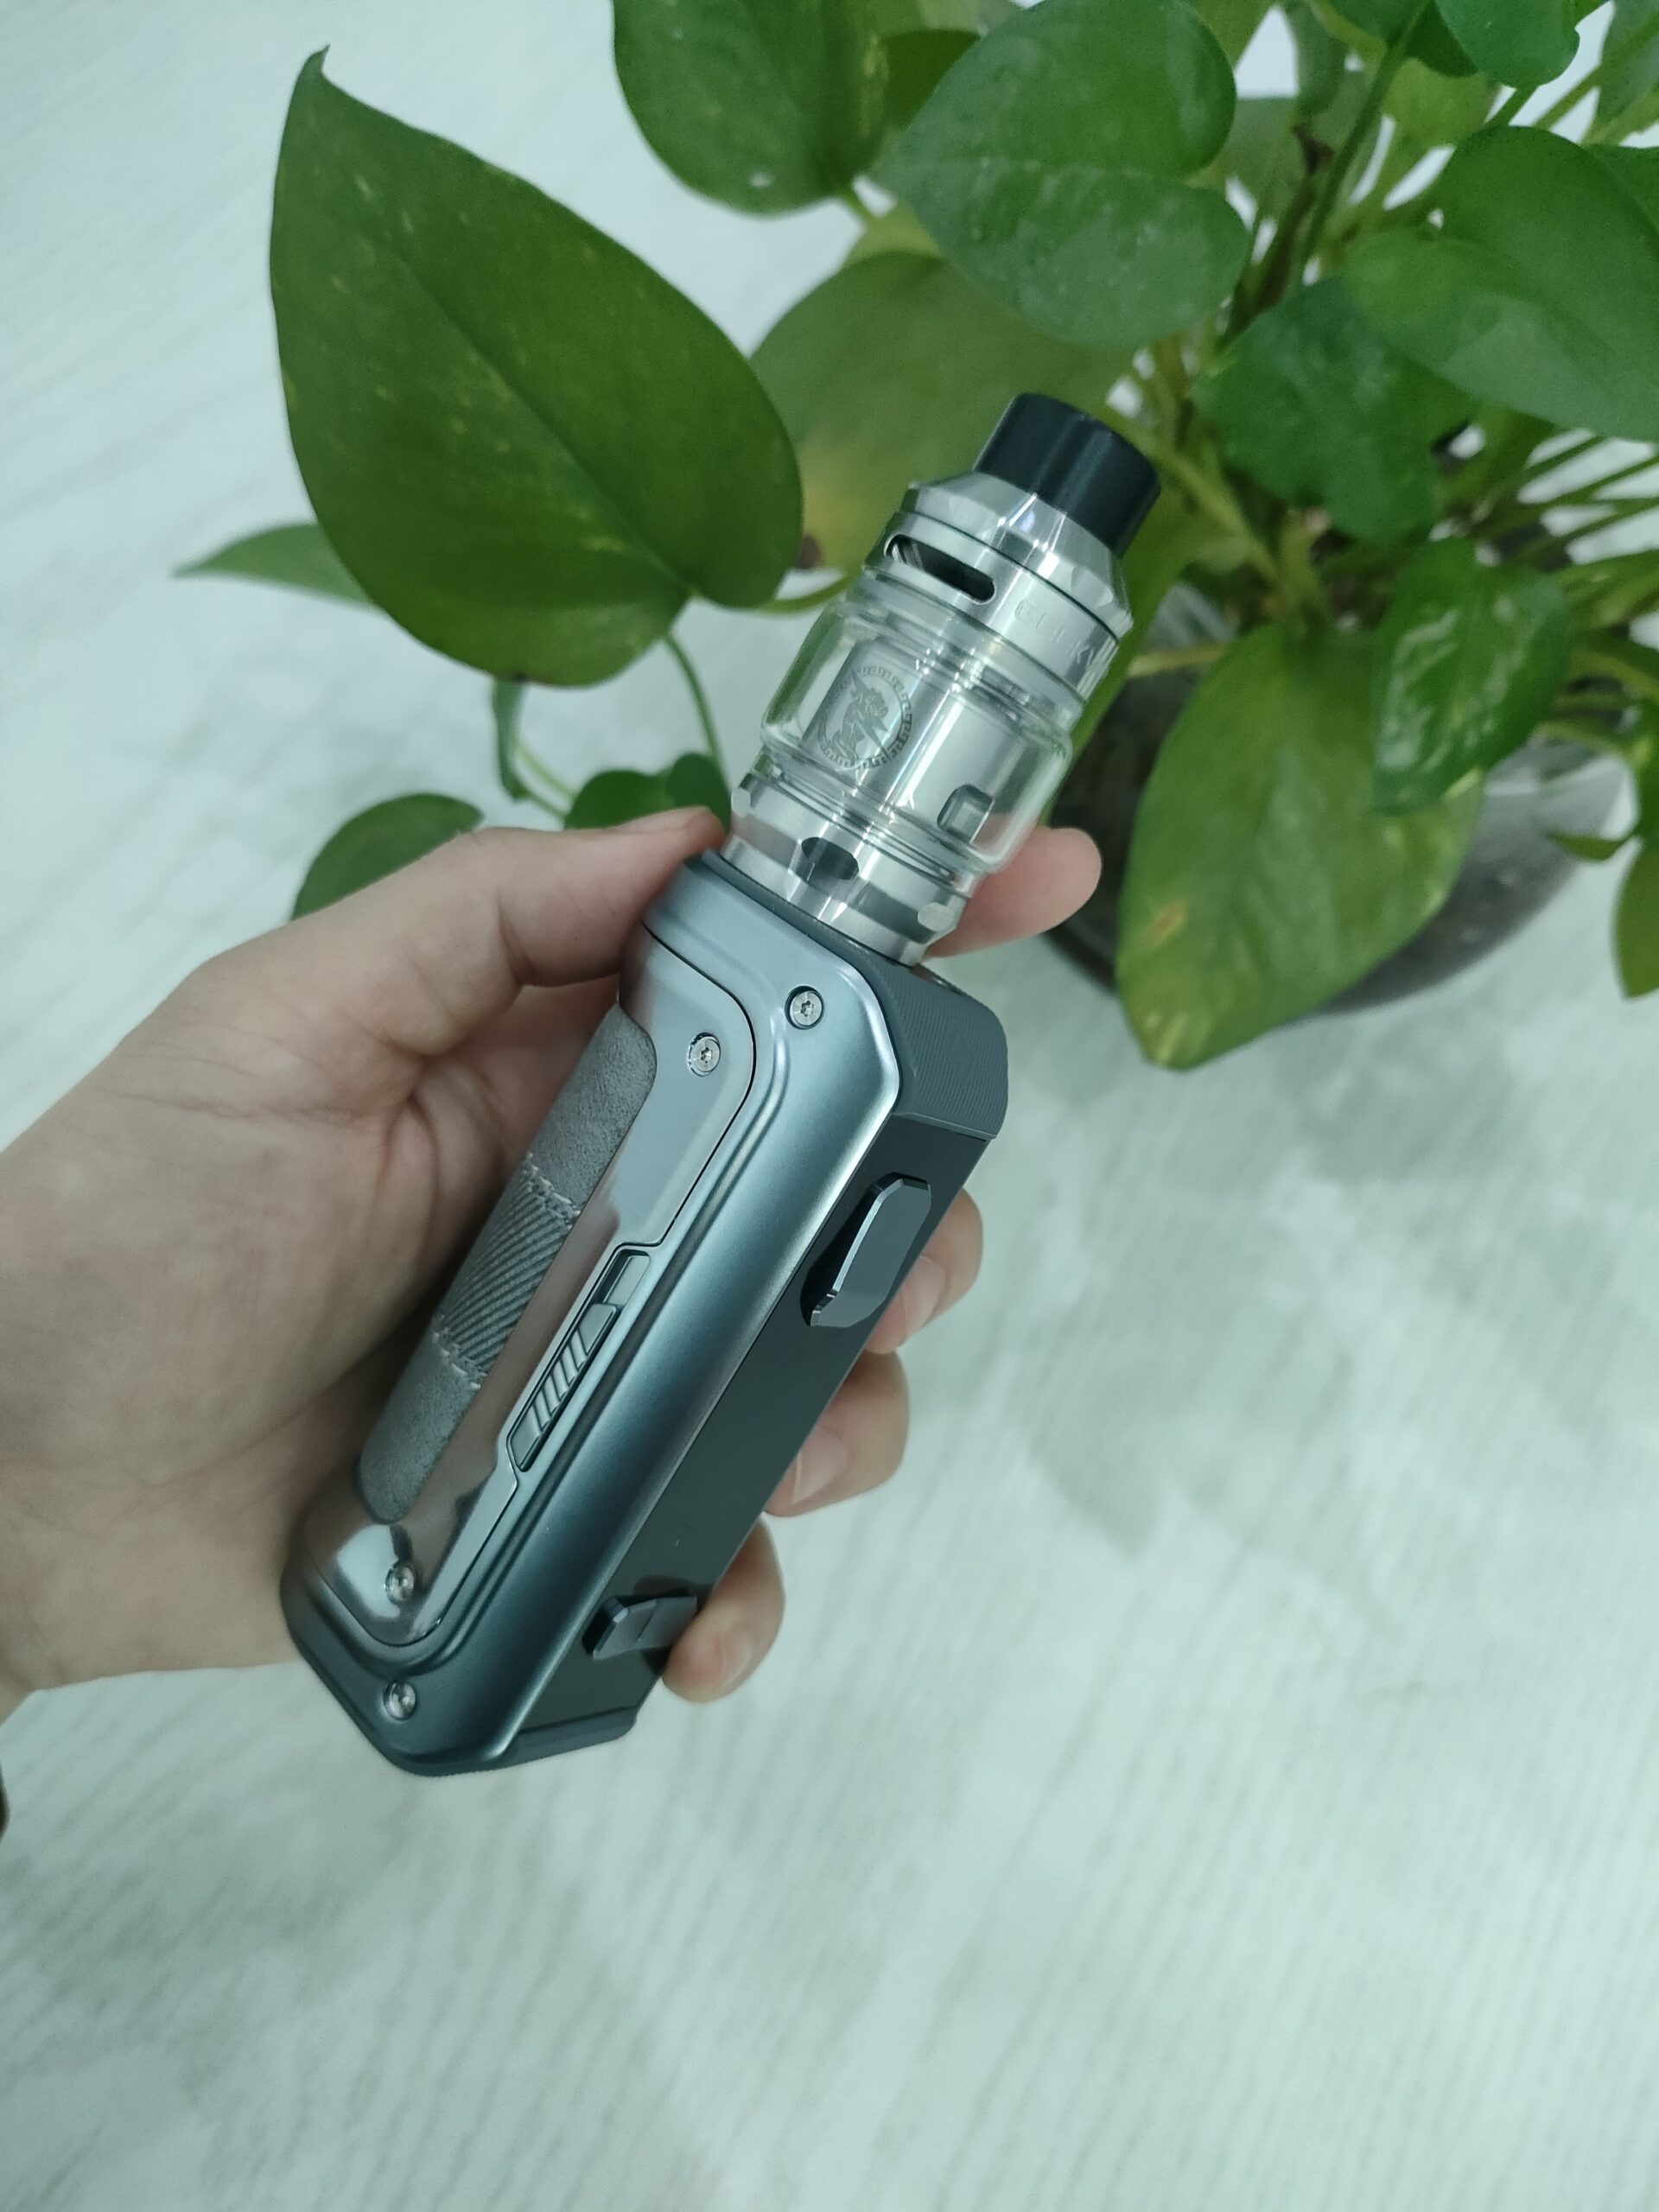
GeekVape Max100 Kit