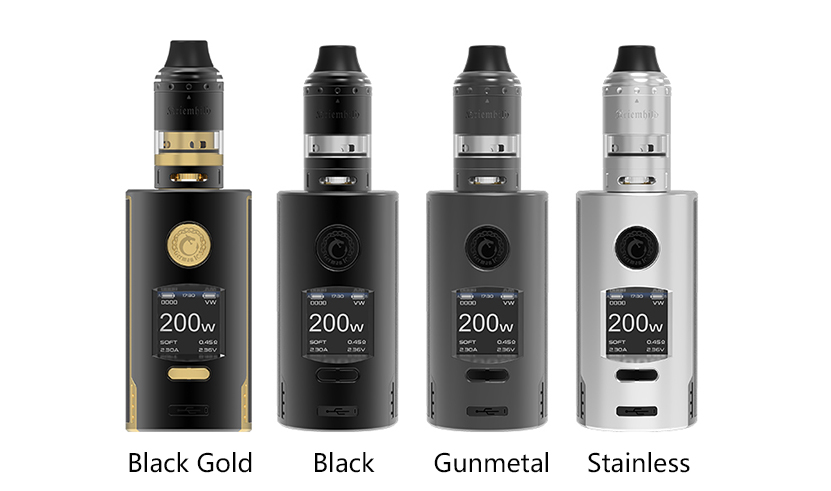
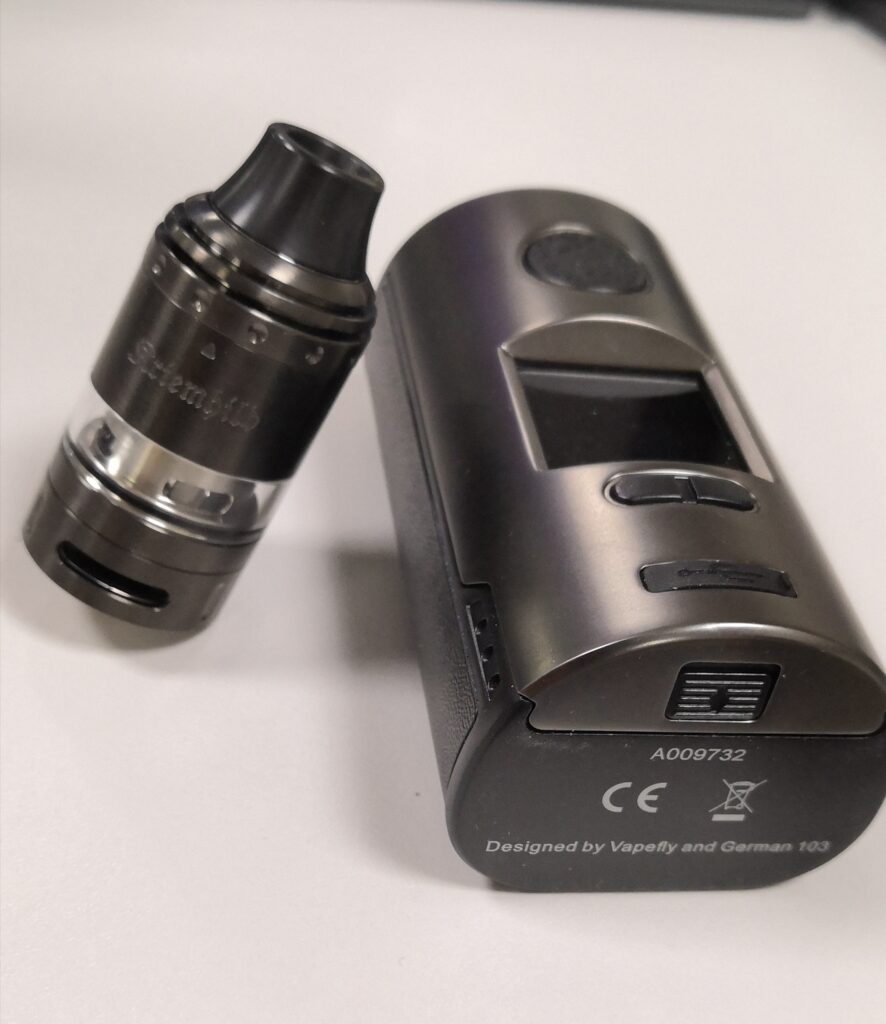
We believe that everyone is very familiar with Vapefly Kriemhild Kit. It is a limited edition of vapefly!
This article will continue to introduce how to use it.
How to operate Vapefly Kriemhild?
Power on: Installed two batteries, the device will bepowered on automatically with “Vapefly” logo, and theback light will turn on for 30s.if it does not turn on, pleasecheck if the battery installed correctly and the battery is inworking condition.
Power off: Press the fire button 5times within 2seconds, and choose to power off.

Power adjustment: ln the power working mode, press the left or right button to adjust the power. Press and half the button to enter the quick adjustment mode. In the quick adjustment mode, when the maximum power or minimum power is reached, the adjustment will stop automatically. At maximum power, increasing power again will continue from the minimum power. At minimum power, reducing power again will continue form the maximum power.
Temperature control mode: ln the temperature control mode (TI/NI/SS), press the left or right button to adjust the temperature. Press and hold the button to enter quick adjustment mode.
In the quick adjusment mode, when the maximumntemperature or minimum temperature is reached,d theadjustment will stop automatcally. When the temperature reaches the minimum, decreasing the temperature again will switch betweenFahrenheit/Celsius and begin at the maximum temperature. When the temperature reaches themaximum, increasing the temperature again will switch between Fahrenheit/Celsius and begin at fromthe minimum temperature.
Entering quick setting mode: ln the power-on state main screen display, press the fire button 3 times in quick succession to enter the quick setting mode.
Exiting quick setting mode: ln the quick setting mode, press and hold the fire button for 0.8s to exit the setting mode.
Device will automatically exit the setting mode after 5s of inactivity in the setting mode and return to the normal mode of the main display screen.
Quick setting mode: Press the fire button to cycle the cursor to highlight the setting item that needs adjustments.
When the item is highlighted, press the left and rightbutton to adjust the corresponding stting item. The content that can be set is different depending on theworking modes.
Working modes: Power mode: Power mode-Soft/-Standard/Hard.TC mode: TC mode TI/NI/SS.
Resistance value of the coil: The left button locks the current resistance value; the right button re-measures and updates the current resistance value.
Entering Menu: Press the fire button 4times inquick succession.
Exiting Menu: Under the menu screen, it will automatically exit after 5s of inactivity. Or press and hold the fire button for 1s to exit the Menu.
Light setting: Press the left and right buton to choose the color display on the main screen and the back light.
Puff setting: Use the left or righ buton to clear the puffcounter value.
Brightnes setting:Use the left or right button toadjustthe bihness((0-100%).
Memory ID setting: Including M1/M2/M3/M4. A separate setup configuration is saved for each MemorylD. The saved settings includes: current working mode, temperature control mode temperature value, power mode power value, power mode, soft/normal/hard, resistance value.
Curve: Entering the VW/TC curve(depends on the current working mode).Press the fire button to choose each second, and adjust the power or temperature by left and right button. Press quit/save back to the main menu. When with the curve mode, press left or right button to exit curve mode.
Time setting: Press the left or right button to enter the time setting and display the current time, at this times, use the fire button to switch the hour or minute, and Use the left or right button to adjust the value. 24-hour time setting. Hour:00 23. Minute:00-59.
Lock: Press and hold the left button and the right button simultaneously for 2s to lock the adjustment button, and the parameters cannot be adjusted. After the adjustment button is locked, press the ignition button three times in quick succession to lock the ignition button When locked. You can still power on the device by pressing the fire button 5imes.
Unlock: Press and hold the left button and the right button simultaneously for 2s to unlock thead adjustment button.
Factory restore setting: Press and hold the left and right button with fire button at the same time, the screen shows “configuration Reset”.
This is the end of the post, and thank you for reading!
Related posts