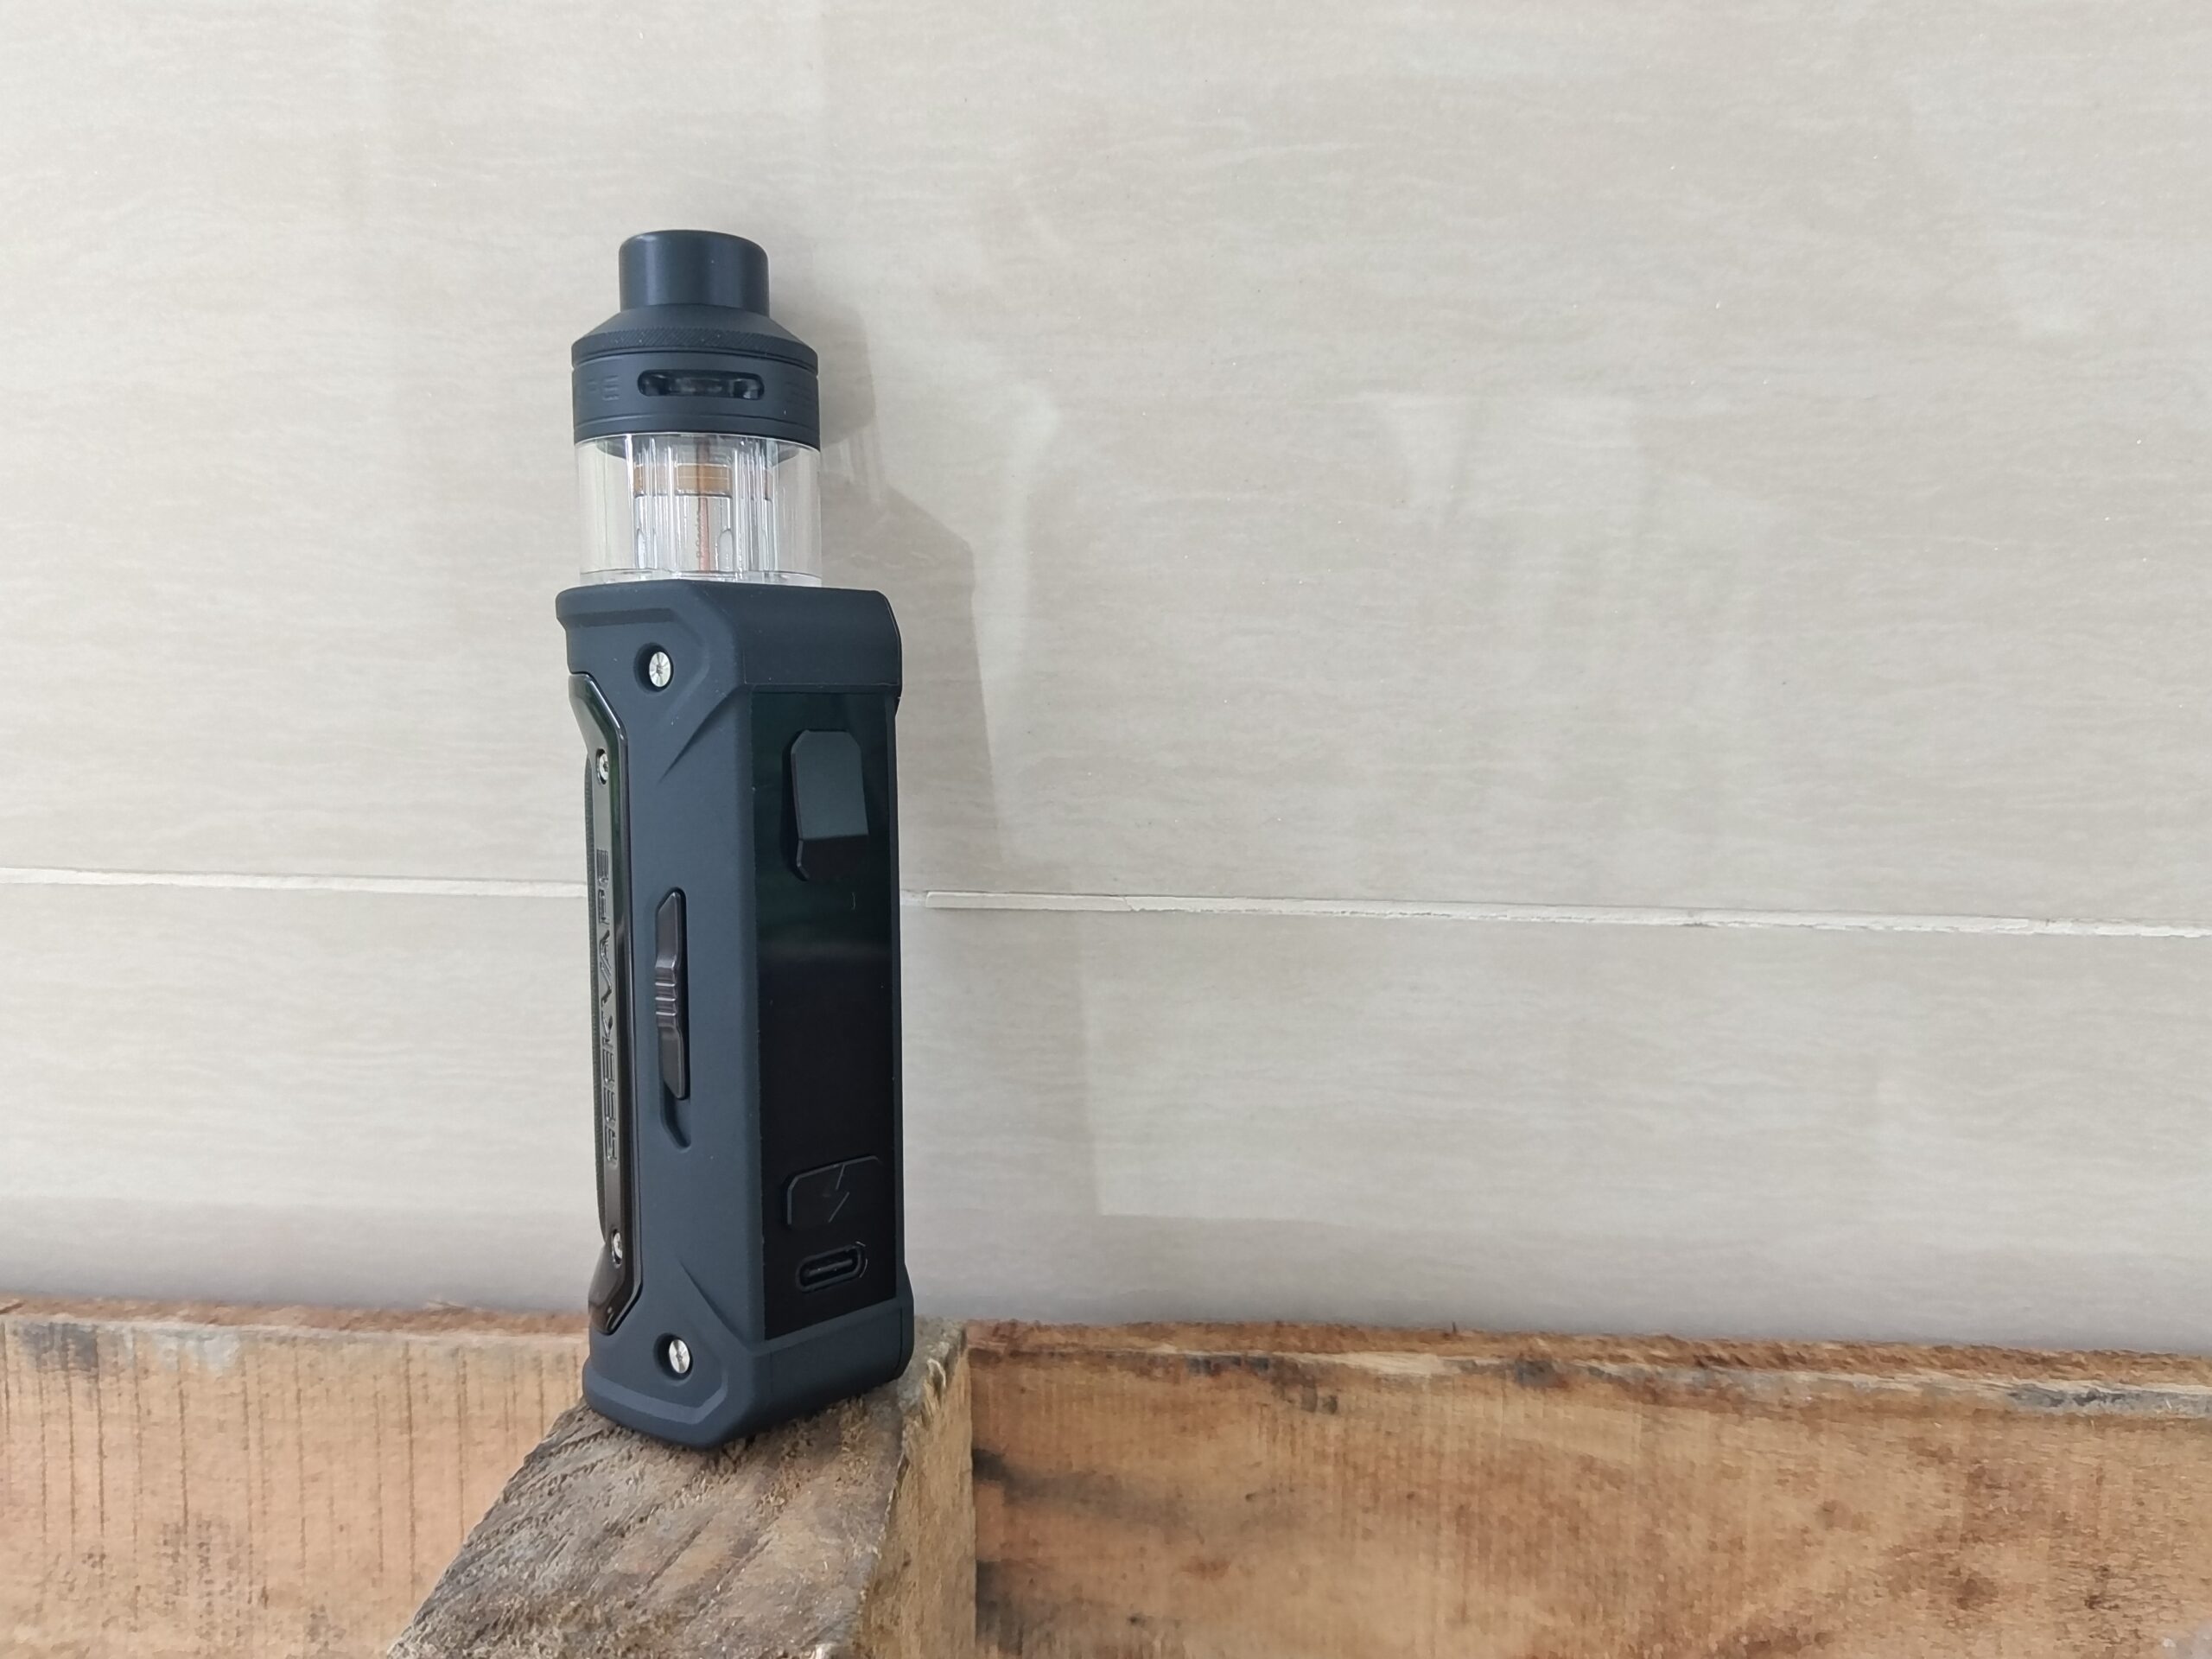
Instructions
1. Power On: Press the fire key 5 times within 2s to display the startupanimation and enter the standby interface.
2. Power Off: Press the fire key 5 times within 2s to display the postshutdown animation screen.
3. Power Setting: In the power working mode, click”+” or”-” to adjust the power, step 0.5W below 100W, step 1W above 100W, andcycle 5 100W. Press and hold the key to enter the quick adjustmentmode. (the power values of smart, power and boosting modes areindependent and do not affect each other).
4. Temperature Control: In the temperature control mode, click “+”or “-.” to adjust the temperature. The temperature steps into a cycleof1C/5 T ,100C~315 c to200 F ~ 600 F. Press and hold thekey to enter the quick adjustment mode.
Degrees Celsius and Fahrenheit automatically switch when they areadjusted to the upper and lower limits of temperature.
5. Enter Settings: Press the fire key for 3 times within 2s to enter thesetting state.
6. Exit Settings: Press and hold the fire key for 0.8s to confirm thechange and exit the setting state (no operation in the setting state,and exit automatically after 5S).
7. Mode Setting
①Press the fire key for 3 times within 2s to enter the setting state;
②The cursor stays at the working mode in the upper left cornerand press the “+” or”-” key;
③Optional working modes include: smart, power, boosting, tc-ni,tc-ti, tc-ss, tc-tcr and vpc. (after power on for the first time andrestoring the factory settings, the default smart mode will beswitched according to the above sequence).
8. TC Setting
①Press the fire key for 3 times within 2s to enter the setting state;
②Press the fire key to switch the cursor and stay in the wat parameter display column;
③Press the “+” or “-” key to adjust wat parameters, and longpress the key to enter the quick adjustment mode.
9. Puff Clear
①Press the fire key for 3 times within 2s to enter the setting state;
②Press the fire key to switch the cursor and stay in the puff display column;
③Press “+” or “-” to clear the current value;
④Press “+” or “-” again to restore the current value.
10. TCR Setting
①Press the fire key for 3 times within 2s to enter the setting state;
②Press the fire key to switch the cursor and stay in the TCR parameter display column;
③Press the “+” or”-” key to adjust TCR parameters, and long pressthe key to enter the rapid adjustment mode.
11. VPC Setting
①Press the fire key for 3 times within 2s to enter the ettingstate;
②Press the fire key to switch the cursor to P power column;
③Press the “+” or”-” key to adjust the P1 power value, and longpress the key to enter the quick adjustment mode.
④Continue to press the fire key to switch the cursor to the P2power bar;
⑤Press the “+” or “-” key to adjust the P2 power value, and longpress the key to enter the quick adjustment mode.
⑥Similarly, set P3, P4 and P5 power values.
12. Locked Or Unlocked: In the standby mode, push down the a-lockswitch to enter the locking state, and the screen displays the locking icon. In the locking state, except for the on-off operation,other operations are invalid. Push the a-lock switch upward torelease the locking state.
13. Tips And Protection
①The temperature of the electric cell is> 55 c before outputor>60 c during output, and the equipment is overheated for 2 seconds;When the temperature of the cell is less than – 20 c before the output, the equipment will give a low temperature prompt for2seconds;
②Atomizer resistance < 0.08ohm output short circuit promptfor2seconds; ③Atomizer resistance > 3.5ohm high resistance prompt for2seconds;
④If the voltage of a single battery is less than 3.2V before outputor less than 2.8V during output, the output will be stopped, andthe low voltage prompt will be given for 2 seconds The main boardtemperatureis> 65 c before output or> 85 c during output, andthe equipment overheats for 2 seconds;
⑤If the atomizer is not connected, press the fire key and there isno atomizer prompt for 2 seconds;
⑥If a single smoking exceeds 10s, the output will be stopped andthe timeout prompt will be given for 2 seconds;
⑦Push the a-lock switch to lock or unlock the prompt for2seconds;
⑧Operate the key in the locked state and press the prompton thelock screen for 2 seconds.
14. Atomizer ldentification
①In the standby interface, it will monitor whether the atomizerisreplaced and update the latest resistance value of the atomizer;
②When a new atomizer is insertsed, the screen will jump to theold and new atomizer selection interface and prompt the user toselect the old and new atomizers;
③Click ‘+’ to select the new atomizer and ‘-‘ to select the oldatomizer;
④When the original atomizer is removed, the resistance value ofthe atomizer will be cleared automatically;
⑤In smart and boost modes, the resistance value is updateddirectly without prompting for selection.
15. SMART Mode
①Resistance value of the atomizer, and the user can adjust theoutput power within the best power range through the adjustmentkey; In this mode, the dynamic screen is displayed (see UI for details)
②After the ignition output, the current gear power will be memorized. When the load is connected next time, the corresponding memory power will be adjusted. After power on againor factory setig is retored, the memory power will be retotetdefault power.
16. Boosting Mode
①The battery box matches the maximum output power accordingto the resistance value of the atomizer, and the user cannot adjustthe outputpower,
②Whenstaying inthis interface, the dynamic screenwill bedisplayed (see Ulfor details).
17. Display: After the fire key is pressed for times to shut down,pressthe “+” and-” keys for 2S at the same time, and the currentsoftware version number information will be displayed on the screen.
18. Reset: After entering the version information interface, press the”fire” and”+” – “keys at the same time to restore the factory settings.
19. UI Setting: In the setting mode, press and hold the ‘+’ and’-‘ keyssimultaneously for 1 second to switch to the next topic.
20. Stealth Mode
①Press the fire key,’+’ and ‘- keys for two seconds at the sametime to enter the stealth mode;
②In the same way, exit the steelth mode.
21. Screen Brightness Adjustment: In the standby inerface, pressand hold the fire key and ‘+ key for 1 second at the same time todisplay the brightness adjustment icon and step up the screenbrightness by percentage. Press and hold the fire key and’· key atthe same time to dim the screen brightness.
22. USB Upgrade Function: Factory side upgradeable.
Related posts