Notice for Use
Thank you for choosing Eleaf products! Please read this manual carefully before use so as to use correctly. If you require additional information or have questions about the product or its use, please consult your local agents, or visit our website at www.eleafworld.com.
For more detailed instructions, please find tutorial video at: www.eleafworld.com/video/.
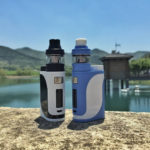
How to Use iStick NOWOS with ELLO Duro?
Power on/off:
Press the fire button 5 times in quick succession to turn on or off the device.
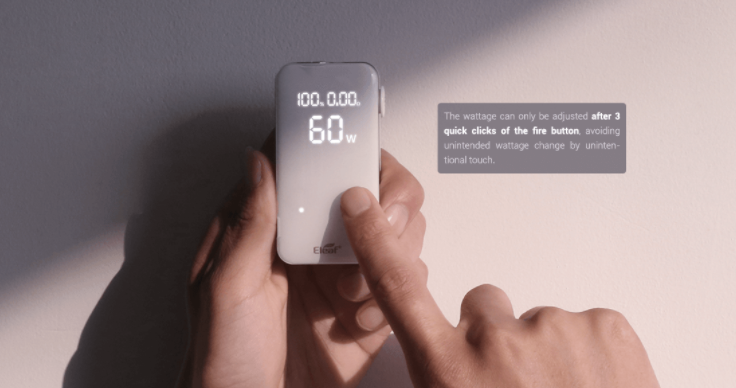
Adjust Power:
when the device is powered on, press the fire button 3 times, the wattage will be flashing. When the wattage is flashing, press the + button or – button to adjust the wattage and keep holding down the + button or – button to quickly increase or decrease the wattage. Finally keep holding down the fire button for about 2 seconds to confirm your setting of power.
Vaping:
when the device is powered on, keep holding down the fire button to take a puff.
Charging: the device can be charged through USB Type-C port via a wall adapter or a computer. (Support QC 3.0 / PD 3.0 protocol)
Firmware upgrade:
the firmware can be upgraded by connecting the device with a computer through the USB Type-C port via a Type-C cable.
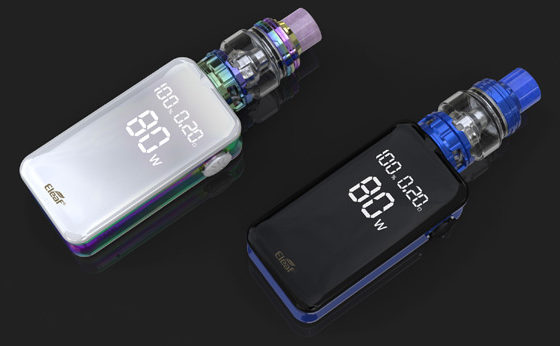
Properties and Protections:
Resistance Range:
0.1Ω-3.0Ω
Atomizer Protection:
every time when vaping time exceeds 10 seconds, the output cuts odd automatically.
Short Circuit Protection:
when the short circuit occurs, the screen displays “SHT” (short circuit).
Low Voltage Protection:
when the voltage of the device is lower than 3.3V, the device won’t be powered on. Charge the device to reactivate it.
Temperature Protection for Charging:
during charging, if the temperature of the device reaches lower than -5℃ (23℉) or higher than 50℃ (122℉), the device stops charging automatically to protect itself. The screen displays “HOT” if the temperature of the device reaches higher than 50℃(122℉)during charging.
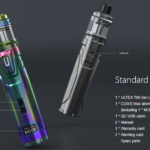
Eleaf ELLO Duro Atomizer Assembling:
1. Drip a few drops of e-liquid directly into the atomizer head to make the coil(s) inside fully saturated before first use;
2. Screw the primed atomizer head onto the atomizer base tightly;
3. Put the glass tube on, and screw the top cap with mouthpiece on;
4. Slide the mouthpiece back to reveal the fill port, slowly fill e-liquid into the tank through the port, and then close the retractable top after filling;
5. The airflow can be adjusted by rotating the airflow control ring on the atomizer base;
6. Finally the ELLO Duro is ready for use.
Warranty
We are not responsible for any damages caused by human error. Legal warranty is applied.
Warnings
1. Please keep out of reach of children.
2. This product is not recommended for use by young people, non-smokers, pregnant or breast-feeding women, or persons who are allergic/sensitive to nicotine.
Contra-indication
1. Do not attempt to repair the product by yourself as damage or personal injury may occur.
2. Do not leave the product in high temperature or damp conditions, otherwise it may be damaged.
3. Do not use this product for other purposes except only for vaping and don’t swallow the e-liquid.
Possible Adverse Effects
1. This product may be hazardous to health and contains nicotine which is addictive.
2. For people with adverse reaction after using this product, it is recommended to use the e-liquid with lower nicotine content or no nicotine.