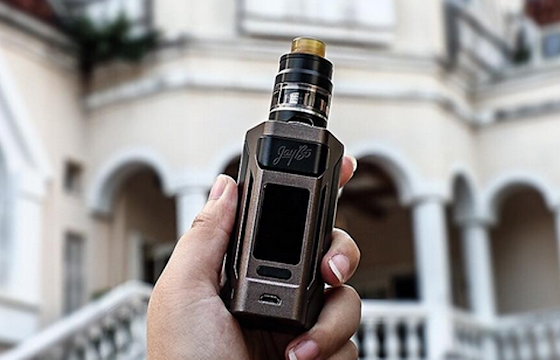
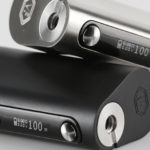
Reuleaux RX2 21700 Overview
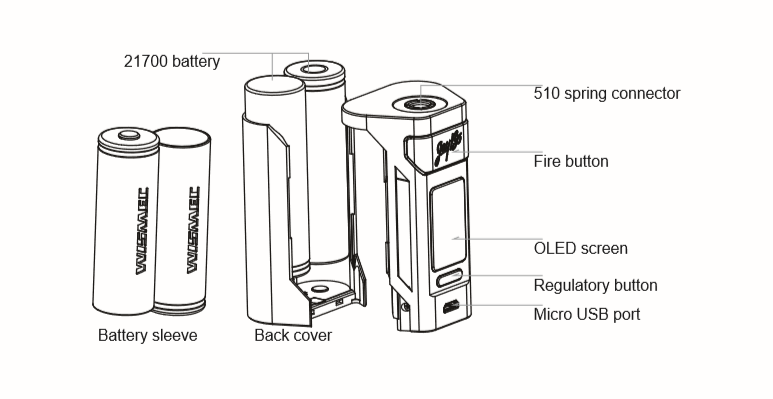
Assemble and Disassemble:

How to use:
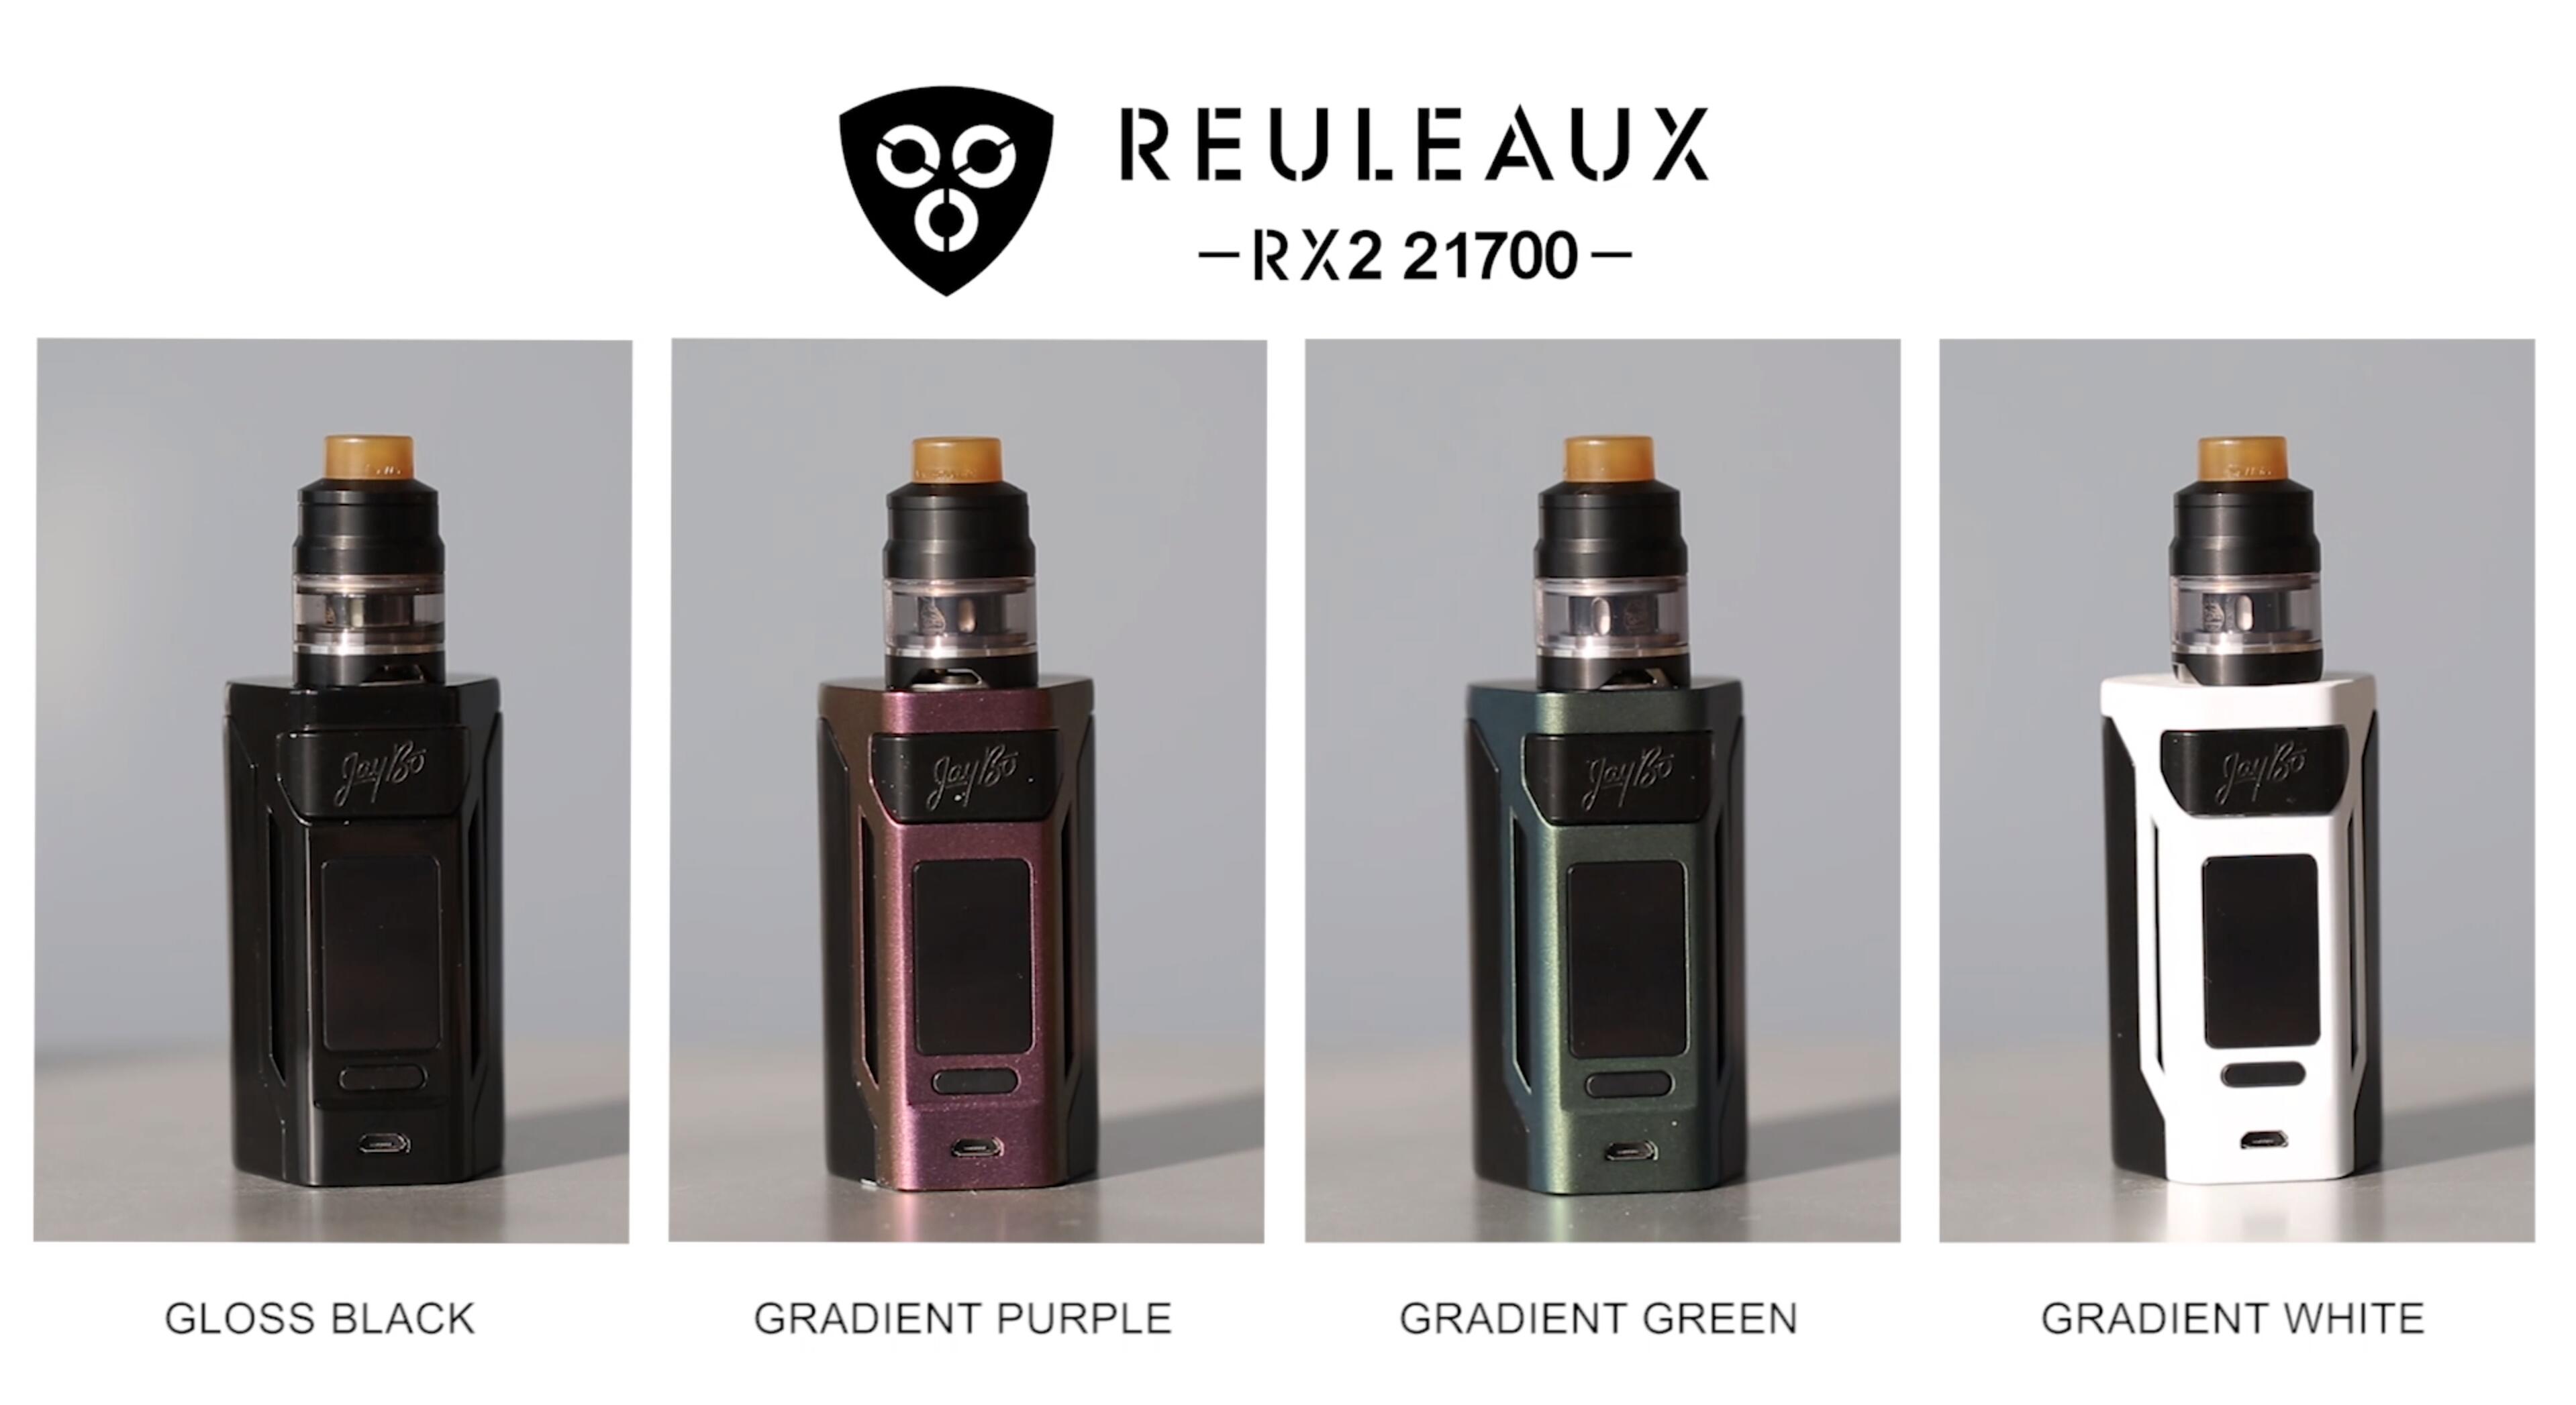
1. Power on/off:
Press the fire button 5 times in quick succession to turn the device on and off.
Note:
(1). Please adjust the wattage to a proper range to match the atomizer you used before using.
(2). Please be careful not to use battery with torn shell for safety.
2. Stealth function:
While the device is on, simultaneously hold the fire button and the left regulatory button. This will switch the screen display on and off.
3. Key lock function:
While the device is on, simultaneously press the two regulatory buttons. This will switch between Key Lock and Key Unlock function.
4. Micro USB port function:
The USB port can be used for charging and upgrading firmware. It is better to take out the cells and charge them through external charger.
5. Switch the display mode:
By pressing the left and right regulatory buttons simultaneously in shutdown state, the screen display will rotate 180 degrees. You can then view the screen from two kinds of angle through this operation.
Shift among VW/TC-Ni/TC-Ti/TC-SS/TCR Mode
Press the fire button 3 times to enter into the mode options. Then press the right regulatory button to switch between VW/TC (Ni, Ti, SS)/TCR (M1, M2, M3) mode. Press the fire button to confirm.
Under TC/TCR mode, while the mode sign flashing, press the left regulatory button to enter into its submenu. Then press the right regulatory button to choose TC-Ni/Ti/SS (TC mode) or M1/M2/M3(TCR mode). Press the fire button to confirm.
VW Mode:
In this mode, output wattage can be adjusted from 1W to 230W by pressing the regulatory buttons, right to increase and left to decrease.
TC-SS Mode:
The TC-SS mode is suitable to SS316 coil.
TCR (M1, M2, M3):
In TCR (Temperature Coefficient of Resistance) mode, users can set the parameters according to the TCR of coil.
The Setting of TCR Mode: In powered-off state, keep pressing the fire button and right regulatory button simultaneously, then you enter into the TCR set menu:
(1). Press the left or right regulatory button to choose among TCR M1, M2 and M3;
(2). Press the fire button to confirm the mode you chosen;
(3). Press the left or right regulatory button to increase or decrease the parameter according to the TCR of coil;
(4). Keep pressing the fire button or leave the interface for about 10 seconds to confirm.
Following is the TCR value range for your reference:

Note: 1. The TCR value in the sheet is 105 multiplied of the actual TCR.
2. The TCR value range is 1-1000.
Supplementary TC Modes Functions:
Temperature adjustment:
In TC modes, the temperature can be adjusted from (100-315°C or 200-600˚F) with the two regulatory buttons, right to increase and left to decrease.
Shift between °C and ˚F:
If you increase the temperature to 315°C, and continue to press the right regulatory button, the temperature readings will automatically change to the lowest Fahrenheit (200˚F). Equally, if the temperature is decreased below the minimum (100°C), the unit will change back to ˚F automatically, and the temperature will start to decrease from 600˚F.
Wattage adjustment:
While the wattage sign blink, press the right or left regulatory button to adjust the wattage, and press fire button to confirm. Long pressing the right or left regulatory button will make the wattage setting rapidly increase or decrease.
Resistance locked function:
While the resistance sign blink, press the right regulatory button to lock or unlock the resistance of the atomizer. (Note: Such operation should be carried out at room temperature.)
New atomizer installation:
In TC mode, be careful to attach new atomizers that have cooled to room temperature. If a new atomizer has not cooled down before attaching, the temperature may read and protect incorrectly until the new atomizer cools.
Note:
1. When you connect a new atomizer or disconnect and reconnect your existing atomizer, the device will prompt you to confirm this change and a message will prompt “NEW COIL RIGHT, SAME COIL LEFT”. Press the right regulatory button to confirm that a new atomizer has been attached. Press the left regulatory button to confirm that the same atomizer has been reconnected.
2. When using normal coil or the resistance of coil you used is higher than 1.5ohm in TC modes, the device will automatically switch to VW mode.
Shift among Current, Puff and Time:
While the user information sign blink, press the right regulatory button to shift among current, puff and time.
The Setting of Preheat Function:
(1). When powered on, press the fire button and right regulatory button simultaneously and then you enter the preheat setting menu.
(2). Press the fire button to switch between preheat power and preheat duration.
(3). Press the left or right regulatory button to decrease or increase the parameter.
(4). Long press the fire button to confirm.
Adjustable Timeout Duration:
Due to different vaping habits, you’re allowed to set the timeout duration from 5 to 15 seconds as you prefer. Press the fire button and right regulatory button simultaneously to enter into the menu system.
Press the right regulatory button to enter the timeout duration setting. Press the left regulatory button to
set the duration and then press the fire button to confirm.
Once the duration is set (like 5 seconds), when you hold the fire button and vape over the pre-set time, it’ll display “OVER 5S PROTECT” and shut down automatically. Press the fire button 5 times to restart.
Warranty
Please consult with your WISMEC distributors for warranty policy. We are not responsible for any damage caused by user error.
This warranty is only valid for authentic WISMEC products within warranty period from date of purchase by the end user.
Warning
1. Keep out of reach of children.
2. This product is not recommended for use by young people, non-smokers, pregnant or breast-feeding women, persons who are allergic/sensitive to nicotine.
Contra-indication
1. Only have your product repaired by Wismec. Do not attempt to repair the unit by yourself as damage or personal injury may occur.
2. Do not leave the product in high temperature or damp conditions, as this may damage the product. The appropriate operation temperature is within 0°C to 45°C while charging and -10°C to 60°C while in use.
3. Keep away from water.
Possible adverse effects
1. Use of this product may cause damage to health.
2. For people with adverse reaction after using this product, it is recommended to use the juice with lower nicotine content or no nicotine.


