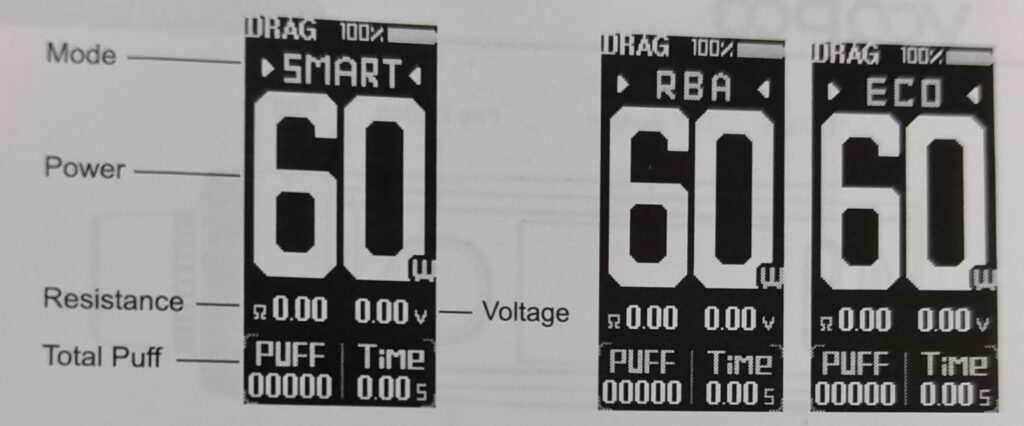
Interface Introduction
Function description
1. Turn on/off the device: Press the Fire button five times quickly
2. Lock/unlock the device: Press the Fire button and “+” button simultaneously
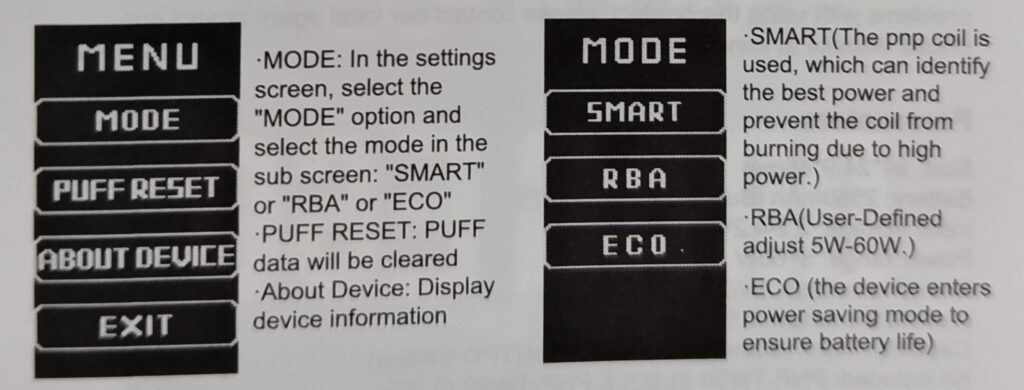
3. Menu screen: Press the “+” and “-” buttons simultaneously to access the settings screen, use the “+” or”-” button to select the setting option, and then press the Fire button to confirm.
4. Charging: Support charging with 5V/2A. It is recommended to use the Type-C provided by VOOPOO to charge the device.
5. GENE TT: Chip can calculate by simulating the amount of vaping per mouth cigarette through simulation to display the corresponding graph.
6. Software upgrading: Consumers have access to upgrade the software to the latest version on VOOPOO official website
(www.voopoo.com), which requires the specific Type-C cable equipped with voopoo product to connect the computer.
7. Status notification
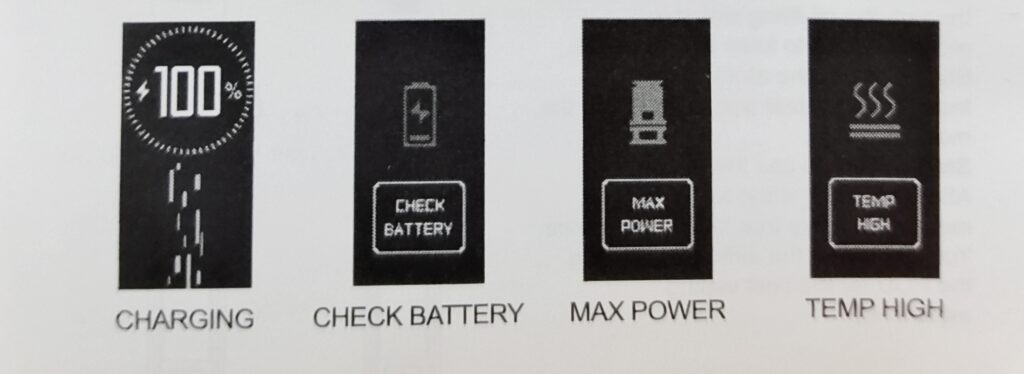
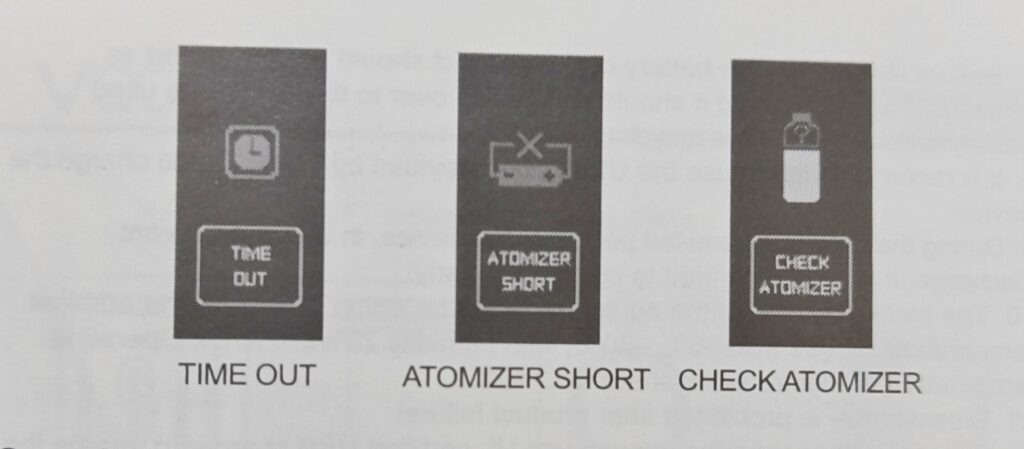
Security Protection
Overtime protection
Over heated protection
Output over-current protection
Overcharge protection
Low battery protection
Atomizer short-circuit protection
Maintenance and Cleaning
When using the device, you may notice occasional liquid condensation on the outside of the cartrídge. The physical law determines that the mist will atomize and then condense to form condensate, which is inevitable.
In daily use, wet paper can often be used towípe the connection between the atomizer and cartridge to avoid poor connection between the cartridge and device.
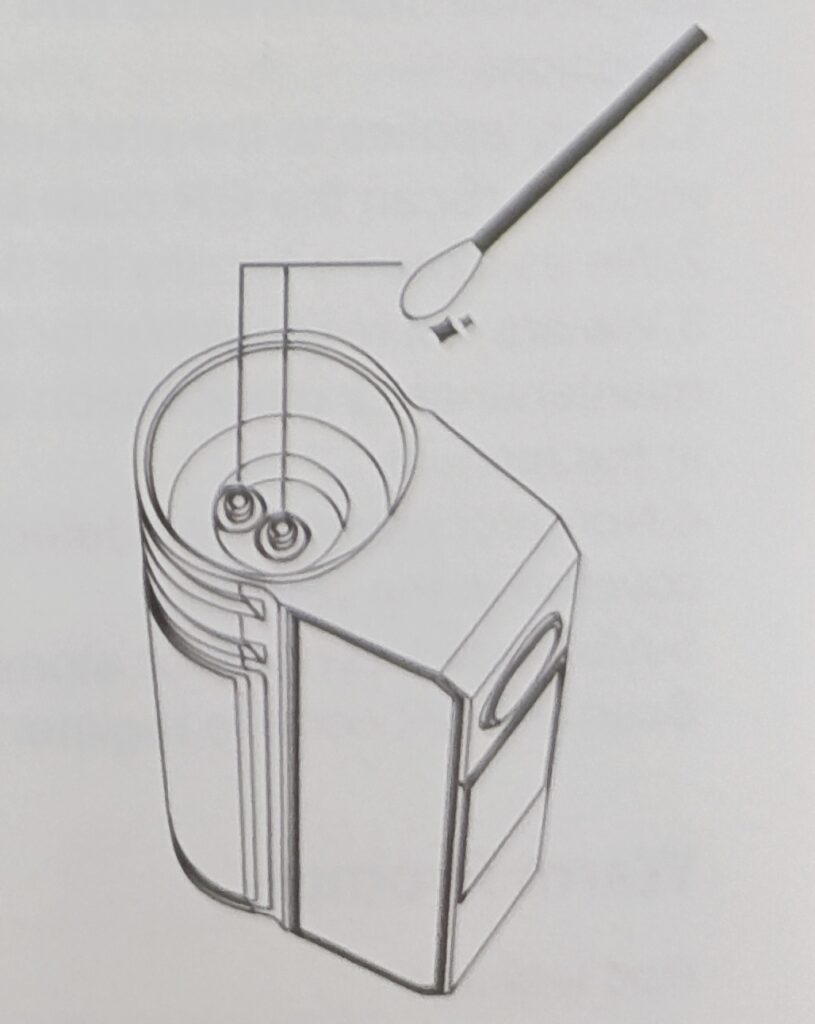
When a small amount of condensate ís found inside the devíce during use, we recommended to pull out the atomizer, reversing the device and swing away for a few seconds
Precautions for Daily Use of Leather
Please try to avoid scratches by sharp objects or direct friction against rough articles.
Please try to avoid contact with corrosive substancessuch as acids and bases, or alcohol or alcoholíc liquids from coming into contact wíth leather surface.
Please use a soft cotton cloth to clean the dirt on the leather surface.