Bedienungsschritte
Step 1. Install coil
Take outthe coil, and Insert the coil from the bottom ofthe pod
Step 2. Fil e-liquid
‘Pul out the silica gel plug according to the instructions,then refill e-liquid from oil-illing slots. It is recommendedto keep tvo thirds full.
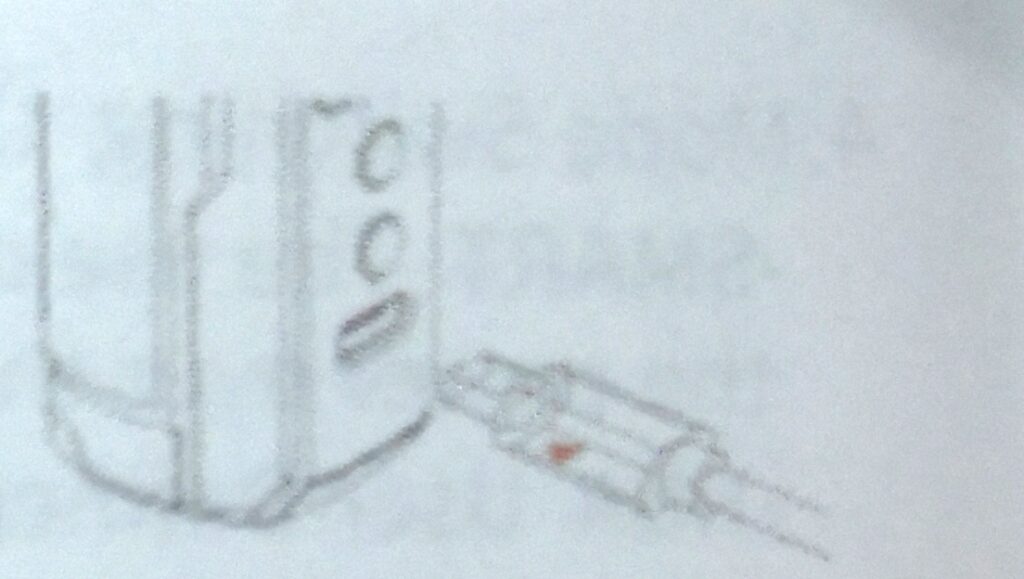
Step 3. Install the atomizer
‘Insert the atomizer with e-liquid into the mod.
Step 4. Start to use the device
‘After ke€ping it stand for about five minutes, you arefree to use the device. You can adjust the airflow inorder to enjoy optimal vaping experience.
Operation instructions
1. On/off: Short press on fire button five times
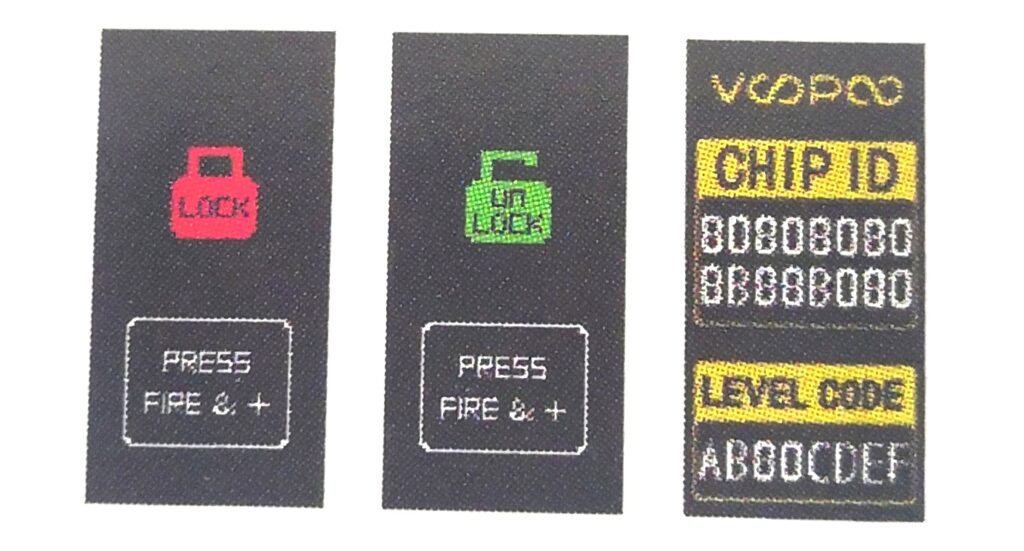
2. CHIP ID interface display: Press the “+” and “-” buttons simultaneously.
3. Lock/unlock :Press the fire button and “+”button at the sametime.
The product can not be fired when locked or adjust power.
4. Mode Switching :Short press on fire button three times.
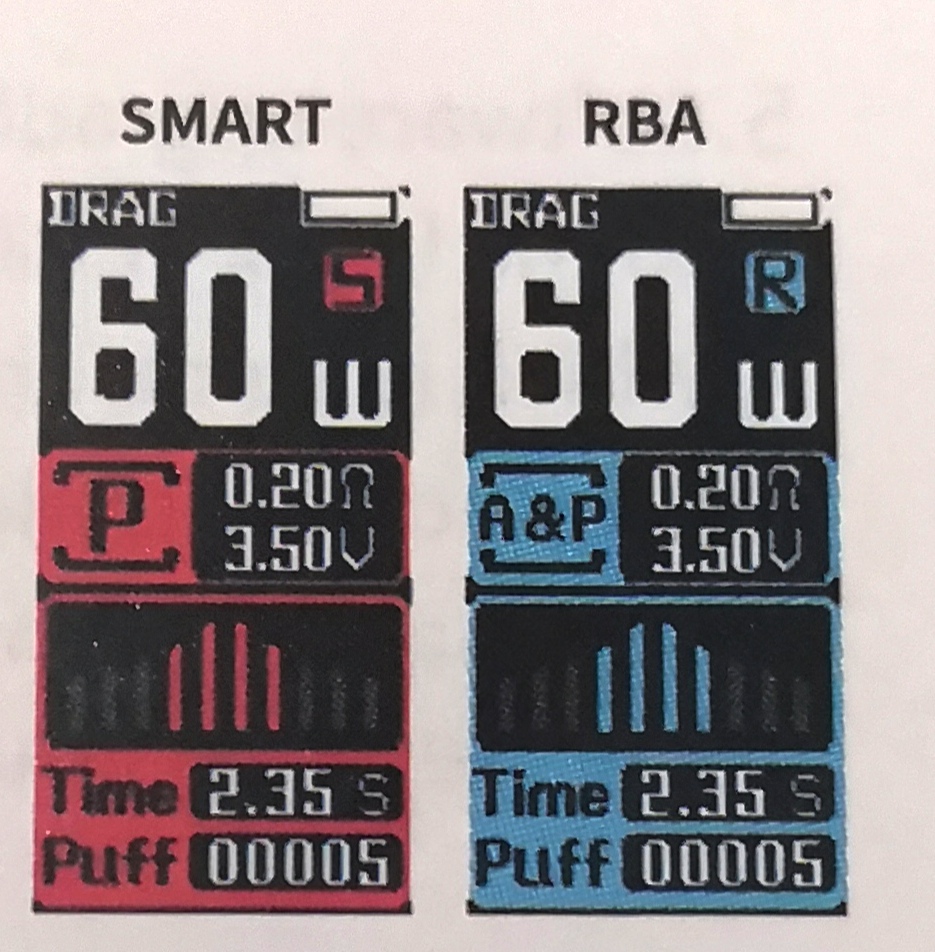
-SMART The use of the PnP coil , identify the best power, and prevent the power over the core.
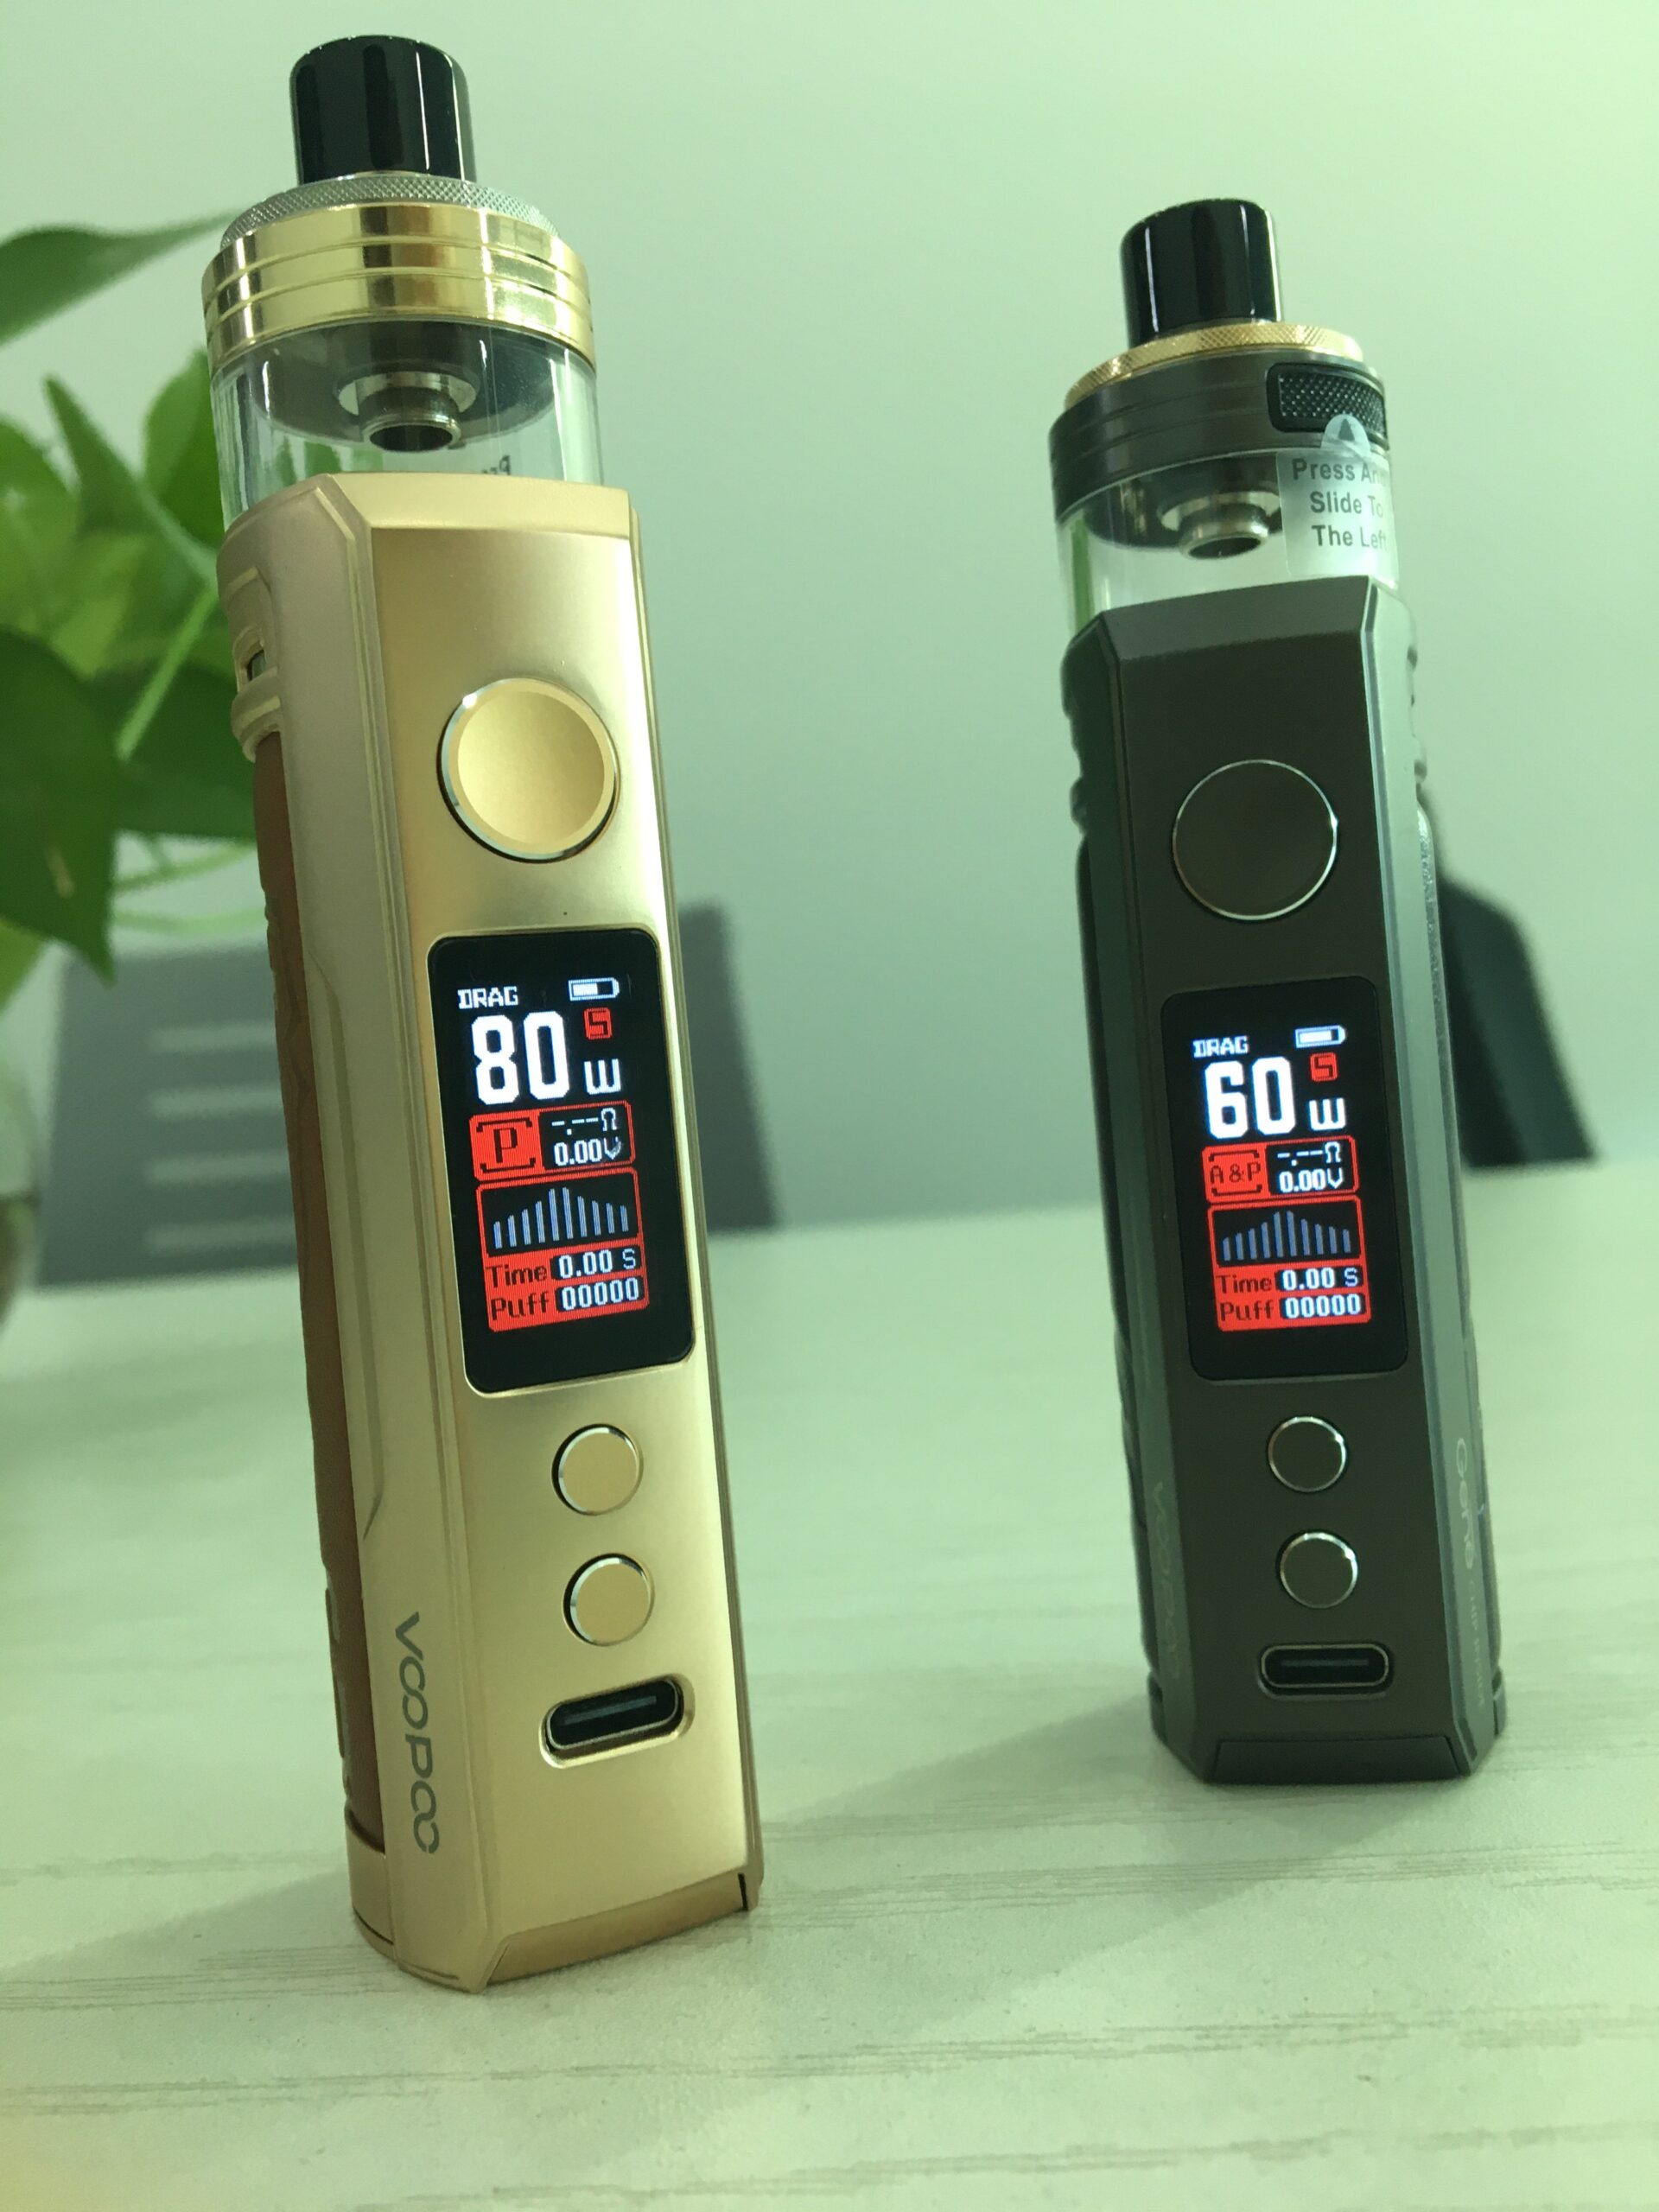
-RBA User-Defined adjust 5W 60W/80W .
P&A-Double Ignition mode (press buttons or adopt automatic mode)Support Vaping in Auto-mode while screen locked [Drag S]

-Total puffs: Record the historical total number of puffs.
PUFF clear: Press the fire button and “-“button at the same time.
-GENE TT chip can calculate by simulating the amount of vaping per mouthcigarette throughsimulation to display the corresponding graph.”+”&”-” to adjust the power from 5W 60w/80W.
Tips: Score mode is a feature of the special version, customer will need log on the Voopoofficia website after age verification to flash the device to get this feature.
5. Software upgrading: Consumers have access to upgrade the softwareto the latest version on VOOPOO fficial website(www.voopoo.com),which requires the specific Type-C USB cable equipped with voopooproduct to connect the computer. Meanwhile, the side of Type-C dataline marked with “▲” shall face downward.
Please Keep your device fully charged.
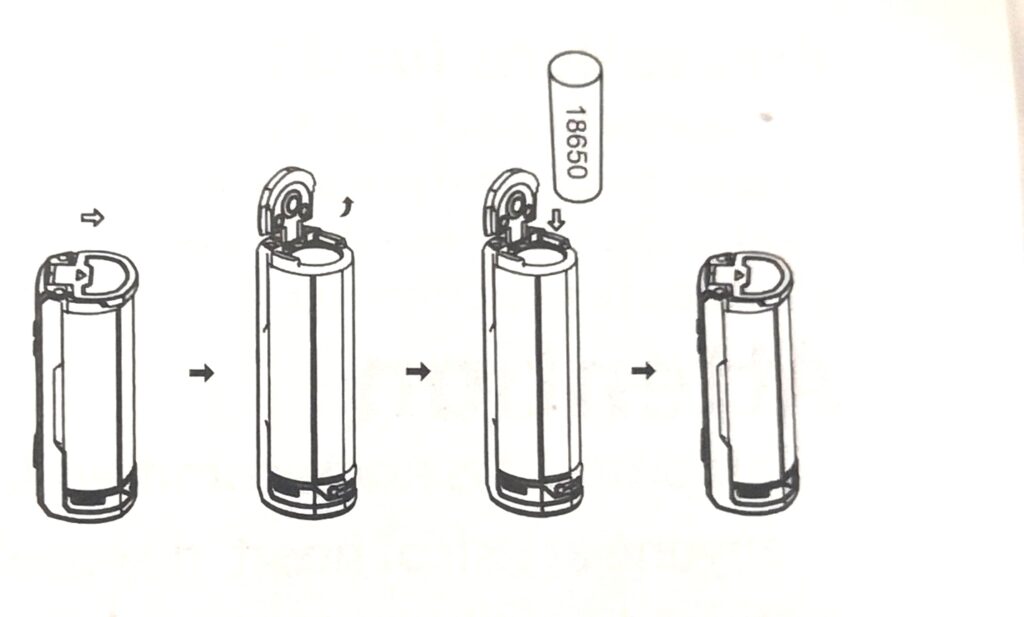
Installation of battery
1. Slide and open the battery cover according to the indicator a the bottom.
2. Install the prepared 18650 battery from the bottom CDaccording to the correct anode and cathode indication.
(It is recommended to use high-rate battery, withdischarge current ≥ 30A.)
3. Close the battery cover。
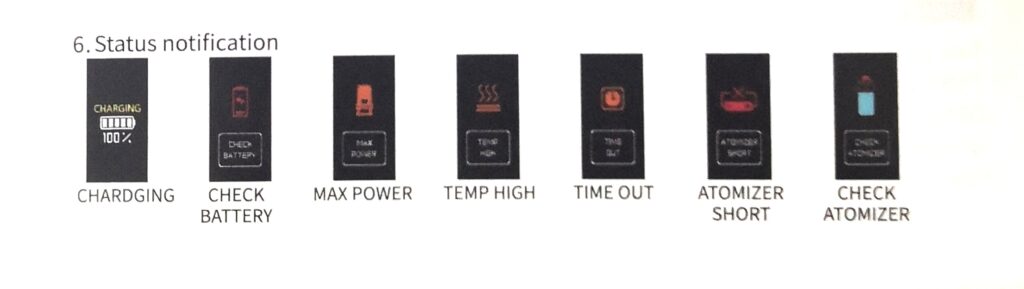
Security Protection
- Overtime protection
- Low battery protection
- Over temperature protection
- Atomizer short-circuit protection
- Output over-current protection
- Max Power Protection
- Overcharge protection
Learn more:
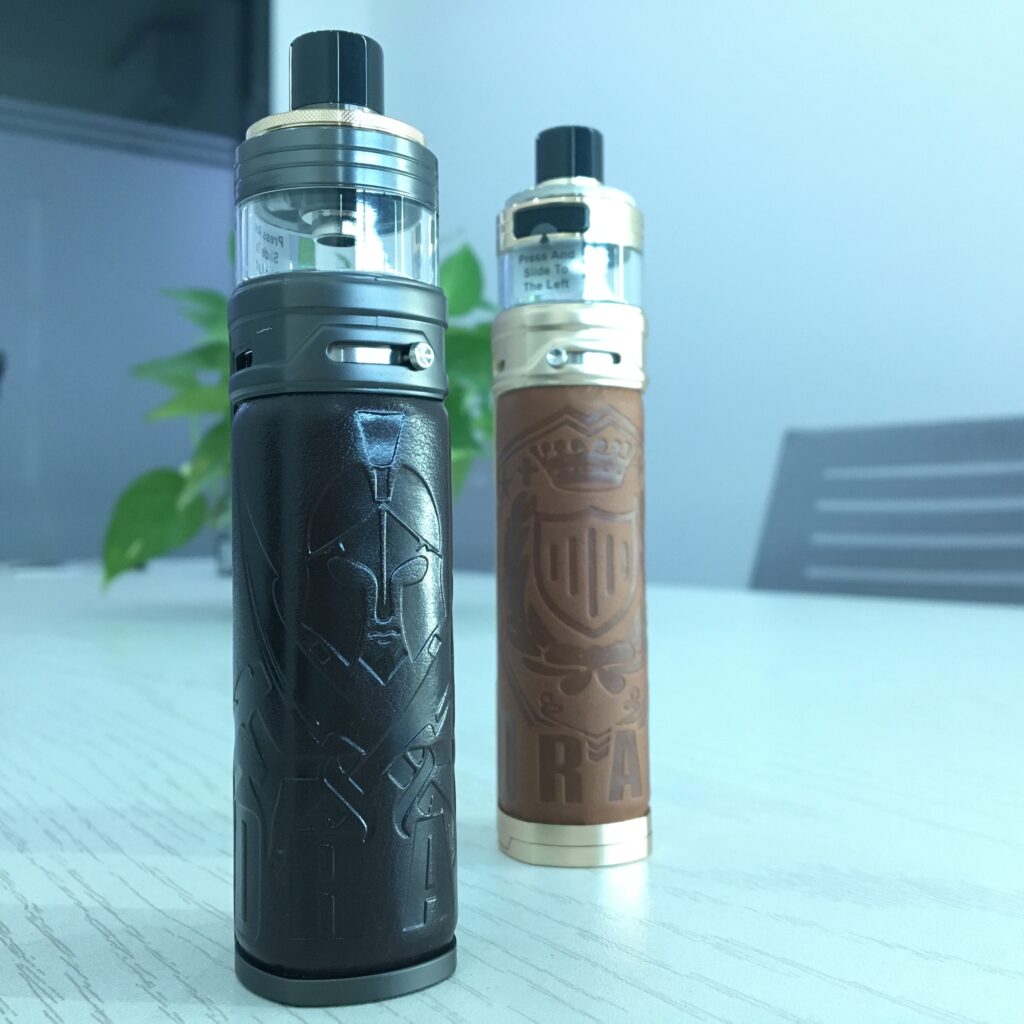
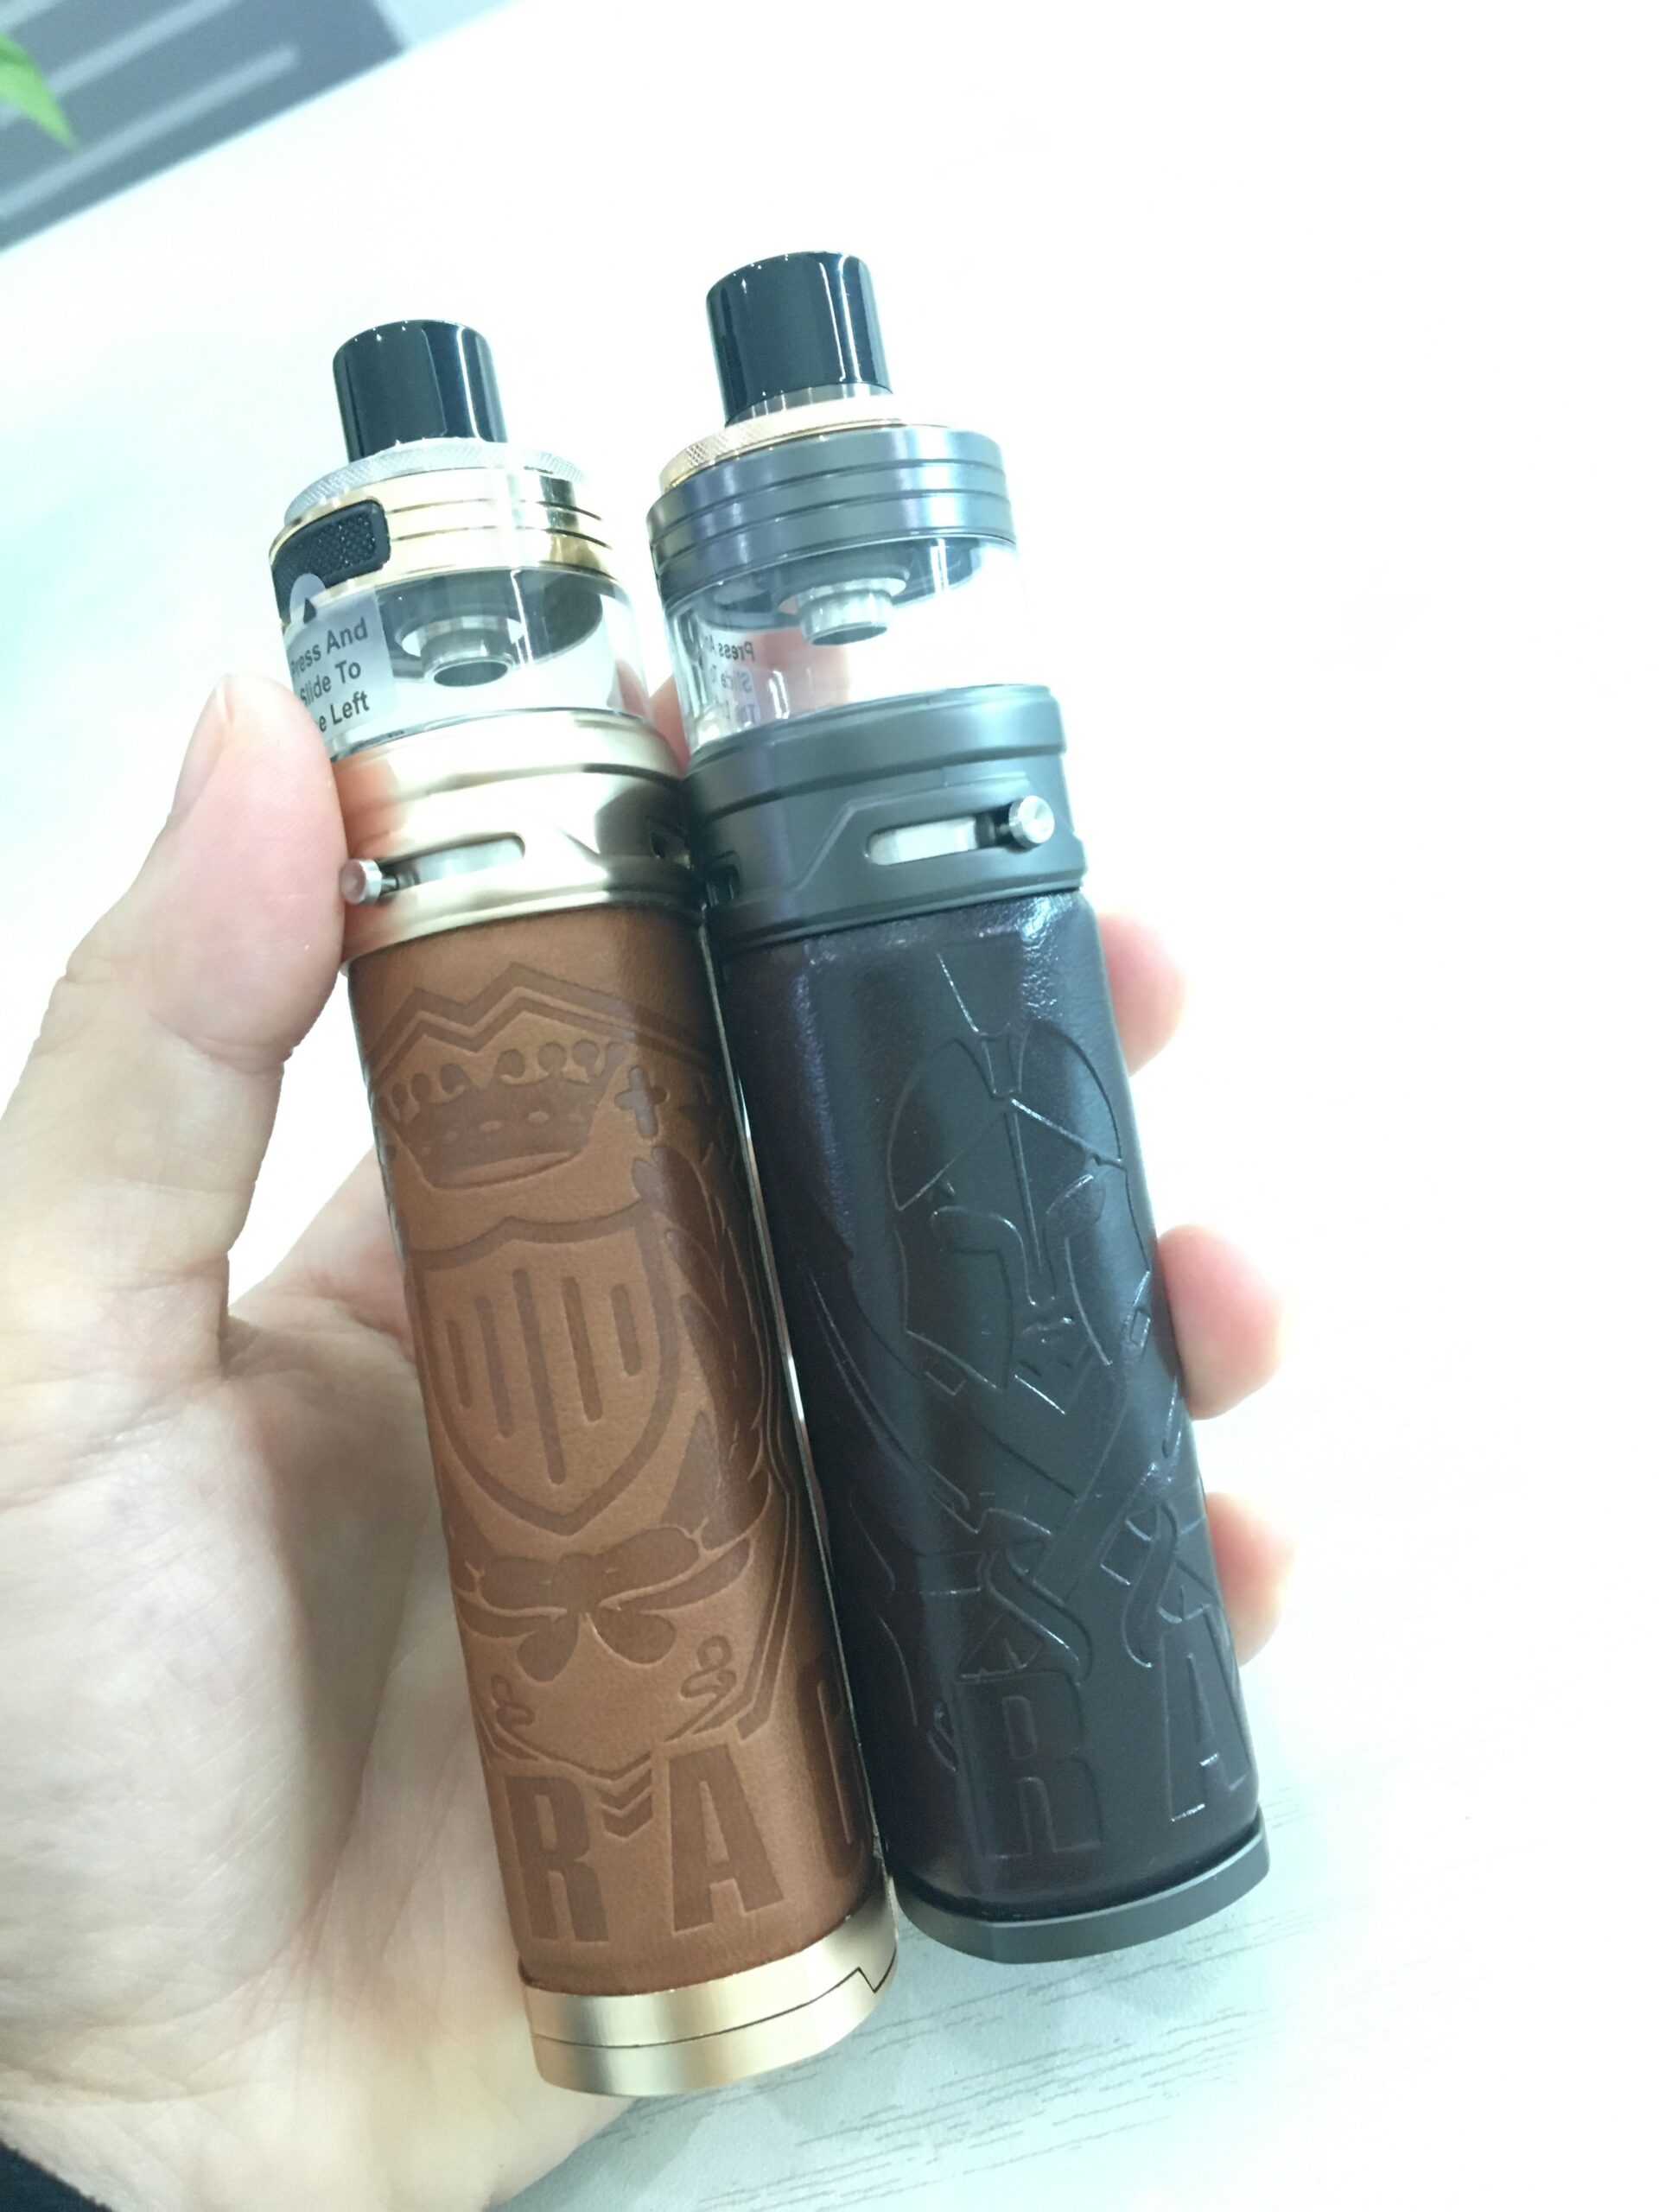
VOOPOO Drag X/S PnP-X Kit